Here’s a fun addition to impress your guest at your holiday feasts, the best part is that its super easy!
What you will need:
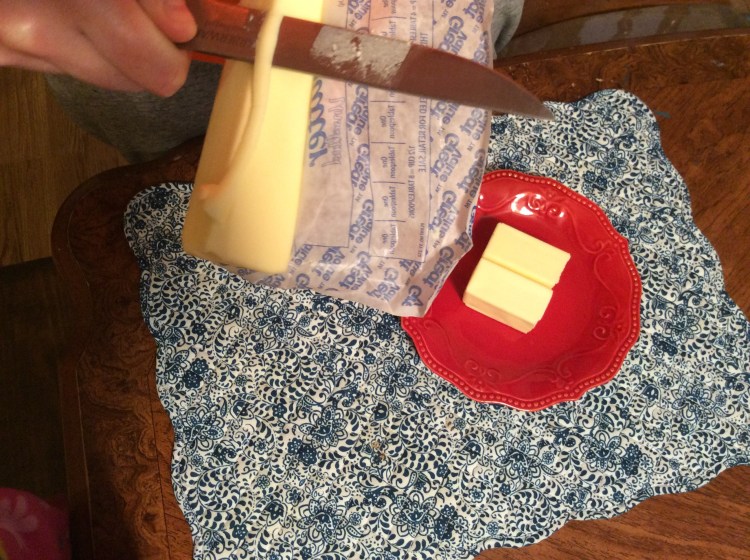
2 sticks of cold refrigerated butter
A small plate or platter
A sharp knife
It’s important to start with cold cold butter, because it is easier to work with.
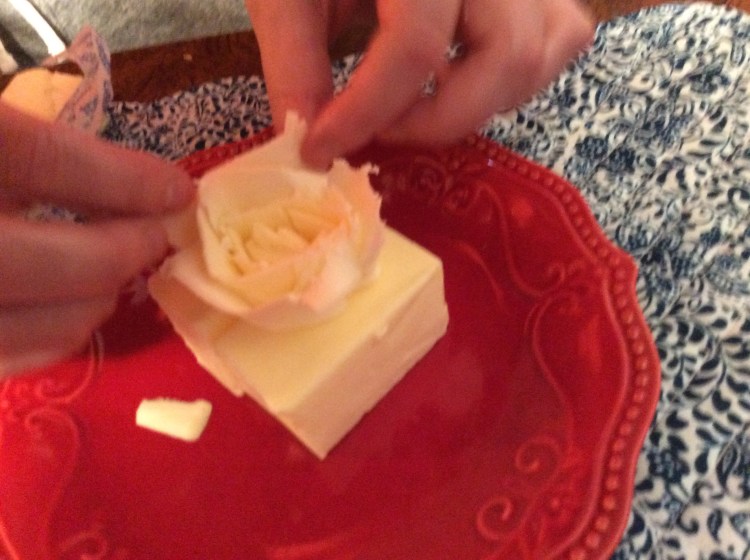
Cut the first stick of butter in half, in wrap and place on the platter , this becomes your base for the rose.
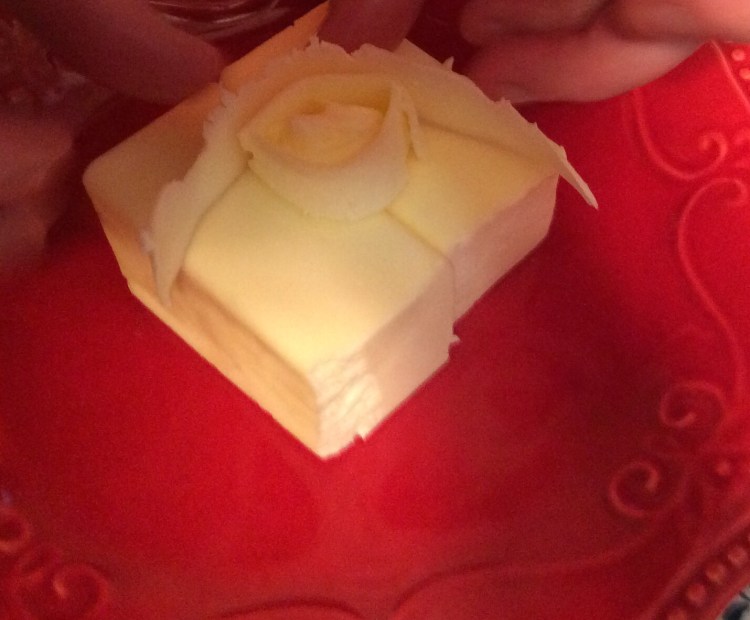
Unwrap the second stick of butter. Hold it so a cornered side is up, and begin to peel the butter. Make the first peel into a tight spiral shape. Don’t worry if it’s not perfect. Shape into a small circle, this becomes the middle of your rose. Continue to peel the butter and shape around working from the inside out. These become your petals. Alternate which sides you places the petals on.
The more you peel, the wider the petals will become until your rose is fully bloomed. I like to go as far out as I can to try to cover the entire base.
If you want you can add detail to the base. I tried to add a rose bud and some leaves, but my butter was getting too soft. After you are finished, refrigerate until you are ready to use, this will allow the rose to firm up and hold its shape.
What are some fun details you like to add to your table?
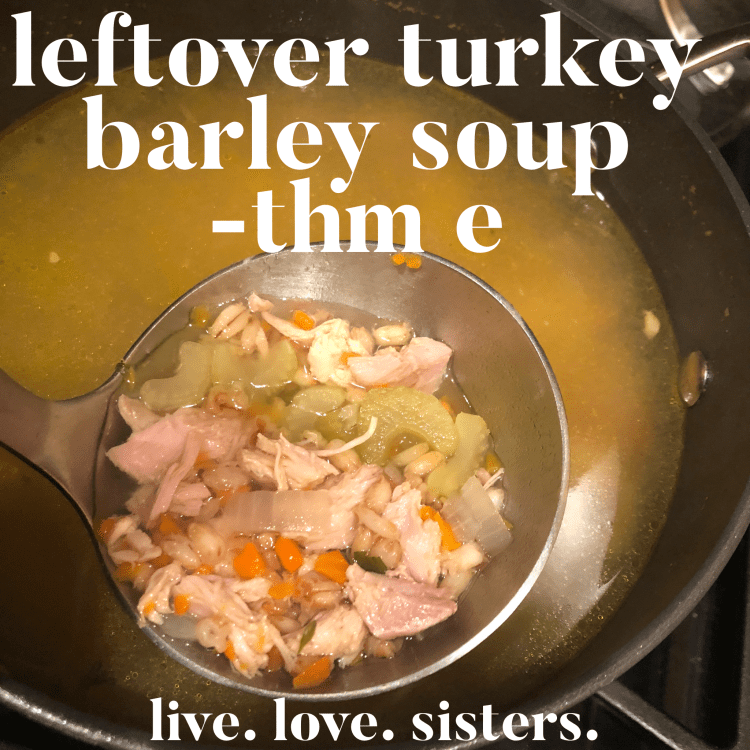
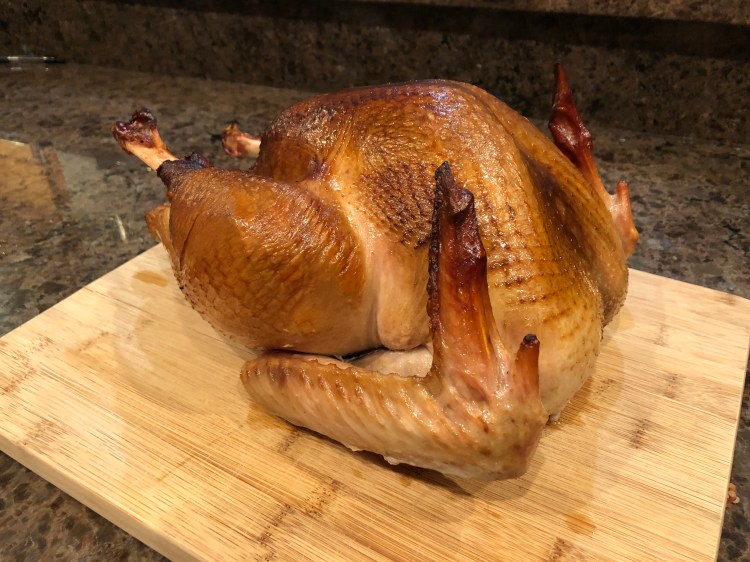
Thanksgiving is a time of leftovers! My husband loves to make a whole turkey, and not only during the holidays! So I have gotten creative about the leftovers into sandwiches, and casseroles. But this year I did something different. He made a practice turkey before thanksgiving and so we have a boatload of leftovers. After we carved the turkey, I picked the carcass of extra meat, which is often something I’d use in a casserole, or as a side with my breakfast, and thought I could easily toss these bits into soup!
Here’s what I made:
Recipe:
3 cups cooked turkey pieces (could be chopped, but I used the pieces I picked from the carcass)
2 (16oz) boxes of chicken or vegetable broth
1 tsp parsley flakes
1/4 tsp black pepper
salt to taste
1 cup chopped onion
1 cup chopped celery
1 cup sliced carrots
1/4 pearled barley
Directions-
Toss everything in a large saucepan and bring to a simmer. The barley takes some time, so it will have to simmer for about 45 minutes. Then toss in the turkey pieces. By adding the turkey last, it will keep it moist! Nobody wants dry turkey! Let simmer another 10 minutes to warm the turkey and let it soak in some flavors. Then enjoy!
THM E meals are low fat, healthy carb meals. Because of this, white meat is best. Most of the bits I picked off our turkey carcass came from the breast, right off the rib cage, but I did have some dark meat in there. Overall, the soup is not fatty since the broth is 0 g fat as well.
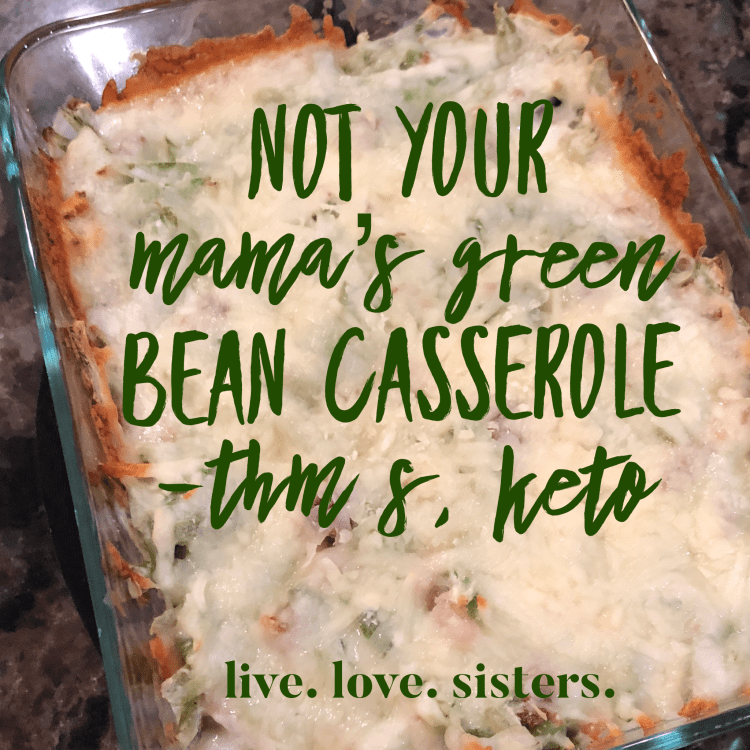
I love traditional green bean casserole. But I’ve got two problems with the recipe. My better half won’t eat mushrooms, and I don’t like using canned soup as an ingredient. My heart is a purist, meaning only eating whole foods that are unadulterated, but at my head is Drive-Thru-Sue who wants meals to come fast and easy! These are trim healthy mama lingo to describe our cooking and eating tendencies. Being that I’m stuck somewhere in between, I look for easy recipes made with real ingredients. Like this one!
Recipe:
1 bag (16oz) frozen green beans
4 ounces 1/3 less fat cream cheese – softened
1/2 cup half and half
1/2 cup bacon bits
1/4 cup grated Parmesan cheese
1 tsp onion powder
1 tsp garlic powder
1/2 tsp salt
1/2 tsp Black pepper
1/2 cup shredded mozzarella cheese or cheddar cheese!
Soften the cream cheese, and stir in the spices, grated Parmesan and half and half until smooth.
Stir in the beans and bacon bits and coat in the mixture.
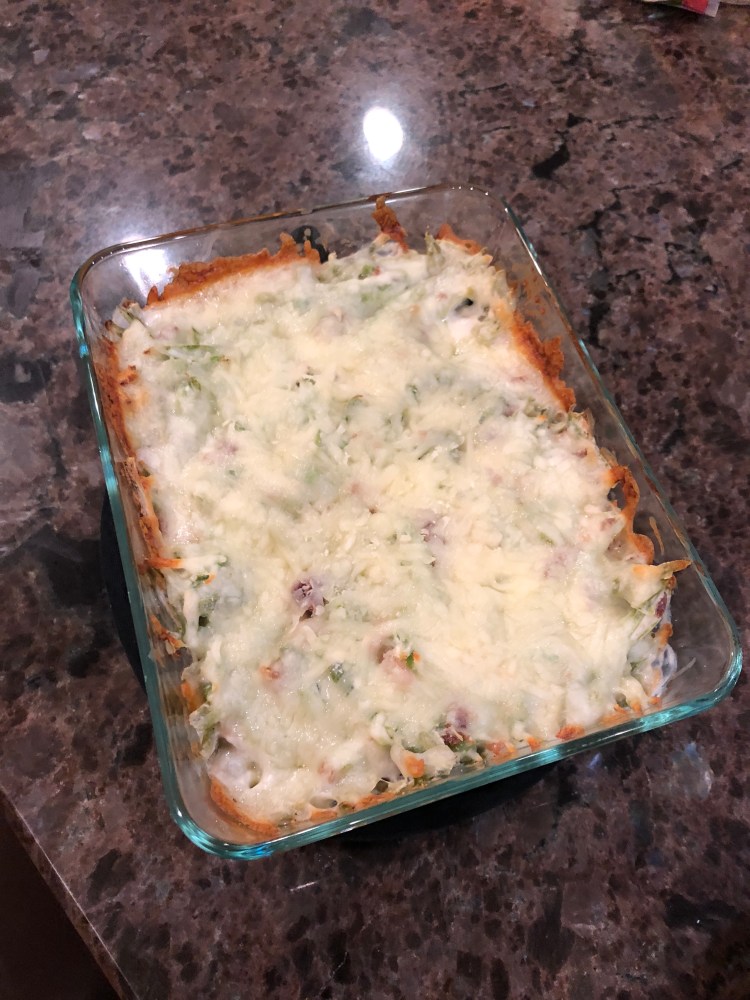
Pour the coated beans into a lightly greased 8×8 dish and bake on 375 for 40 minutes.
Top with shredded mozzarella or cheddar and bake another 10-15 minutes until melted and bubbly. Pictured here is mozzarella- I made this for Thanksgiving with Cheddar and it was such a hit!
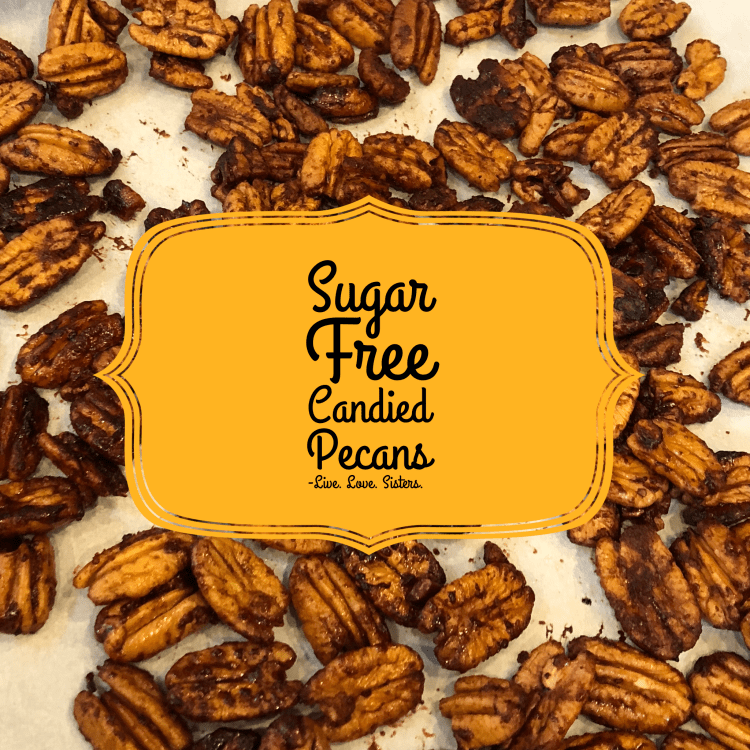
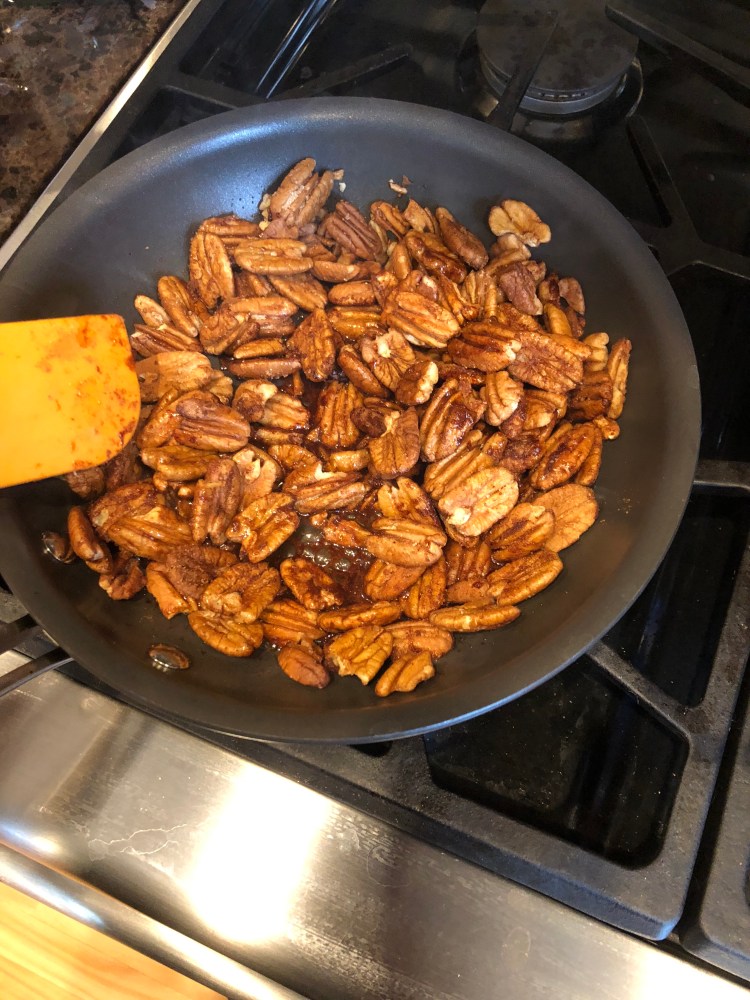
I just love the smell of those candies roasted nuts at the county fair and baseball games. But knowing they are coated in cane sugar, makes them less appealing. I made this recipe with the intention of using them to top salads, eat as snacks, and to use as a topper to my sweet potato casserole for thanksgiving this year!
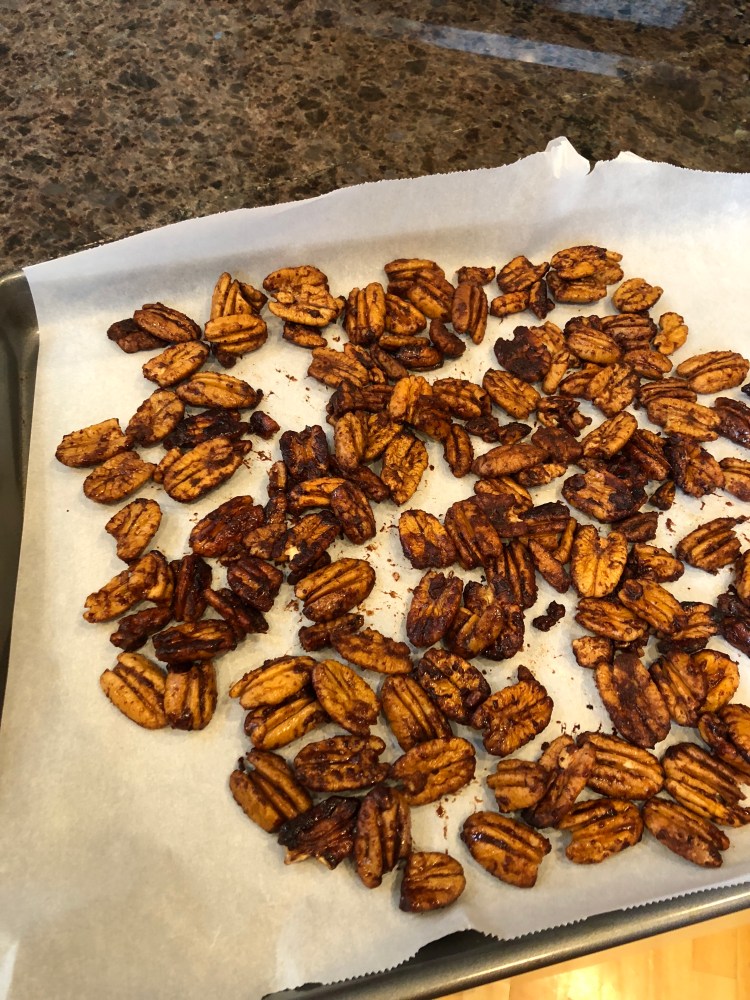
Melt the butter in a skillet, and add all the other ingredients. Constantly stir the mixture so it doesn’t burn. When all the pecans are coated evenly, transfer to a cookie sheet lined in parchment paper.
Allow to cool. If you desire more crispy-ness you can pop them in the oven at 350 for 10-15 minutes. Then allow to cool.
Use them as a snack. Or as a topping for salad! Or, as a topping for your sweet potato casserole!
Combine all ingredients in blender. Enjoy whole milk kefir as an S or fat-free milk kefir as a FP.
If you ferment your own kefir and you’re in the mood for something that tastes a bit naughtier, make Pumpkin Cheesecake Kefir Fluff by first draining off the whey from your double fermented whole milk kefir, so only the thick “kefir cheese” remains. Add 8 ounces of cream cheese to the above ingredients. Blend, adjust stevia and spice flavor to taste, and pour into fancy little serving bowls. This is a great way to get your indulgent dessert fix without the fuss of making a cheesecake, PLUS you get the probiotics your body needs as you head into the cold months and the holiday season.
*How to double ferment homemade kefir: After your milk and kefir grains have stood on the counter 12-24 hours and you have strained the resulting kefir, simply pour the kefir (without the grains) in a clean jar, screw on a tight-fitting lid, and leave it on the counter for another 12-24 hours. The whey and kefir will usually separate; thick kefir cheese is a great substitute for cottage cheese in no-bake recipes (heat kills good and bad bacteria indiscriminately), or you can use both the whey and kefir in smoothies.
How to double ferment store-bought plain kefir: Just leave it out on the counter overnight with a tight-fitting lid. It probably won’t get as beautifully thick as the homemade kind, but it will still provide your gut with good flora that your body needs.
Lauren Ottwell is a newlywed who lives just around the corner from Laura; she received the Trim Healthy Mama cookbooks as a wedding gift, and her husband has lost 30 pounds in their first 5 months of marriage! (Yes, she feeds him more than bread and water.)
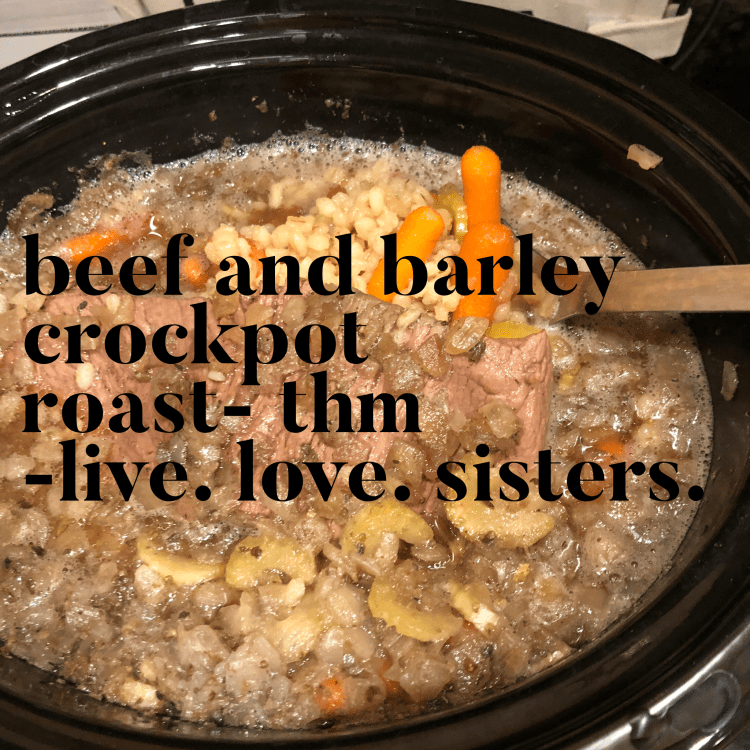
Winter is here! It snowed all weekend and I was wanting to make our house smell warm and cozy! Ive made this stew before, and my husband always asks for more! This recipe can be modified to be THM-E, THM-S, THM-XO or even THM – Deep S! Modifications are at the bottom!!
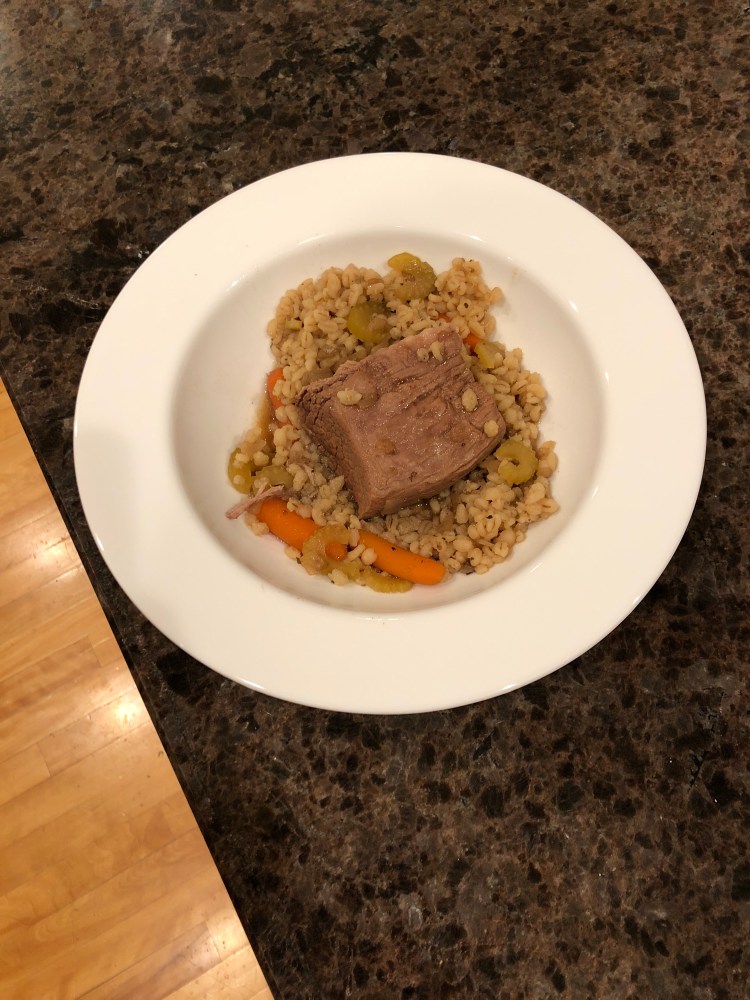
As it is written, this roast is THM-XO, meaning its a blend of carbs and fats which is not ideal for weight loss. This meal is best for pregnant and nursing mothers, growing children, folks at goal weight, husbands, and on occasion for those in weight loss mode! Pictured here is the modification for THM E!
Recipe:
3 lb beef roast
2 Cups Baby Carrots
1 Cup chopped Celery
1 Cup Frozen Seasoning Blend
2 Boxes (32 oz each) beef broth
1 Cup Pearled Barley
2 Garlic Gloves
1/2 tsp mineral salt
1/2 tsp black pepper
2 tsp oregano
1 T olive oil
2 Tbsp Just Gelatin
Instructions-
Heat oil in a large skillet and sear all sides of the roast- this seals in the moisture and flavor!
Place chopped celery, seasoning blend, seasonings, carrots in crockpot. Set the seared beef on top. Pour the broth (cold is fine!) right over top everything, saving 1/2 a cup aside. Stir in the pearled barley.
Mix the just gelatin and the reserved broth together until smooth and pour on top.
Cook on low for 6-8 hours.
Modifications:
For THM- E meals- do not sear the meat in oil and chose a lean cut of beef for the roast. Rump roasts, eye of round roasts, and eye of round roasts are the best choices for lean beef roasts. These typically have 4-5gm fat per serving when fat has been trimmed. You may have to trim a bit of fat before you start cooking. Beware, the lean cuts of meat are not as tender as the fatty cuts. But its still delicious! These meats are less tender, so slicing in thin slices will help!
For THM- S meals- eliminate the carrots and the barley. Serve this roast over Trim Healthy Noodles from the Trim Healthy Mama Store, or Dreamfields pasta. You can reduce to 1 box of beef broth since you wont have any barley to absorb the liquid. A Chuck roast, Pot roast, or Chuck Roll roast are marbled making them great for the S setting and quite tender!
From THM Deep S meals- Eliminate carrots and the barley. Serve as a meat dish with a side salad- (you can even use some of the juices from the roast for salad dressing! Its good!) You can reduce to 1 box of beef broth since you wont have any barley to absorb the liquid. A Chuck roast, Pot roast, or Chuck Roll roast are marbled making them great for the S setting and quite tender!
My husband and I started having babies as soon as we got married. When we got married I weighed around 150 pounds ( I am 5’7″). I was 23 when my first baby was born, and I suffered terrible Hyperemesis (a condition of severe nausea, vomiting and dehydration), I was in the hospital several times for dehydration. My OB GYN was a sweet little Indian lady whose philosophy was “fatter the better, take it easy, no exercise”. Granted, first babies are typically the biggest, but, eating a pint of brownie fudge ice cream didn’t help either. I had gained 70 pounds with my first baby, and she came along at a nice 9lbs 8 oz . After she was born, I lost 20 pounds, and then gained ANOTHER 70 lbs when my second baby came around 18 months later. I was a well rounded size 18 for quite a while.
Baby #1 at 7 months pregnant. Total gain 70 pounds
Over the course of 3 years, I had lost the weight and gotten down to a slim 165 (not far from my goal weight). Then SURPRISE! Baby #3 was coming and my new OB (we had moved to a different state) told me to only gain 20 pounds… when I asked her how to do that she said… “just don’t eat very much”. But I was HUNGRY all the time, especially in that last trimester, I remember longing for the days when I didn’t have to eat every 2 hours! I had become a runner in my 3 years between babies, and exercised a lot. I had figured out that exercise helps with morning sickness and if I could keep my blood sugar steady even in the night, my morning sickness wouldn’t be so terrible. I decided to buy Oreo’s and eat three or four in the middle of the night, and another handful in the morning before I got up. This would only spike my blood sugar, rather than keeping it nice and even. By the time we received news of baby #4 arriving soon, I had discovered that almonds helped more than Oreo’s at stabilizing blood sugar.
Post Baby #4 – he was c-section, so I was pretty swollen. weight gained 45 pounds
When, our son Admiral was 3 months old, I discovered Trim Healthy Mama. I had started this way of eating and managed to loose the baby weight – about 30 pounds. When he was just over a year, we decided we wanted to try for baby #5. That was the best pregnancy ever, because I had been a Trim Healthy Mama for a while, I could effectively manage my hyperemesis, and that pregnancy I had only gained 20 pounds ( and even lost 5 pounds right at the end) … and my doctor was IMPRESSED!
Day after Baby #5. I left the hospital almost at my starting weight!
It is true , that each woman and each pregnancy is different, this is my story. Some women need to gain 20 pounds – that’s great! . Some women need to gain 30 and that’s alright! Some only need to gain 10 and that’s OK too! That is what is wonderful about Trim Healthy Mama. It helps you be your best you for yourself and your baby. Its real food, no special pills, shakes, supplements required (although, some are just helpful and fun).
THM TIPS for pregnancy:
1: Collagen is your best friend – Keeping your blood sugar at a nice even level is key to keeping morning sickness under control. I would make myself a cup of coffee ( I limit myself to 1 cup of coffee a day) first thing with collagen and sip on it until the nausea went away long enough to eat real food! I like to order this one from Amazon, it is the best bang for your buck and dissolves nicely with no clumps.
2. Exercise when you can. Exercise is good for mom and her growing baby. Don’t over do it, you don’t have to run a mile everyday, just take some nice brisk walks to help keep morning sickness under control and weight gain down.
3. Lara Bars – They are a great crossover snack to stash in your purse or your car to have on hand. The extra fiber helps keep you from getting constipated. Just pair with a nice hot drink and some collagen to make sure you get enough protein.
4. Eggs and sprouted toast- This was the best thing for me when I was pregnant. I usually needed an S helper or crossover breakfast. Eggs were perfect because the thought of meat made my stomach turn. I think I ate this meal every day, its quick and easy and great for balancing blood sugar.
5. Drink plenty of water – everyone says this right? Its so true though that hydration keeps the nausea away. You could add some lemon or berries to the water, or you could add some baobab and stevia for a nice boost of vitamin C. I like this for some added electrolytes (Beyond Raw Chemistry Labs Electrolytes)
6. Good Girl Moonshine – something about the Apple Cider Vinegar helps control nausea and keep your electrolytes up. If you add the Ginger you get the added benefit for nausea.
7. Kefir – Oh how I love kefir. It is amazing and loaded with calcium, probiotics and folic acid, which is super important for a growing baby. Its a great drink to have before bed, because it has some protein too.
8. Secret Big Boy Smoothies – Found in the Trim Healthy Mama cookbook, these shakes have a secret ingredient that help you get plenty of veggies ( mainly okra) that are loaded in folic acid and a great alternative when you have an upset stomach.
9. Cross Overs are your friend – Its OK to have 1 or 2 cross overs during pregnancy. Your body needs the carbs fat and protein. So don’t feel guilty, the time for separating fuels will come, but no is the time to relax and enjoy.
10. NEVER RUN OUT OF CHOCOLATE – This is just plain common sense when you having raging hormones, for the love of your HUSBAND- don’t run out of chocolate!
My Babies: Amelia, Adalee, Azriel, Admiral and Annaliese
“Dieting”- this word has become the bane of my existence! Constantly jumping from one diet to another just to drop a couple pounds and gain it back before jumping on another diet. This is no way to live. From this I have discovered the Trim Healthy Mama approach to LIVING- not dieting! This approach gives you the freedom to eat all food groups and only eliminate one thing from your life- simple carbs. NOT all carbs, just the ‘simple’ carbs (like white sugar, white flour and white rice). Let me break it down for you- any carbohydrate that is broken down rapidly, raises blood sugar levels and your body is suddenly forced to deal with these high levels, which often leads to storing fat! But eating complex carbs (carbs that take longer to digest like quinoa, brown rice, sweet potatoes) don’t cause such a spike in blood sugar and result in fat storage. This is just the preview, you’ll have to read the book to get a better understanding which you can buy at the Trim Healthy Mama Store, or Amazon (using these affiliate links–which we appreciate!) or check it out at your local library!
This approach is often called “Low Glycemic Impact Eating” because you are not causing big surges in your blood sugar levels. There are also other books on the topic, but we love the Trim Healthy Mama approach and have stuck with it! Check out our post Beginners Bingo! Trim Healthy Mama, Low Glycemic Impact to help you get started! One of the best things about this plan, is when you eat something you shouldn’t have, in most “diets” you have just ruined the day and prepare the backslide! But with the Trim Healthy Mama Lifestyle, you just get back on track 3 hours later. Self forgiveness- is a beautiful thing. Check out our post Gettin’ Back “On the Wagon” for tips and advice for when you’ve struggled!
But why I’m actually posting today is to call on you! You who are frustrated, or have been on Trim Healthy Mama for a long time, who have recipes you can’t live without but include bad-for-you ingredients. Send them to us! We’d love to support you, and modify your recipes to make them the Trim Healthy Mama way!
This sipper is amazing, and packs an awesome “punch”. My girls named it “Ninja Warrior” in honor of our good friend LJ. This sipper is great for warding off colds, flu and virus, but also, the optional ingredients help you focus and stay calm. I love making with the optional ingredients for my kids in the morning before school. Plus its a much healthier alternative to sugar filled gelatin drinks and has a nice berry flavor , or it can be and elegant drink for you girls get together. So Yummy!
For the Juice ( Makes a 2 qt. pitcher)
1 TBSP Elderberry syrup
1-2 TBSP Baobab Powder
Stevia or sweetener to taste
2 quarts of water
(Optional: You can add 1 serving of the “Focus Attention” powder from Natures Sunshine to each glass prior to serving and stir. The Elder berry blends nicely with the raspberry flavor of the Focus attention – this is the ninja warrior element)
This is the Elderberry Syrup we use. We chose this syrup because many of these syrups are filled with sugar but this one is not. However, it does have 2 carbs in it due to the natural sweetness of elderberries. Its also an organic syrup, which makes us feel good about not putting dded chemicals into our bodies.
Baobab powder is the dried flesh of the fruit from the Baobab tree. Its an incredible source of vitamins and minerals. Don’t be afraid! Its low carb, and tastes like citrus! We buy ours here, from Trim Healthy Mama! Its the best value for a stellar product.
For the Punch:
Make the juice above. Fill a quart sized jar with ice and pour 1/2 of the way full with Juice. Top with a lemon La Croix (or other flavor).
We like to add frozen berries to make it look fancy.
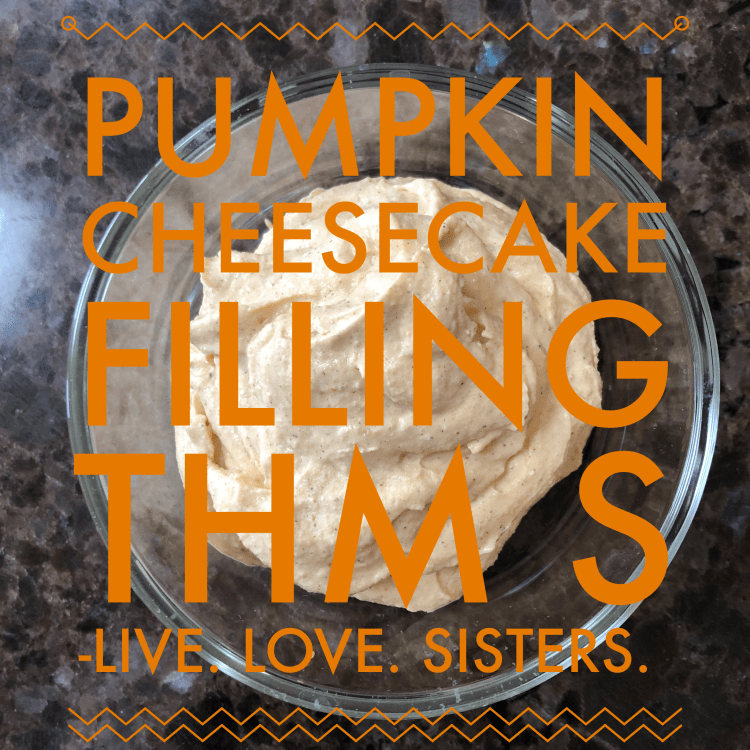
This cheesecake filling hits the spot when you want something sweet and fall-inspired! Its protein packed, and low carb. You can use it as a dip with celery sticks, eat it plain for a desert or even a breakfast. The addition of whey protein makes this enough to fill you up like a meal!
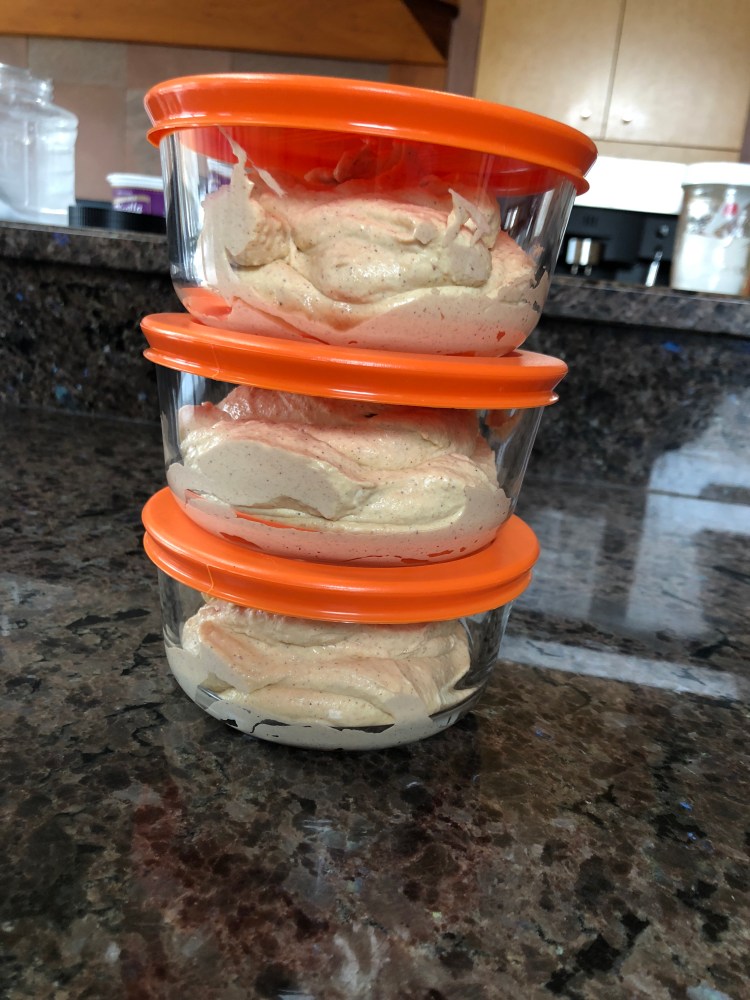
Put everything except the gelatin and whey in the blender and blend until smooth. Slowly add the gelatin and the whey and blend until smooth. Scoop into dishes, and chill for 2 hours. Makes 3-4 servings.
Just Gelatin, Super Sweet Blend and Unflavored Whey can all be bough on the Trim Healthy Mama Store. I choose their products because the price compares to other brands and they are well vetted products! These affiliate links help keep us bringing recipes you. thanks for using them!
 Here’s a fun addition to impress your guest at your holiday feasts, the best part is that its super easy!

 Shape into a small circle, this becomes the middle of your rose. Continue to peel the butter and shape around working from the inside out. These become your petals. Alternate which sides you places the petals on.
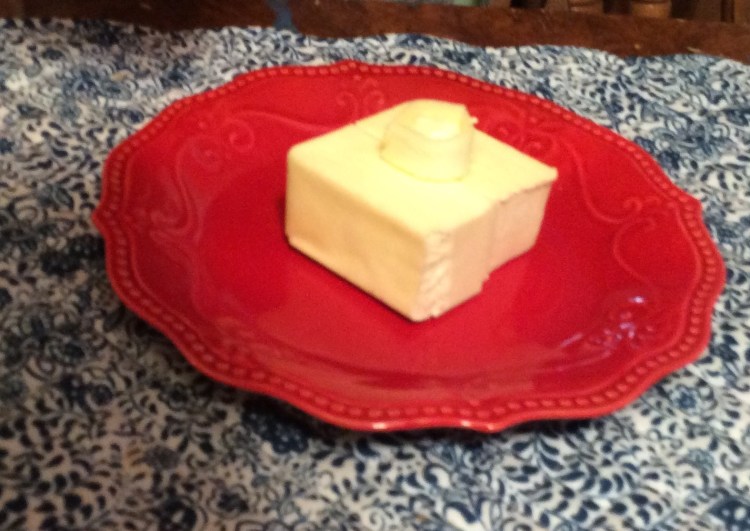


 Here’s what I made:
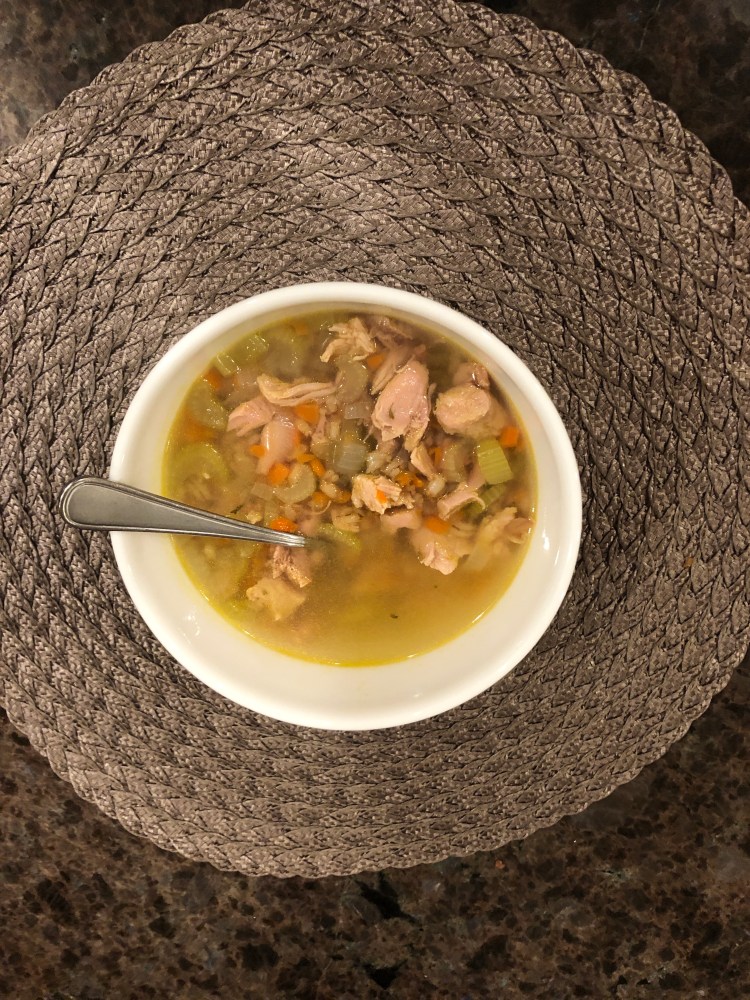

 My husband and I started having babies as soon as we got married. When we got married I weighed around 150 pounds ( I am 5’7″). I was 23 when my first baby was born, and I suffered terrible Hyperemesis (a condition of severe nausea, vomiting and dehydration), I was in the hospital several times for dehydration. My OB GYN was a sweet little Indian lady whose philosophy was “fatter the better, take it easy, no exercise”. Granted, first babies are typically the biggest, but, eating a pint of brownie fudge ice cream didn’t help either. I had gained 70 pounds with my first baby, and she came along at a nice 9lbs 8 oz . After she was born, I lost 20 pounds, and then gained ANOTHER 70 lbs when my second baby came around 18 months later. I was a well rounded size 18 for quite a while.


 This sipper is amazing, and packs an awesome “punch”. My girls named it “Ninja Warrior” in honor of our good friend LJ. This sipper is great for warding off colds, flu and virus, but also, the optional ingredients help you focus and stay calm. I love making with the optional ingredients for my kids in the morning before school. Plus its a much healthier alternative to sugar filled gelatin drinks and has a nice berry flavor , or it can be and elegant drink for you girls get together. So Yummy!