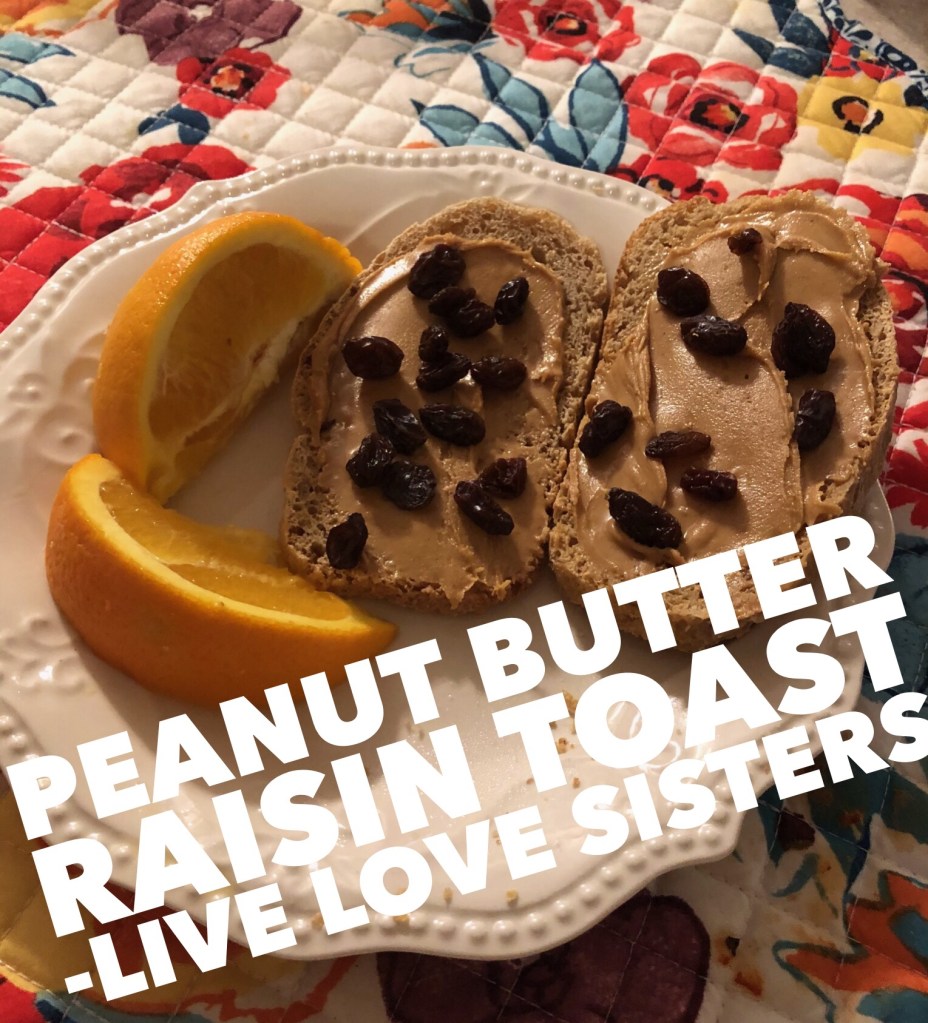
This recipe was invented by my creative 5 yr old. It has been a quick easy breakfast in our house ever since its inception. . We love to eat with some Greek yogurt or a kefir smoothie to round out the protein for a nice combination of fats and carbs for growing kids.
Toast two slices of sourdough or sprouted bread. Spread a nice thick layer of natural/ sugar free peanut butter and top with a sprinkle of raisins.
The greatest advantage of owning an instant pot, in my opinion, is the ability to have a slow cooker prepared meal in a fraction of the time. Most of the time I am a fly by the seat of my pants kind of gal and I don’t think to prepare a meal in the morning that we will eat at dinner time. adding an instant pot to my kitchen, has made it possible for my family to enjoy a big crock of soup or stew that was prepared in about 30 minutes rather than all day.
This is a soup my husband loves, and with the instant pot I am able to throw it together in about 30 minutes without spending all 30 minutes in the kitchen. You still put all the ingredients into the pot and walk away, as you would a crockpot. However, it’s done just 30 minutes later.
Here’s the recipe
2 frozen chicken breasts
1/2 c chopped onion- see note
1/2 c chopped carrots -see note
1/2 c chopped celery – see note
1 tsp onion powder
1 tsp garlic powder
1Tbsp dried parsley
1 tsp mineral salt
1/2 tsp black pepper
1/2 c wild rice
1 c brown rice
2 quarts chicken broth
Instructions
Set your instant pot on pressure cook your settings. And add the rice +2 cups of water and pressure cook on high for 20 minutes. Then do a quick release.
Add the frozen chicken, vegetables and another cup of water then pressure cook again for another 10 minutes. Don’t stir it up. You want the chicken on top!
Do another quick release, and pull the chicken breast off the top and onto a cutting board. Allow them to cool enough for you to handle them while you add the rest of the ingredients into the pot and set the pot on to sauté mode. Using sauté mode will bring the broth up to temperature and combine all of the spices. Then roughly chop the chicken breast and put it back in the pot. When the broth is up to temperature the soup is ready to be enjoyed!
Notes
Every couple of weeks I buy fresh celery onions carrots bell peppers. I chop them up and make little Ziploc bag it’s ready to go for soups and other recipes. Some baggies I do onions, celery and carrots. and in some baggies I do onions, celery and bell peppers. In this recipe I just had to pull a bag of onions celery and carrots from the freezer which made this meal prep go very fast!
You’ll notice that the soup doesn’t have a ton of chicken in it. I confess, I am not the biggest meat eater. You could certainly increase the amount of chicken if you wanted more protein, or if you just like more chicken! 
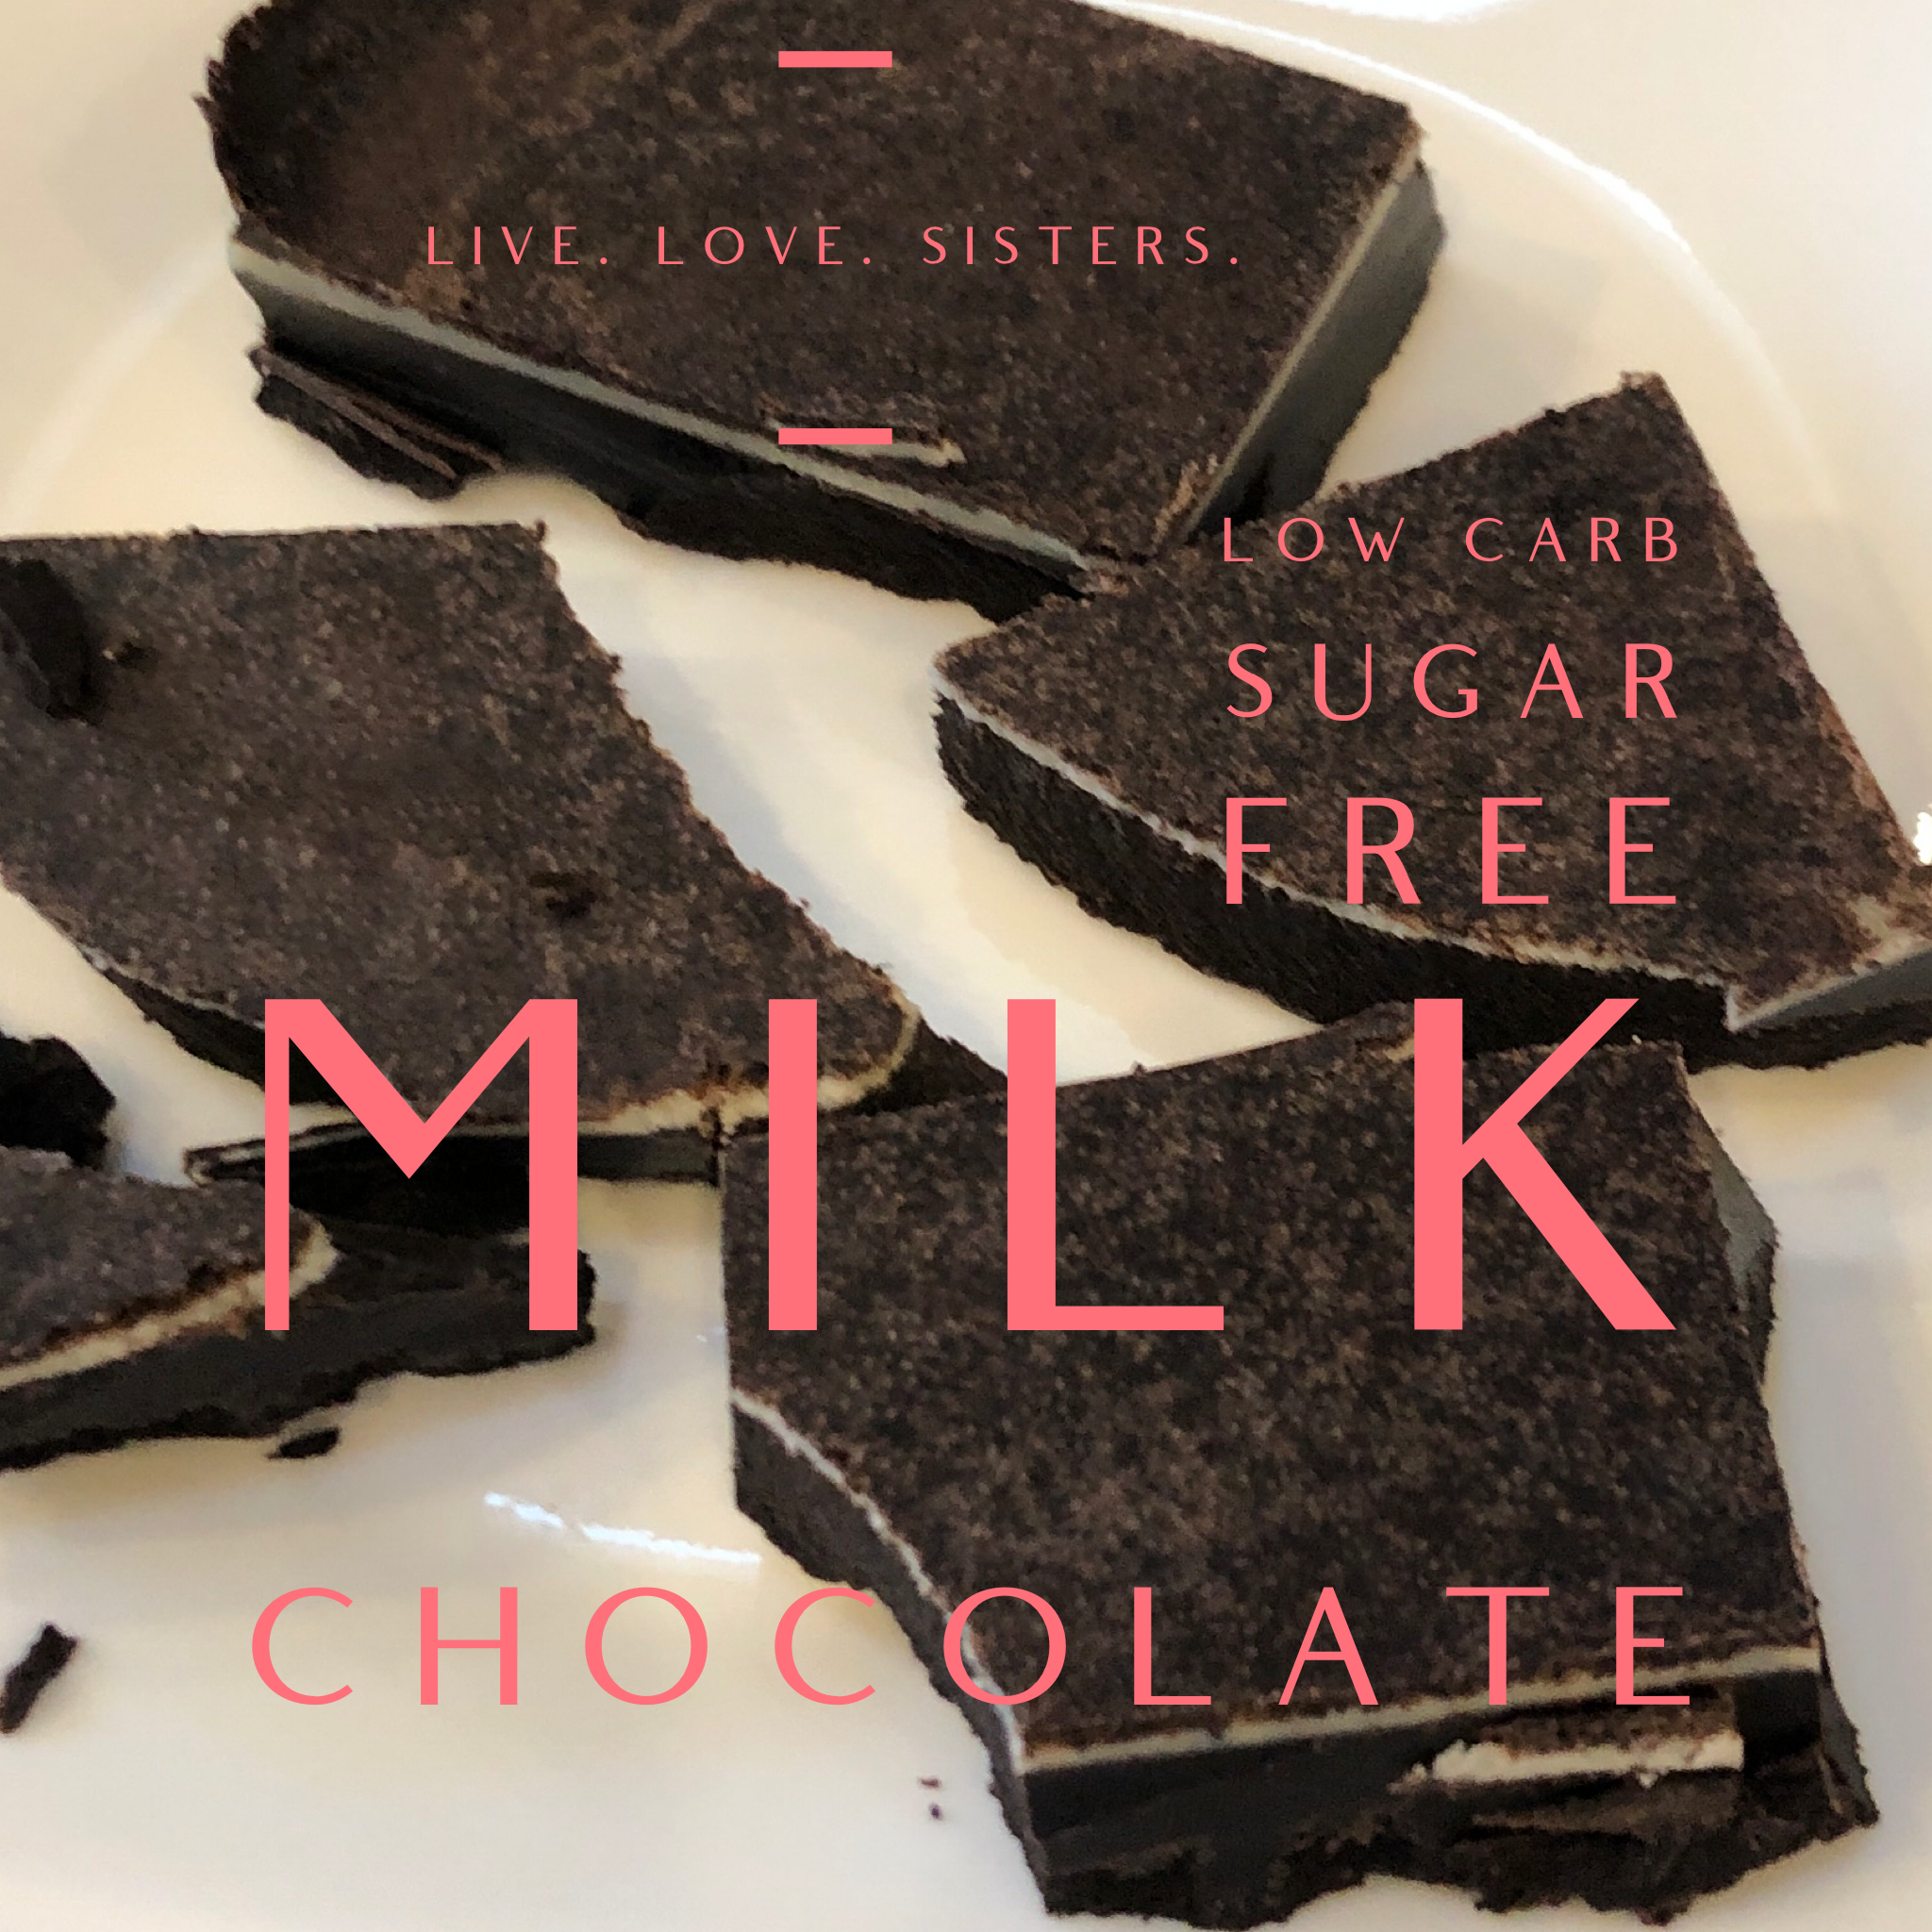
Over a year ago, I posted a copycat original Lillys chocolate recipe. This recipe is 100% on plan for trim healthy mamas, compared to the actual lilies chocolate you buy in the store which does have some off plan ingredients. At that time I still the beans that I have been tinkering around with a milk chocolate recipe. Making milk chocolate is no joke! I have ruined many batches, but I have finally found one that I truly enjoy!
While this recipe doesn’t produce chocolate that looks perfect. It tastes quite good. Andy’s quite a bit cheaper here is my cost comparison.
Lilys chocolate bar is 3 ounces and costs 5.99
This is $1.99 per ounce!
On Plan milk chocolate recipe produces 11 ounces for the cost of $7.42
This is $0.67 per ounce!
Butter = $0.75
Cocoa Butter= $3.90
Cocoa Powder = $0.56
Stevia = $0.17
Super Sweet = $1.15
Pinches of salt = $0.01
HWC Powder= $0.79
Sunflower lecithin = $0.09
Now, this is subject to the prices of each item, so it will obviously change a bit from person to person depending on costs in your area. Sometimes Lilys goes on sale, so that drives down the lilys prices, but at some grocery stores it goes for 8$ a bar!
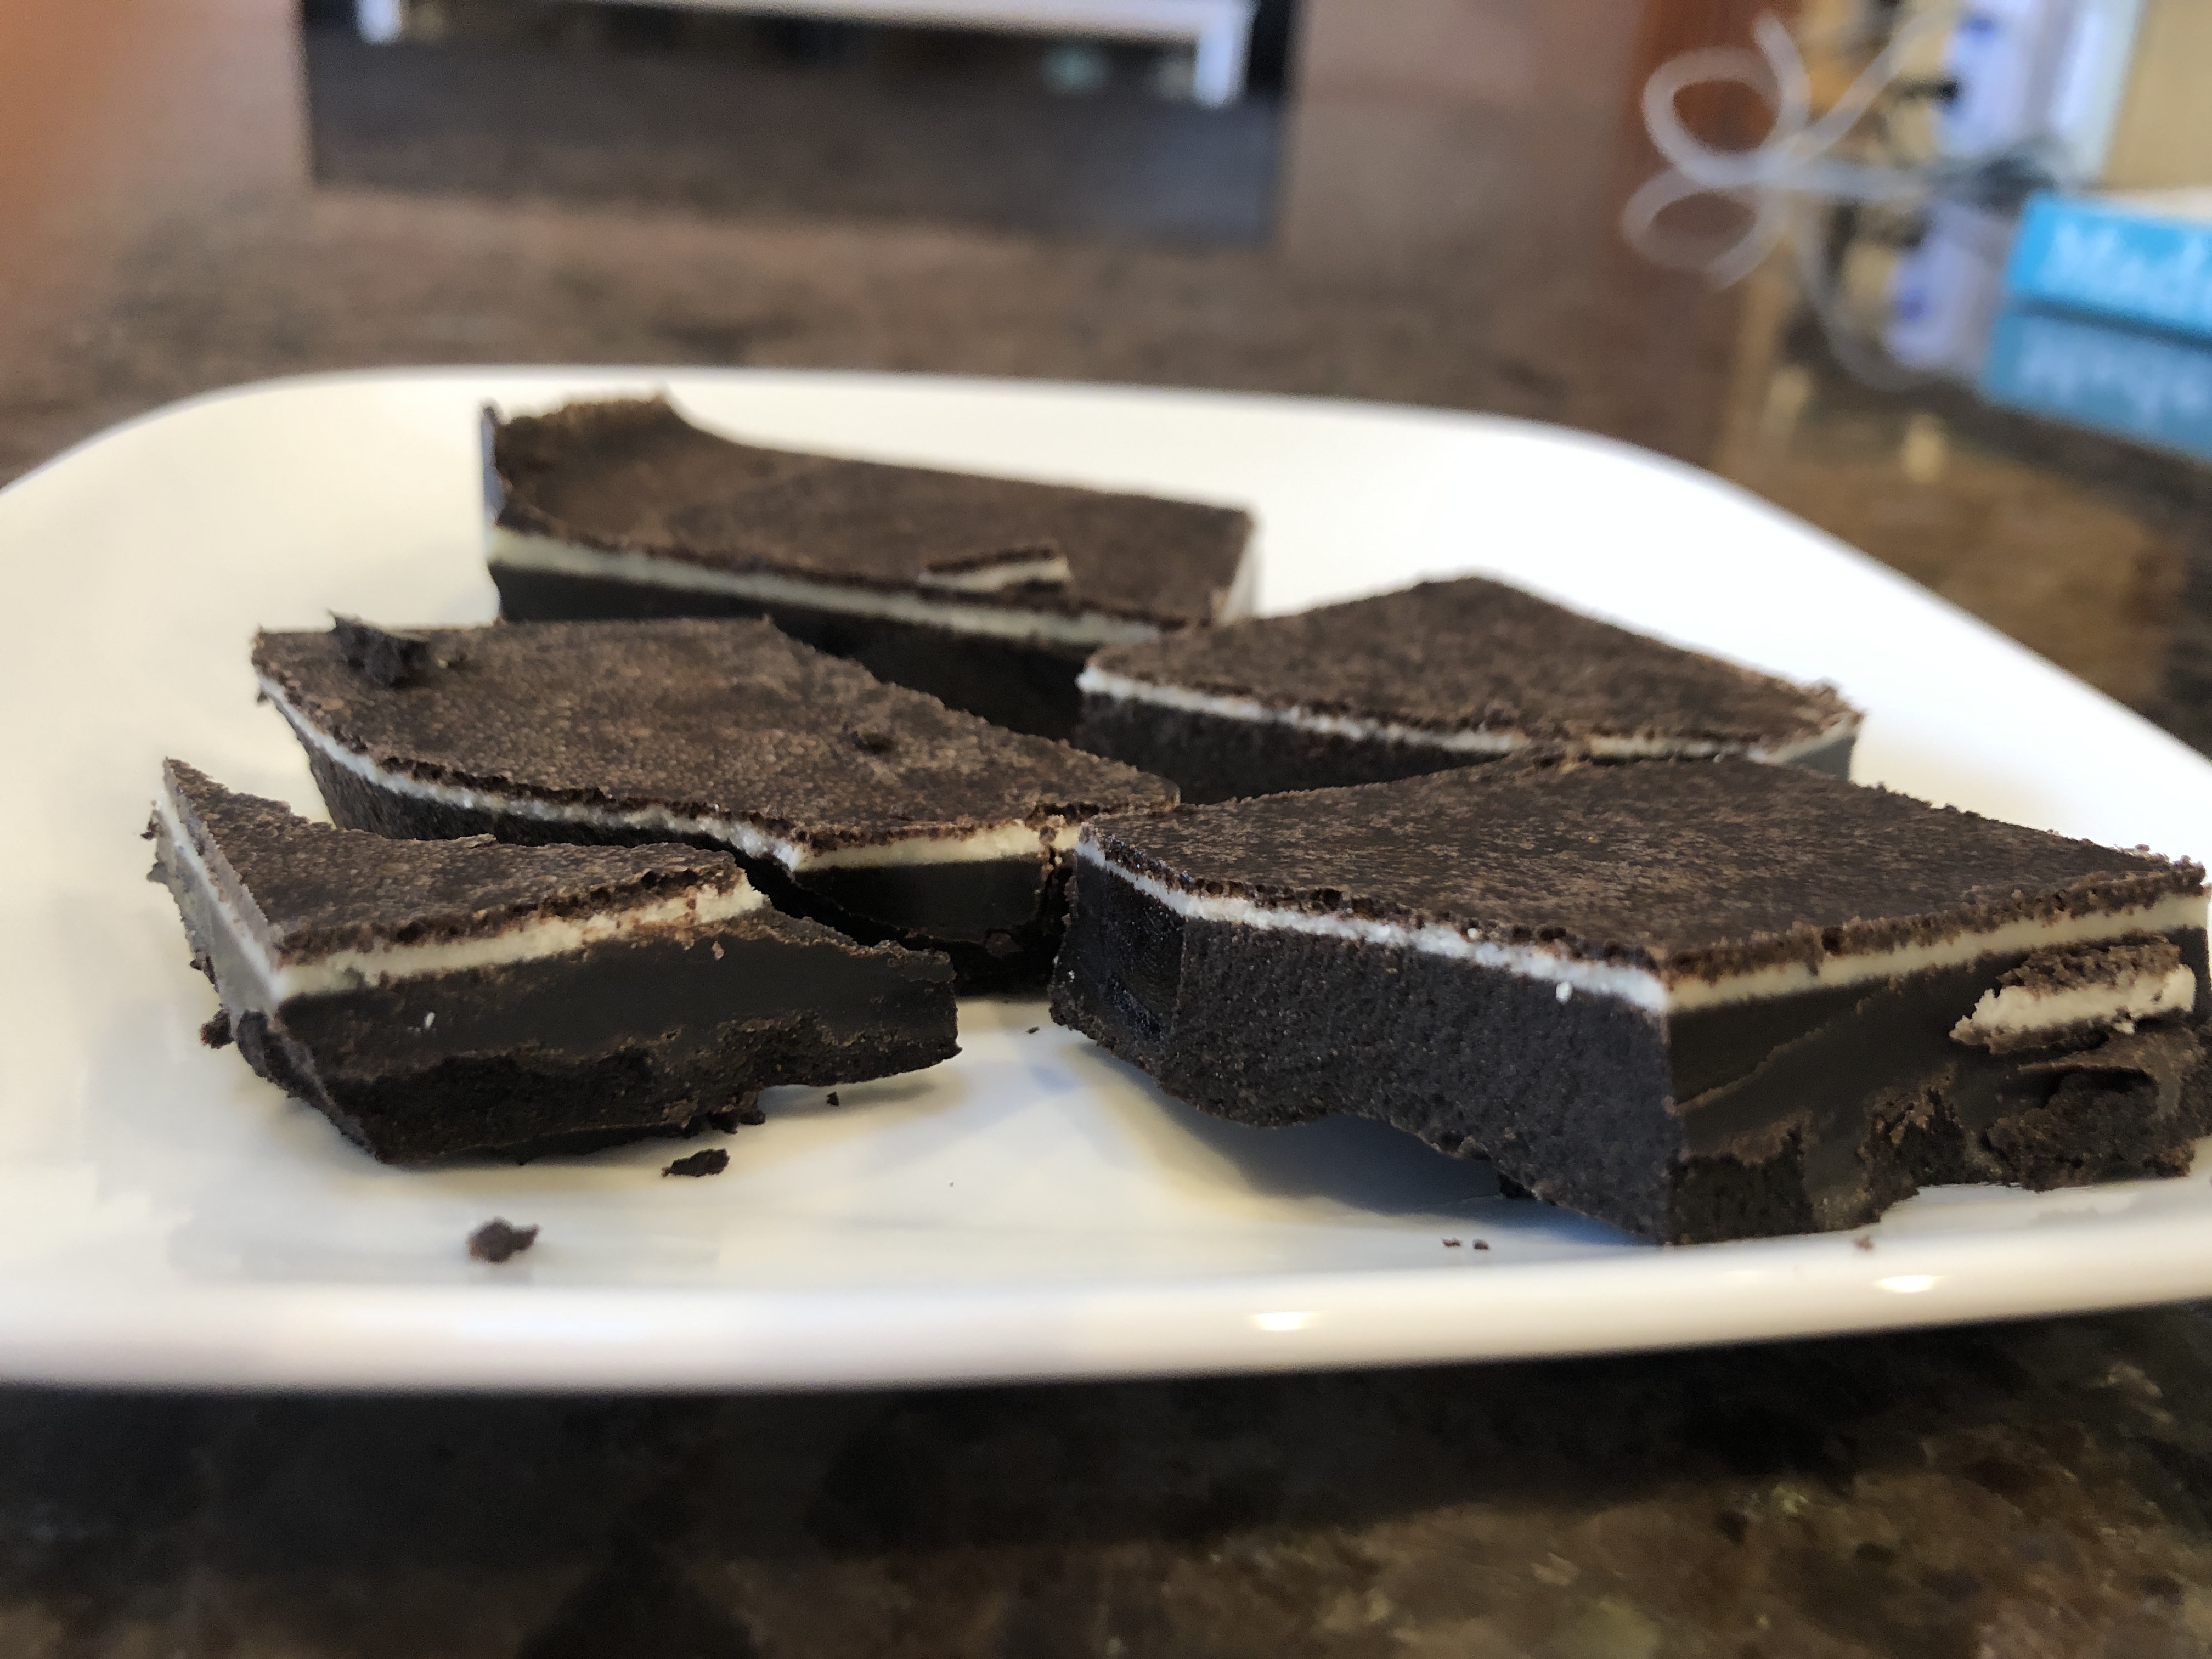
You could easily pour this recipe into cute little molds, but I don’t have any so I oftem use a mini muffin tin with mini muffin liners, but this time I just put parchment paper into a 9×9 pan, then cut the stuff into chunks. Man its tasty!
Heres the Recipe
5 ounces of cocoa butter (I have found that weighing the chunks outis the way to go, this is around ¾ c)
1/2c cocoa powder
3 TBSP super sweet
½ c butter
3 pinches of mineral salt
6 Tbsp heavy whipping cream powder
1.5 tsp sunflower lecithin
2 doonks of stevia
Melt the butter and the super sweet in a pan. You can accomplish this in a double broiler, or on the stove top on a super low heat with constant stirring. I use the stove top method and ask my husband to stand and constantly stir for me! You want to get the supersweet completely dissolved, until it starts to look and smell like candy. Then add the cocoa butter and continuously stir until it’s melted. At this point I switched to a whisk and sprinkle in all of the other powders. Continuously stirring until all of the powders are mixed. Then turn off the heat and pour it into molds, or a muffin tin with liners, or a parchment paper lined pan. Then send it in the fridge so it confirm up for a few hours.
You’ll notice in the pictures that the chocolate doesn’t look perfect. And there’s even a line of separation of some butter on the top. Like I said earlier it’s not the prettiest chocolate recipe out there. But just wait until you taste it!
You could add a teaspoon of various extracts to change up the flavors. I like to add in a teaspoon of coconut extract and a couple tablespoons of unsweetened coconut, which produces a chocolate very similar to day lilies coconut bar!
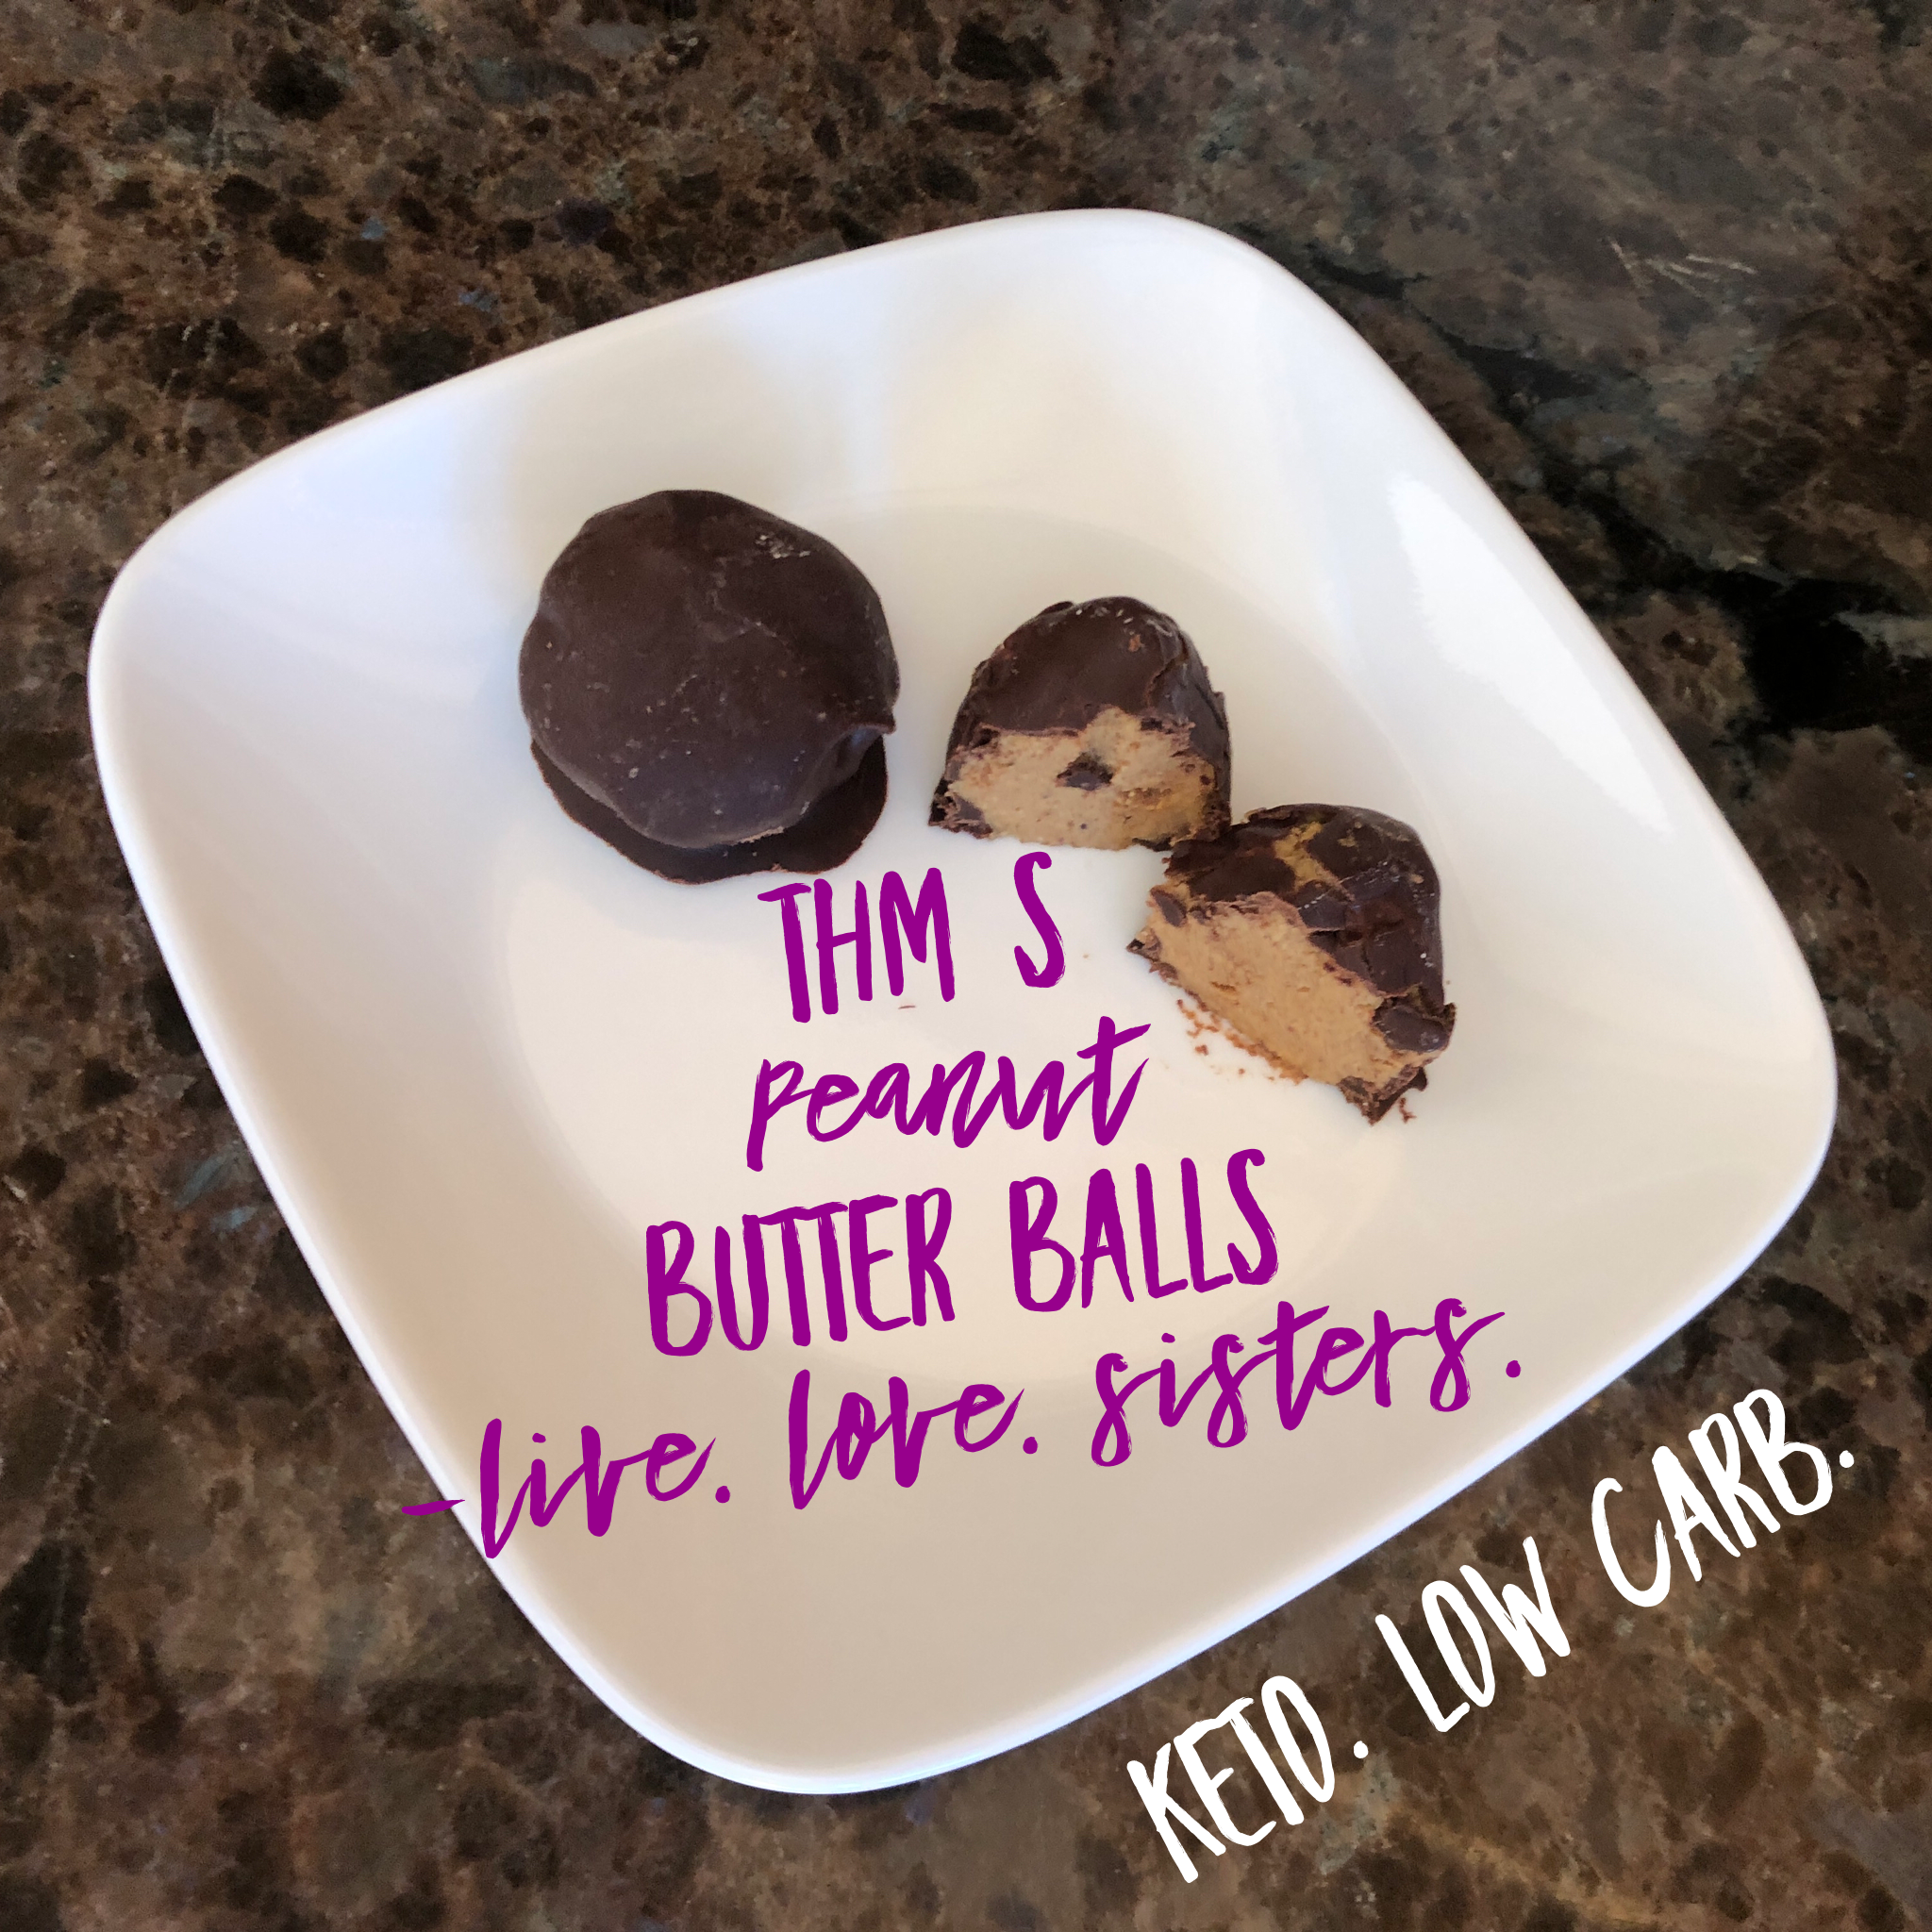
I love holiday treats. This year my husband wanted me to make peanut butter balls to take with us to all of our gatherings. The problem is those things are loaded with sugar. Most recipes call for a cup of powdered sugar or more. So I set out to make a recipe that I would enjoy and that wasn’t packed with sugar. What I love about this recipe is it doesn’t require a whole bunch of equipment and it comes together pretty quick.
Recipe
1/4 c Collagen
3 Tbsp THM Gentle Sweet or Truvia
1/4 c THM Baking blend (or use 2TBSP almond flour, 1 TBSP coconut flour and 1 tbsp ground flax
3/4 c natural peanut butter- no added sugar
2 tbsp melted butter
(you will need some sugar-free chocolate and coconut oil later in the recipe)
Mix these ingredients together and put the bowl in the fridge to firm up for about an hour. I find it easier to mix everything together if I melt the butter and the peanut butter in the microwave before adding the other ingredients.
Once they become firm in the fridge. Scoop them out by the tablespoon and form into balls. Placing them on parchment paper so that they will be easy to lift off. Then place them in the freezer for an hour or two.
1/2 c sugar free chocolate- I used Bake Believe
1 Tbsp coconut oil
Melt the chocolate and the coconut oil in the microwave and 30 second increments. Starting in between to ensure the chocolate doesn’t burn. Then take the frozen peanut butter balls out of the freezer and dip them in the chocolate placing them back on the parchment paper.
Then stick them back in the freezer for another hour or two. Once the chocolate is set you can put them into a zippy bag and in to the fridge for storage so they don’t melt!
These are an awesome treat to keep around to curb your cravings since they are mostly peanut butter and collagen they have enough protein to be a snack.
The snack is THMS, but does not qualify as deep s because of the peanut butter.
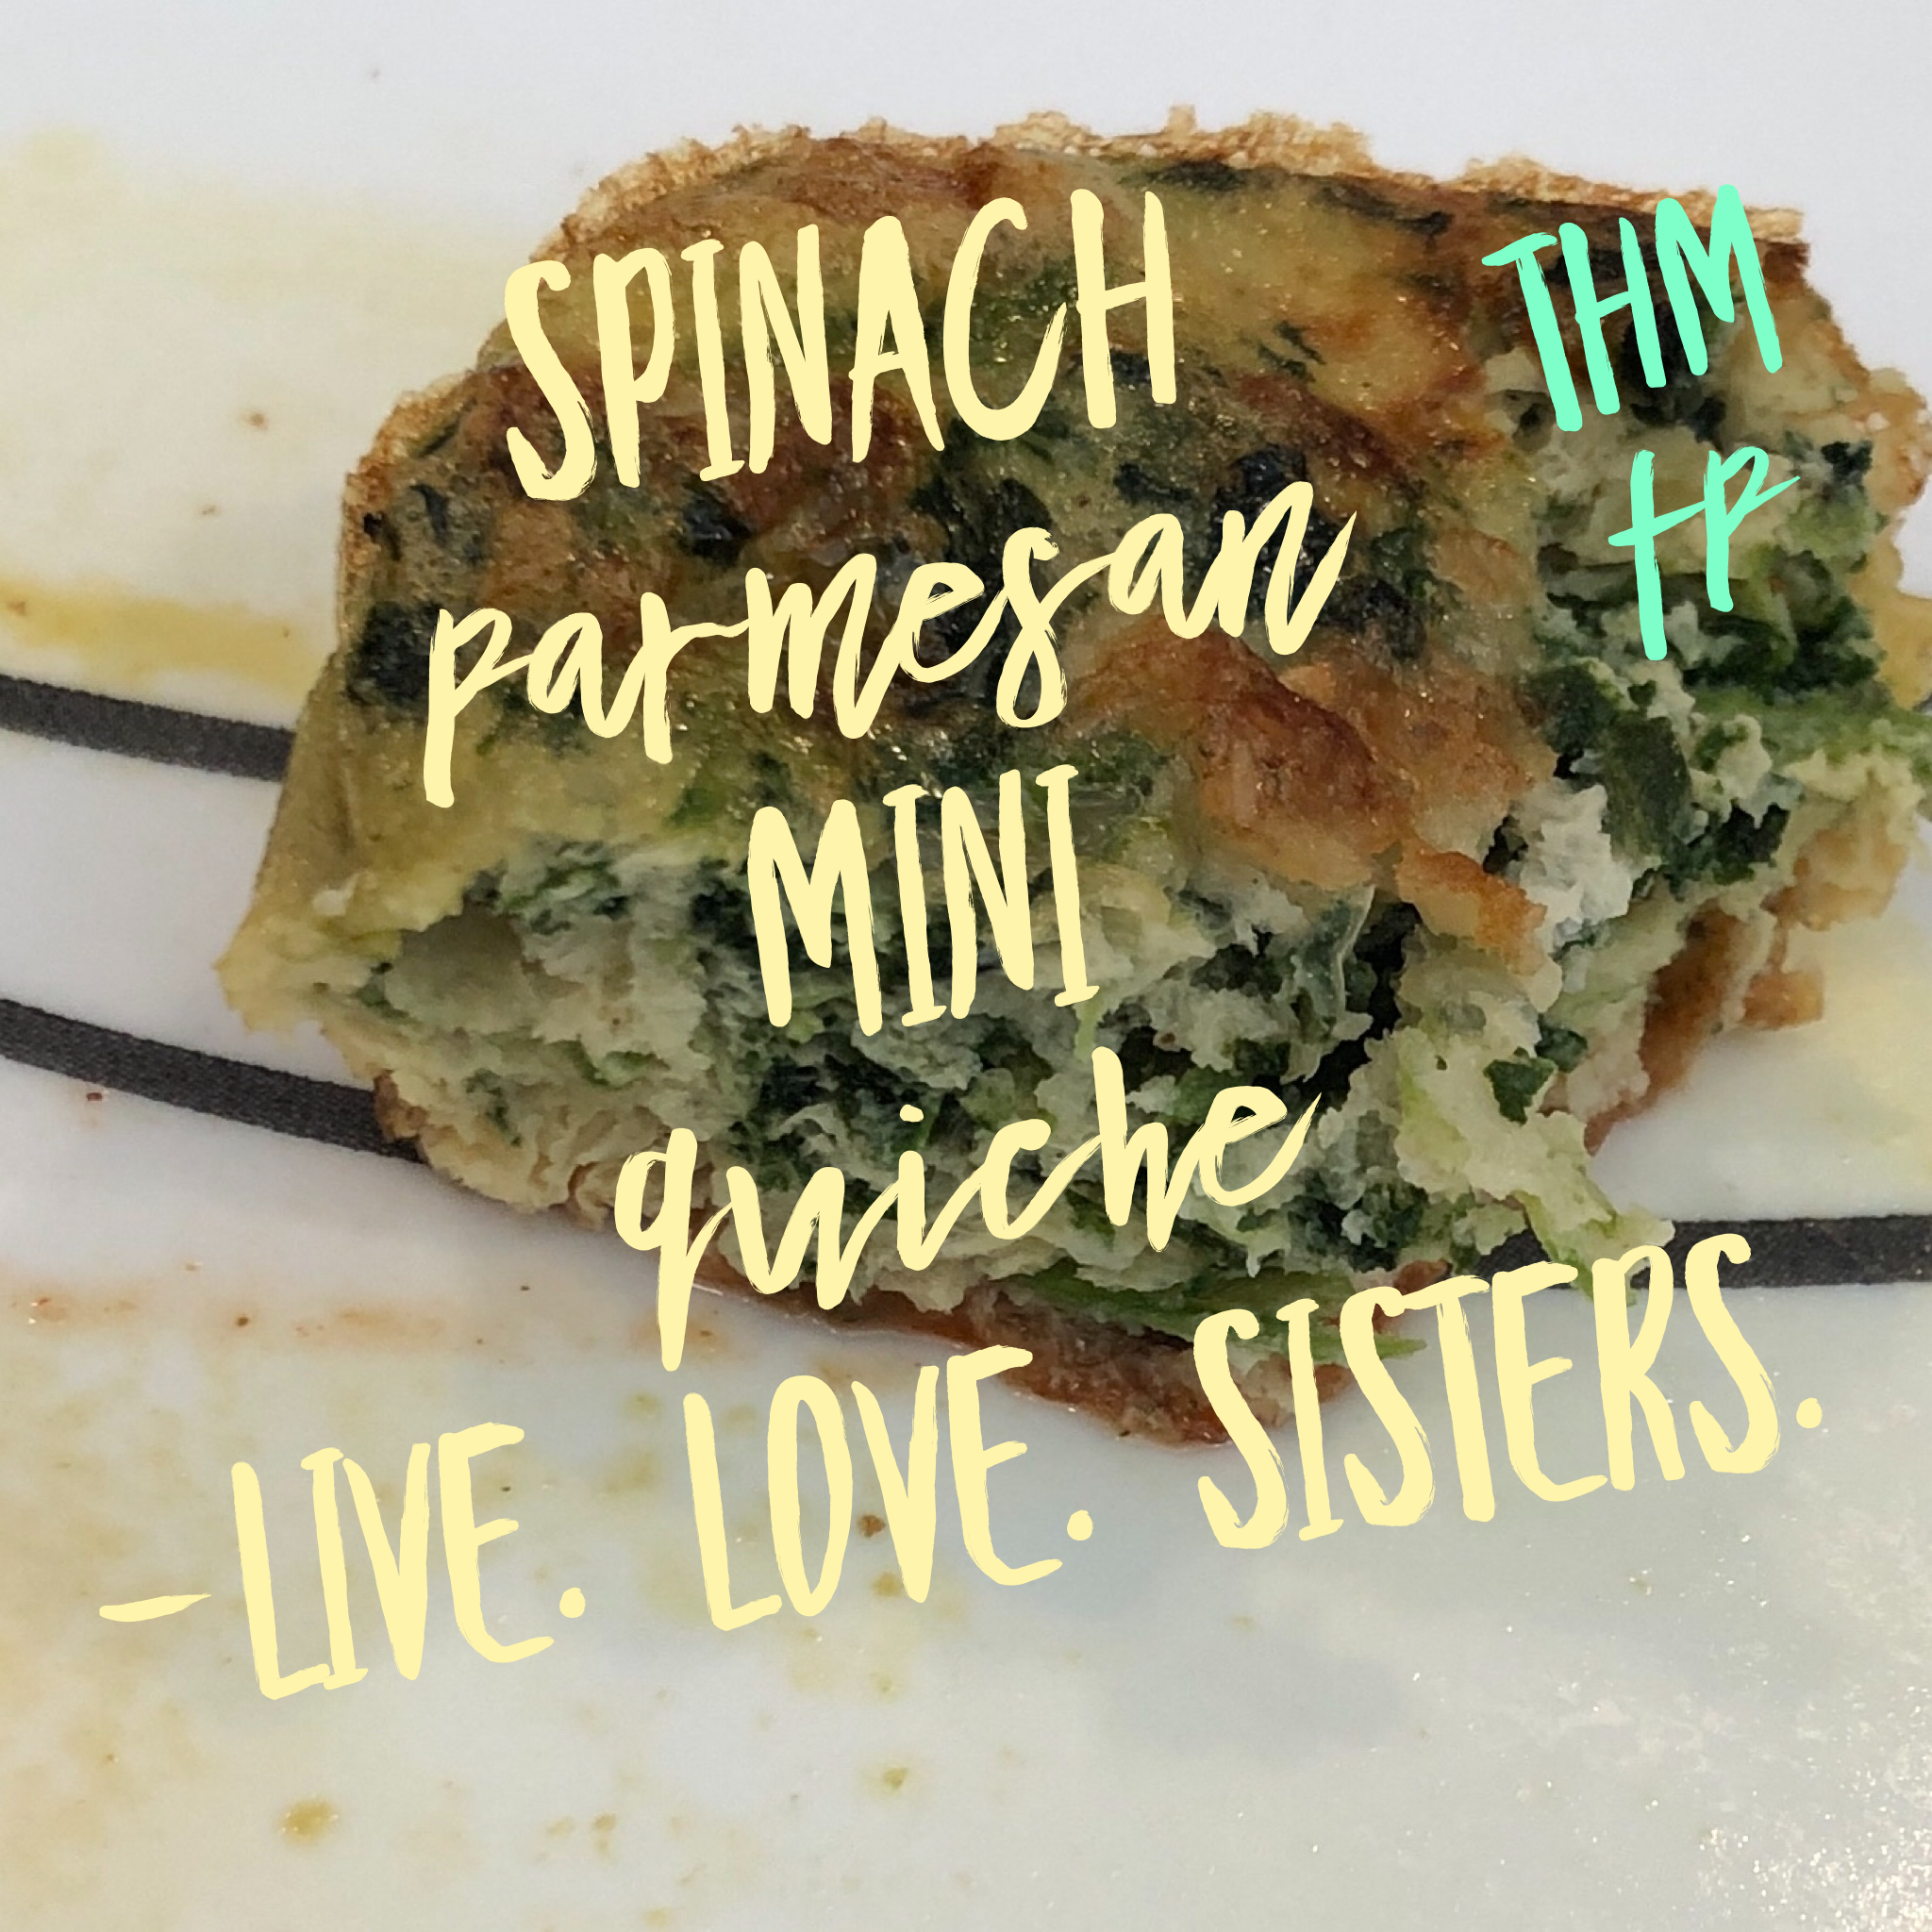
I love quick breakfasts! This recipe makes 24 mini quiches that work great in the freezer and warmed up in the microwave. They are low fat and low carb which makes them a protein packed THM -FP breakfast! This recipe is also super quick, which is great.
Recipe
32 oz egg whites
9 oz frozen chopped spinach thawed
12 oz seasoning blend
1 t salt
1/2 t pepper
1/2t garlic powder
2 T nutritional yeast
Optional- Garnish the top of each one with a tsp of Parmesan cheese
*even without adding the Parmesan, these have a lovely cheesy taste thanks to the nutritional yeast!
Thaw the spinach, and drain it. The better you drain the spinach, the better the texture. You can do this by placing them in a strainer and pressing out the liquid. Depending on the size of the holes in your strainer, you may want to line it with cheese cloth or a paper towel so you don’t lose a bunch of spinach.
Mix everything together except the Parmesan cheese.
Pour into muffin tins. I use a silicone muffin pan, and find that I need just a little coconut oil spray. Metal pans require more spray.
Sprinkle with Parmesan if desired
Bake 20 minutes on 350
Allow to cool, then remove from the muffin tins and enjoy. Or freeze in a ziplock bag. I microwave mine for 2 minutes from the freezer.
I admit. I ate all of mine before realizing I hadn’t taken any pictures! Here’s a half eaten one!
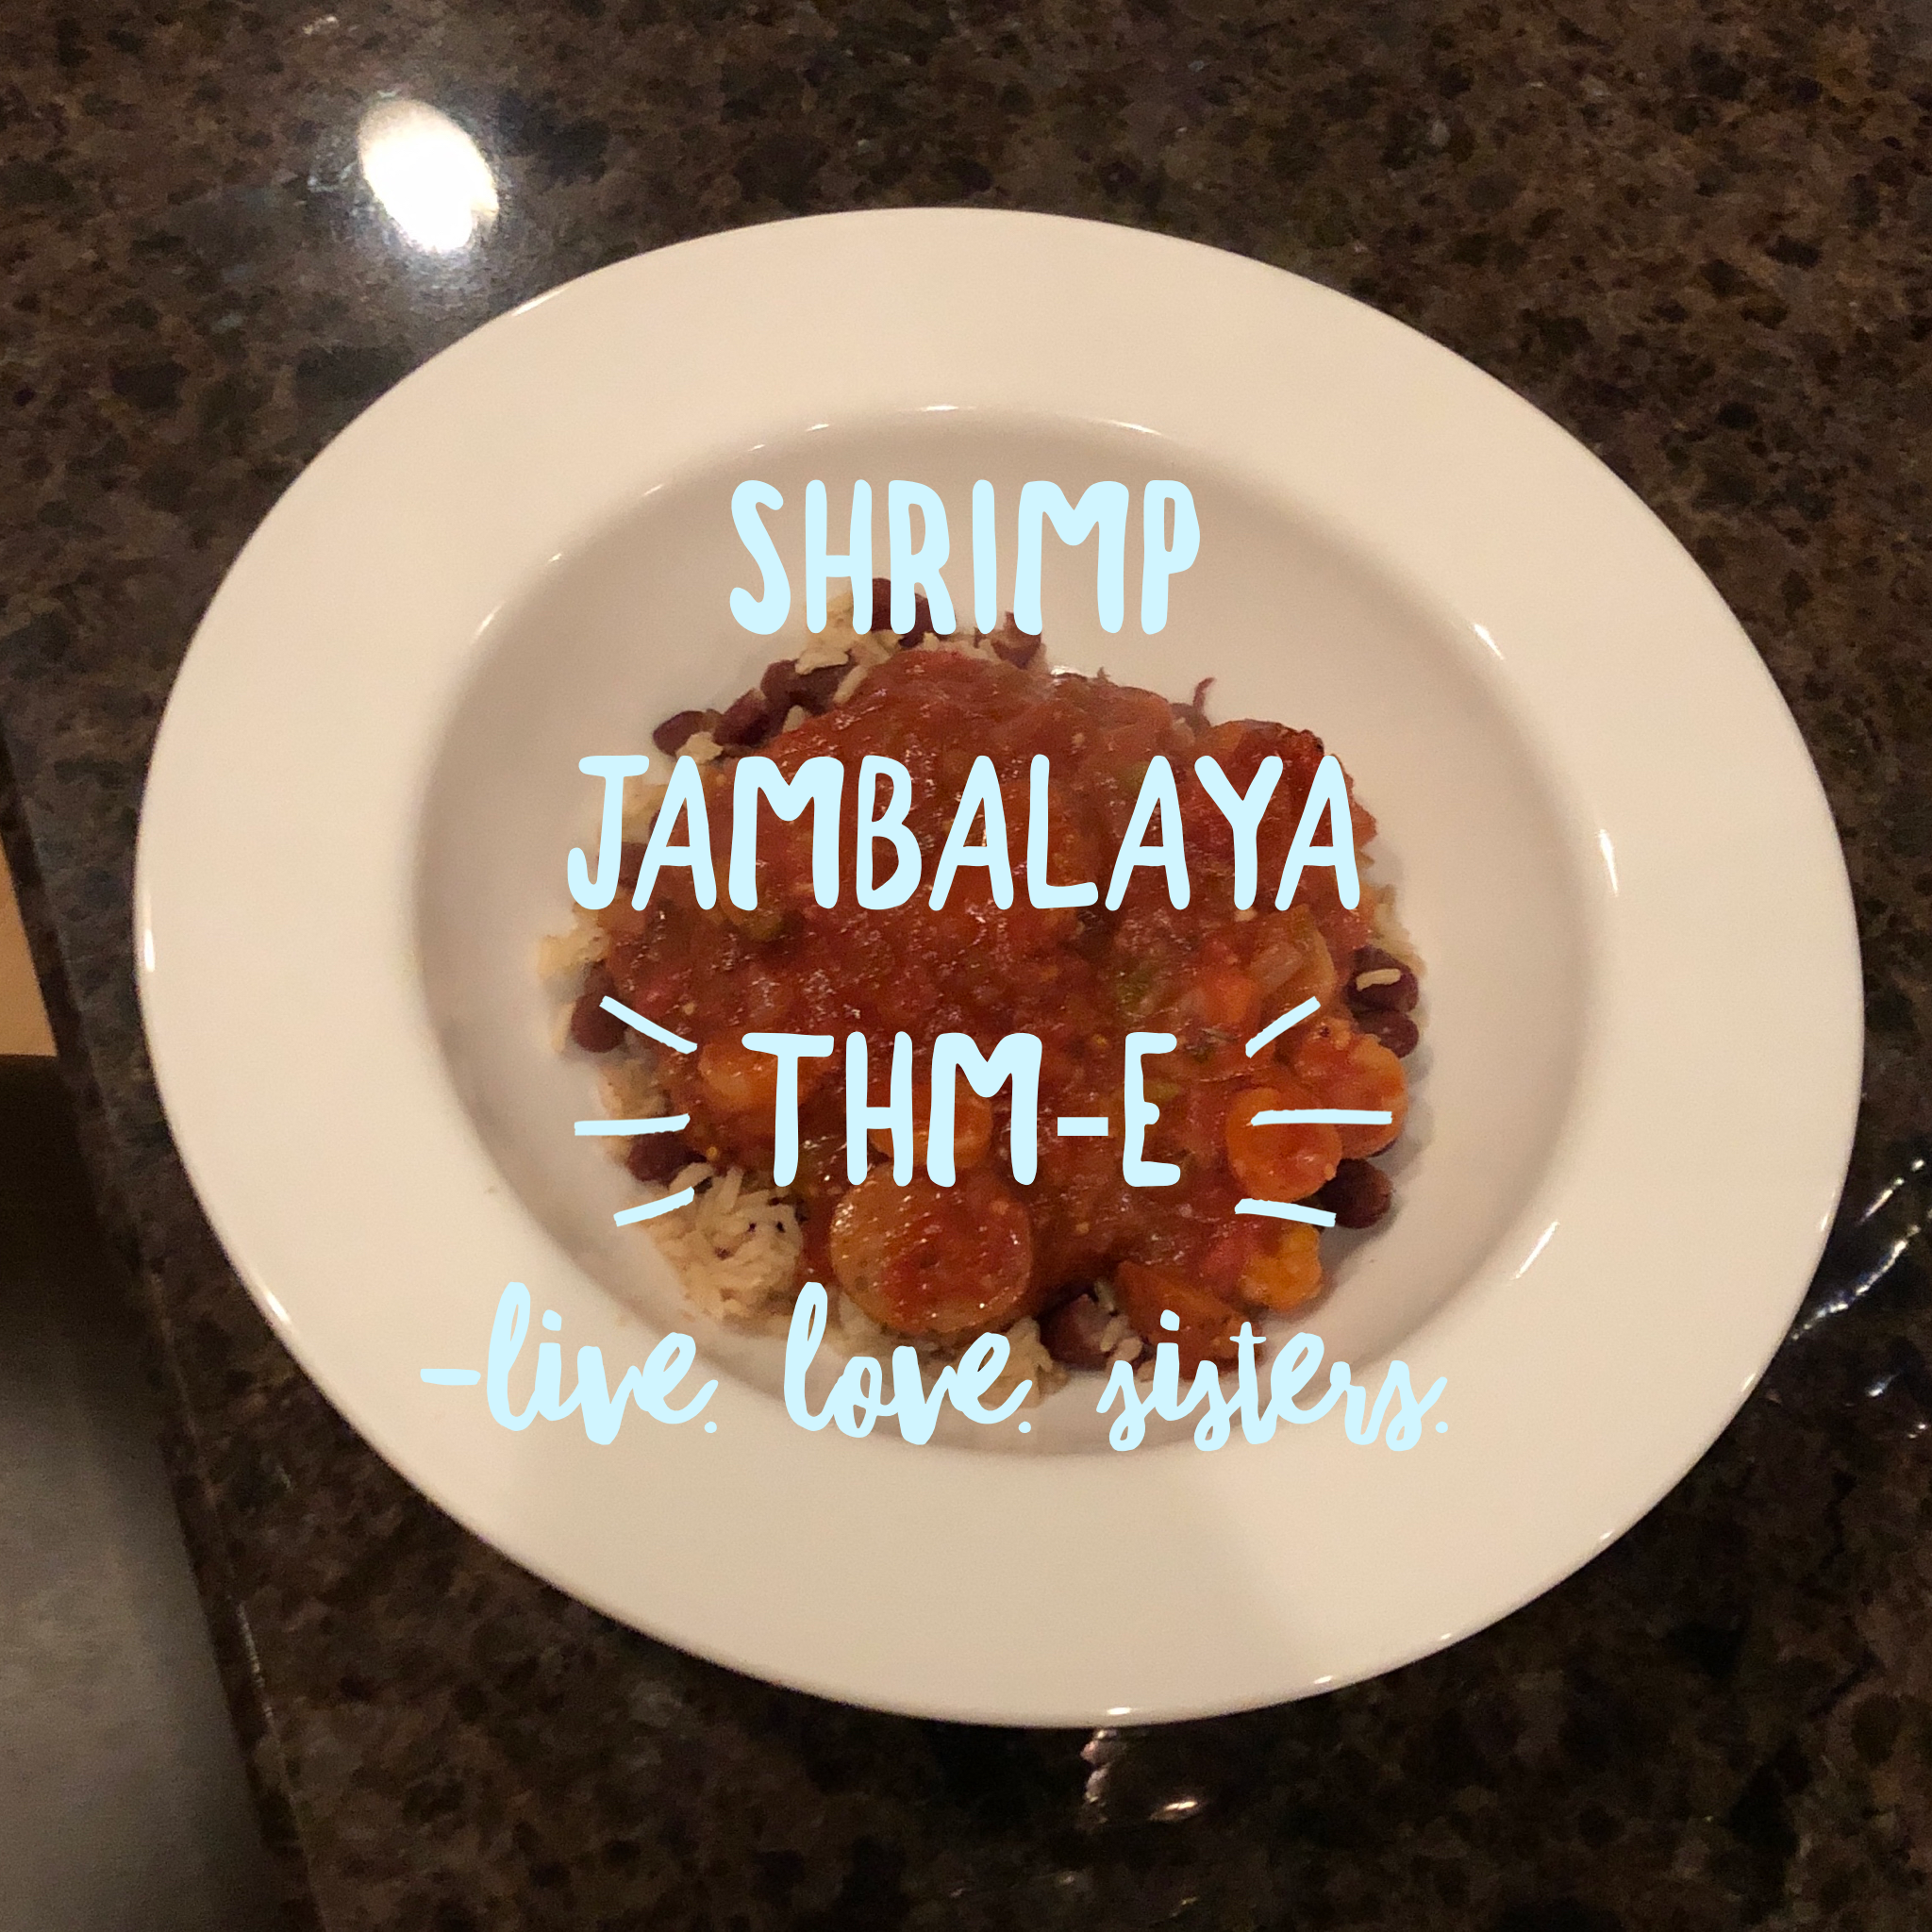
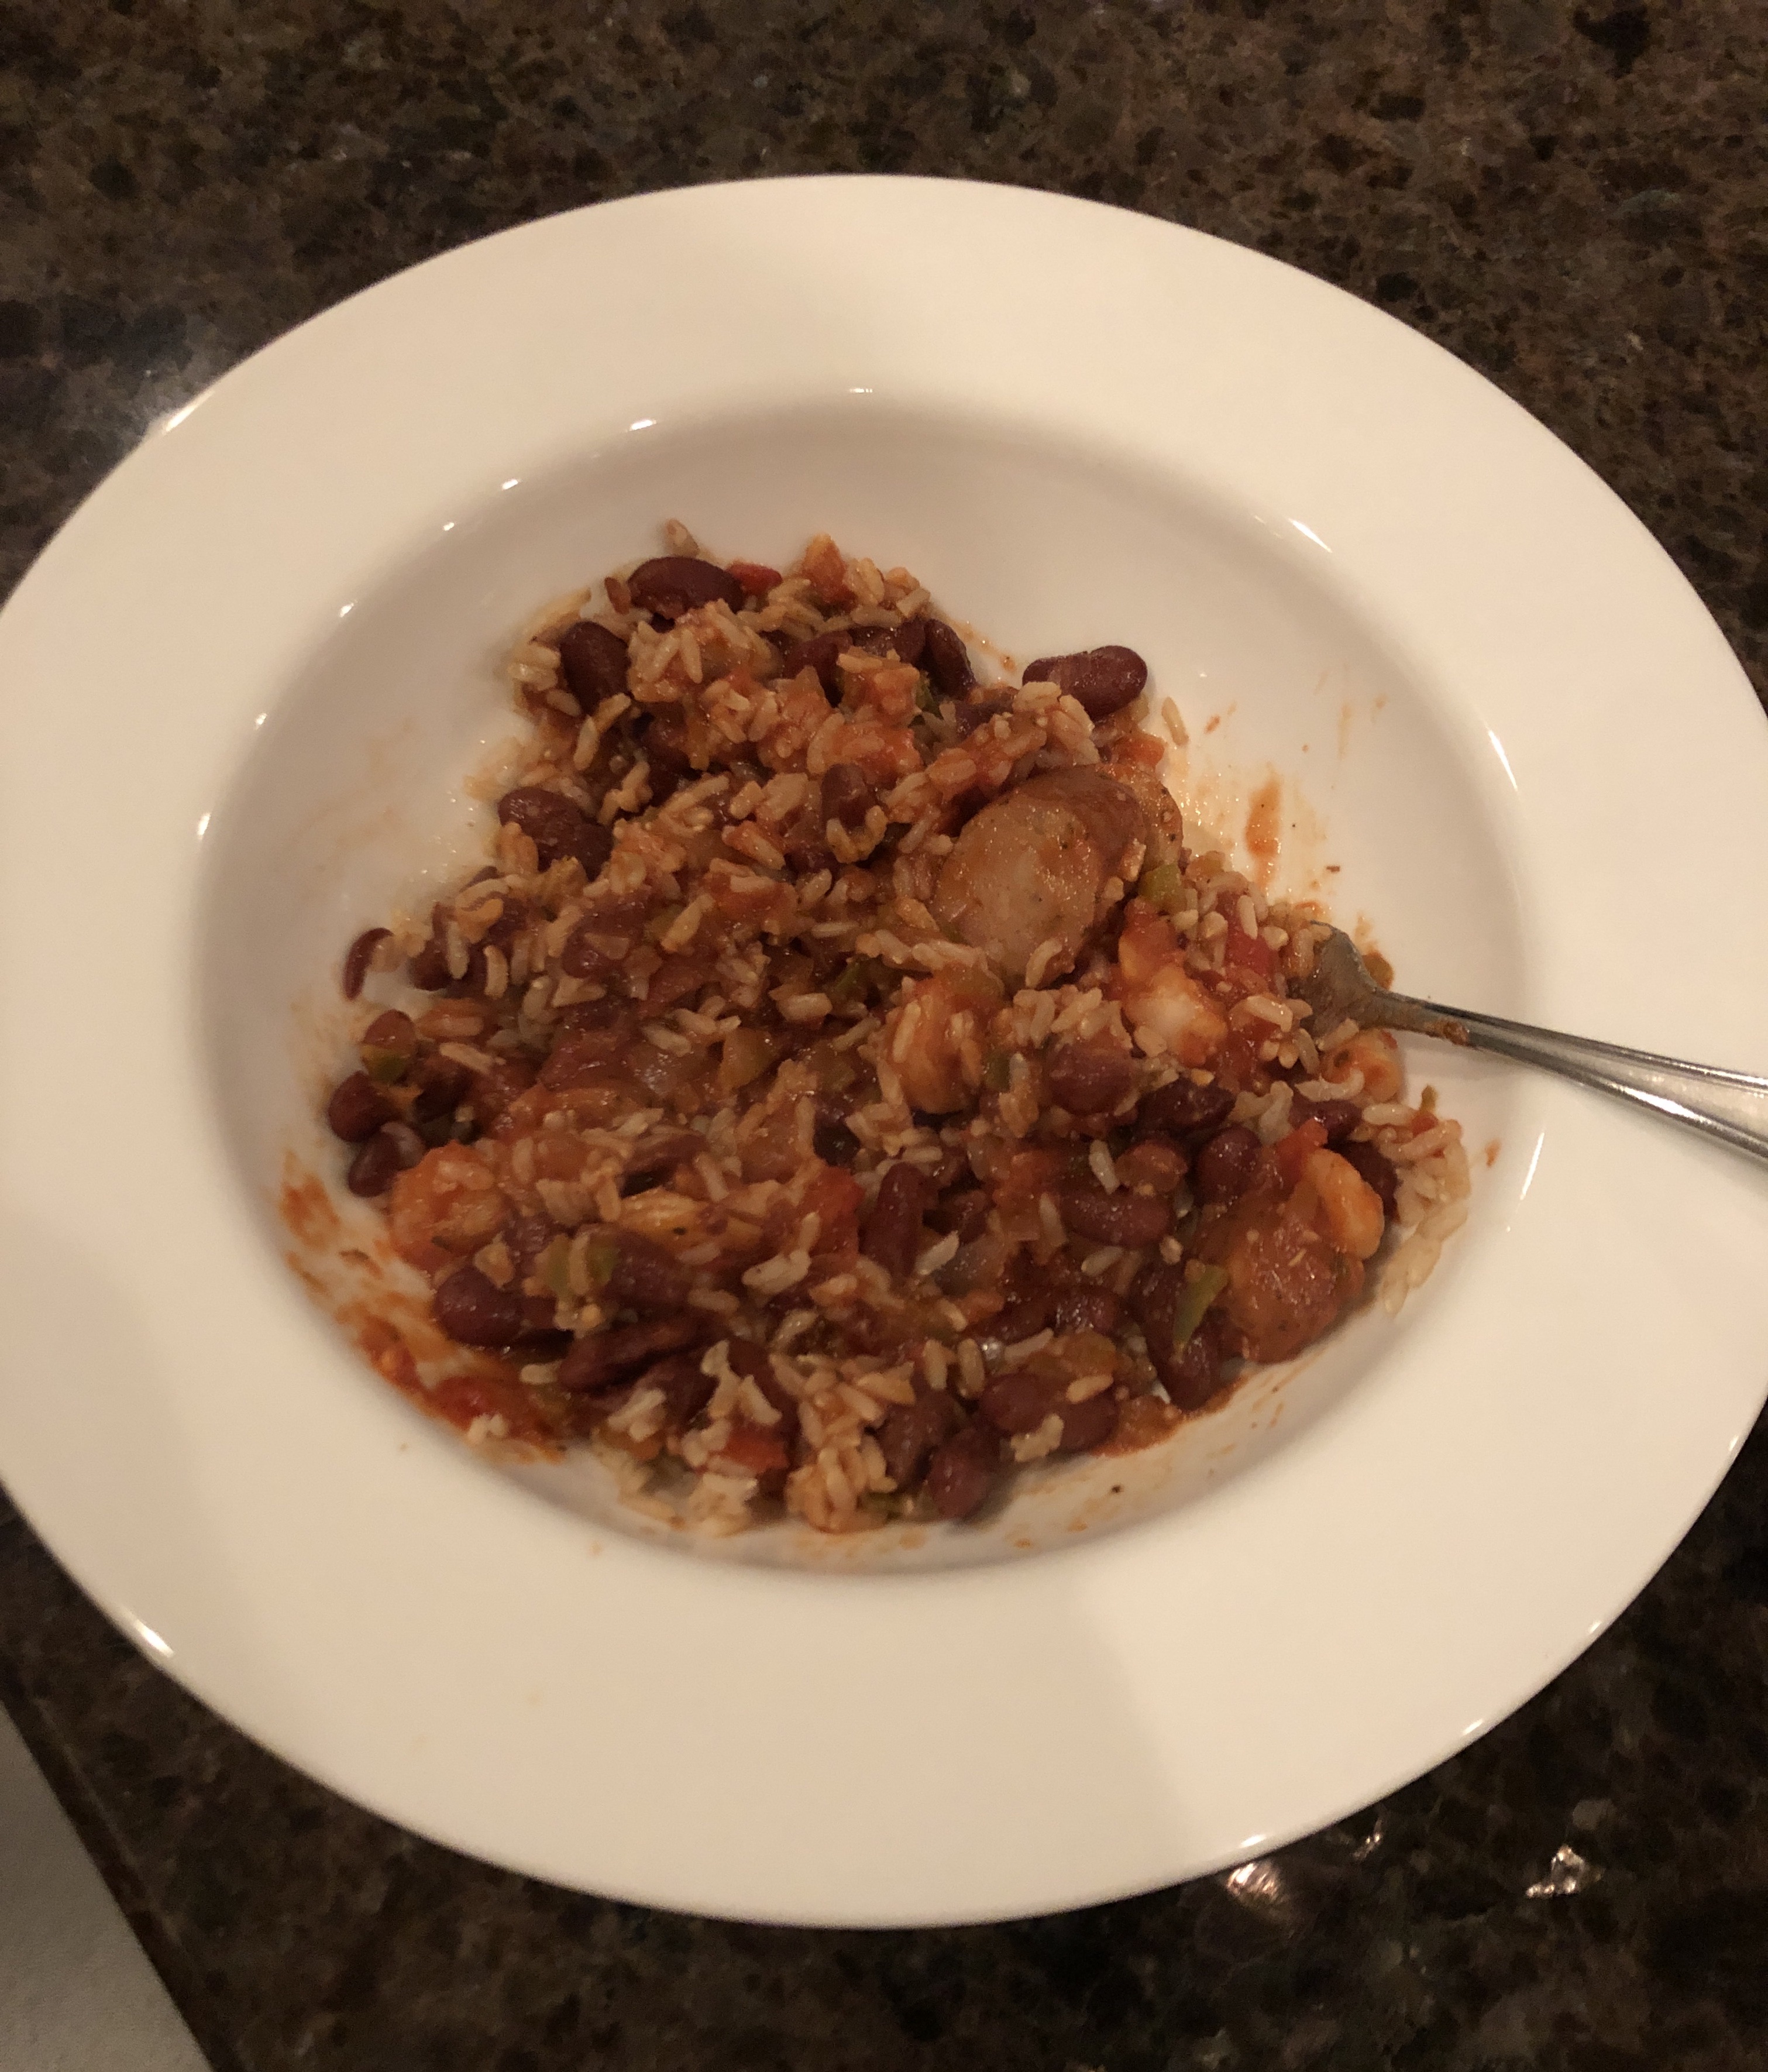
I love jambalaya. It’s a very easy meal and I love spicy food! This is a recipe that is no super spicy as it is written, but you can sprinkle in some cayenne to taste or kick up the amount of creole seasoning to spice it up if you like! I even like a squirt of sriracha in mine (but I leave it out if the recipe so it’s not too hot for the rest of the family)
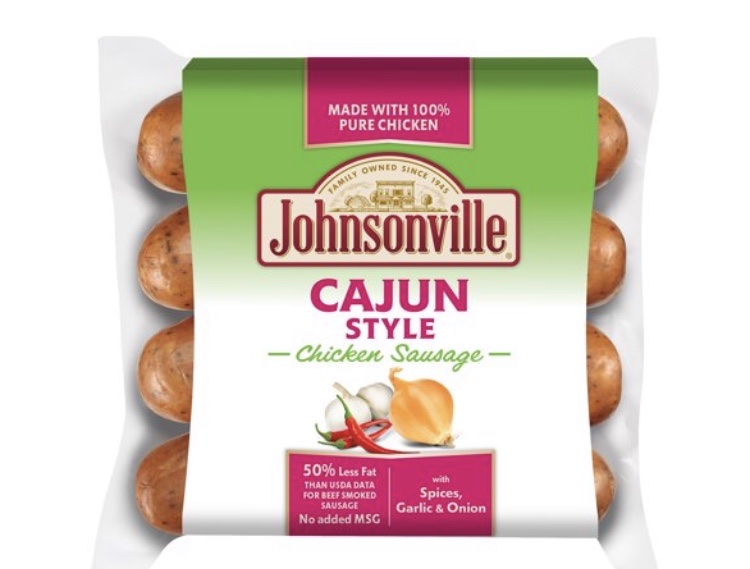
I used chicken sausage (Johnsonville Cajun Chicken Sausage is my choice). But you can use turkey sausage as well for low fat THM-E meals. If you use traditional pork sausage, it will be a cross over meal.
Ingredients
2 cups brown rice
1 cup red beans
1 bay leaf
1T coconut or olive oil
Creole seasoning- 2+ tsp
Salt and pepper to taste
2 cans of crushed tomatoe2 pounds of shrimp
1 package cooked chicken sausage
1 onion
1 green pepper
1/2 t dry thyme
1 t dry oregano
1 T minced garlic
Directions
Prepare the rice with the bay leaf, and 1 tsp creole seasoning. Once cooked, discard the bay leaf. Prepare the beans in water with 1 tsp salt (or use canned beans). Mix the beans and rice, set aside
Sauté the shrimp with the onion, green pepper and garlic in the oil. Once the onion is soft, add the tomatoes, and seasonings. Slice the sausage and toss in there too. Let simmer 10-15 minutes
Serve the tomato, shrimp/sausage mixture on top of beans and rice! Enjoy!
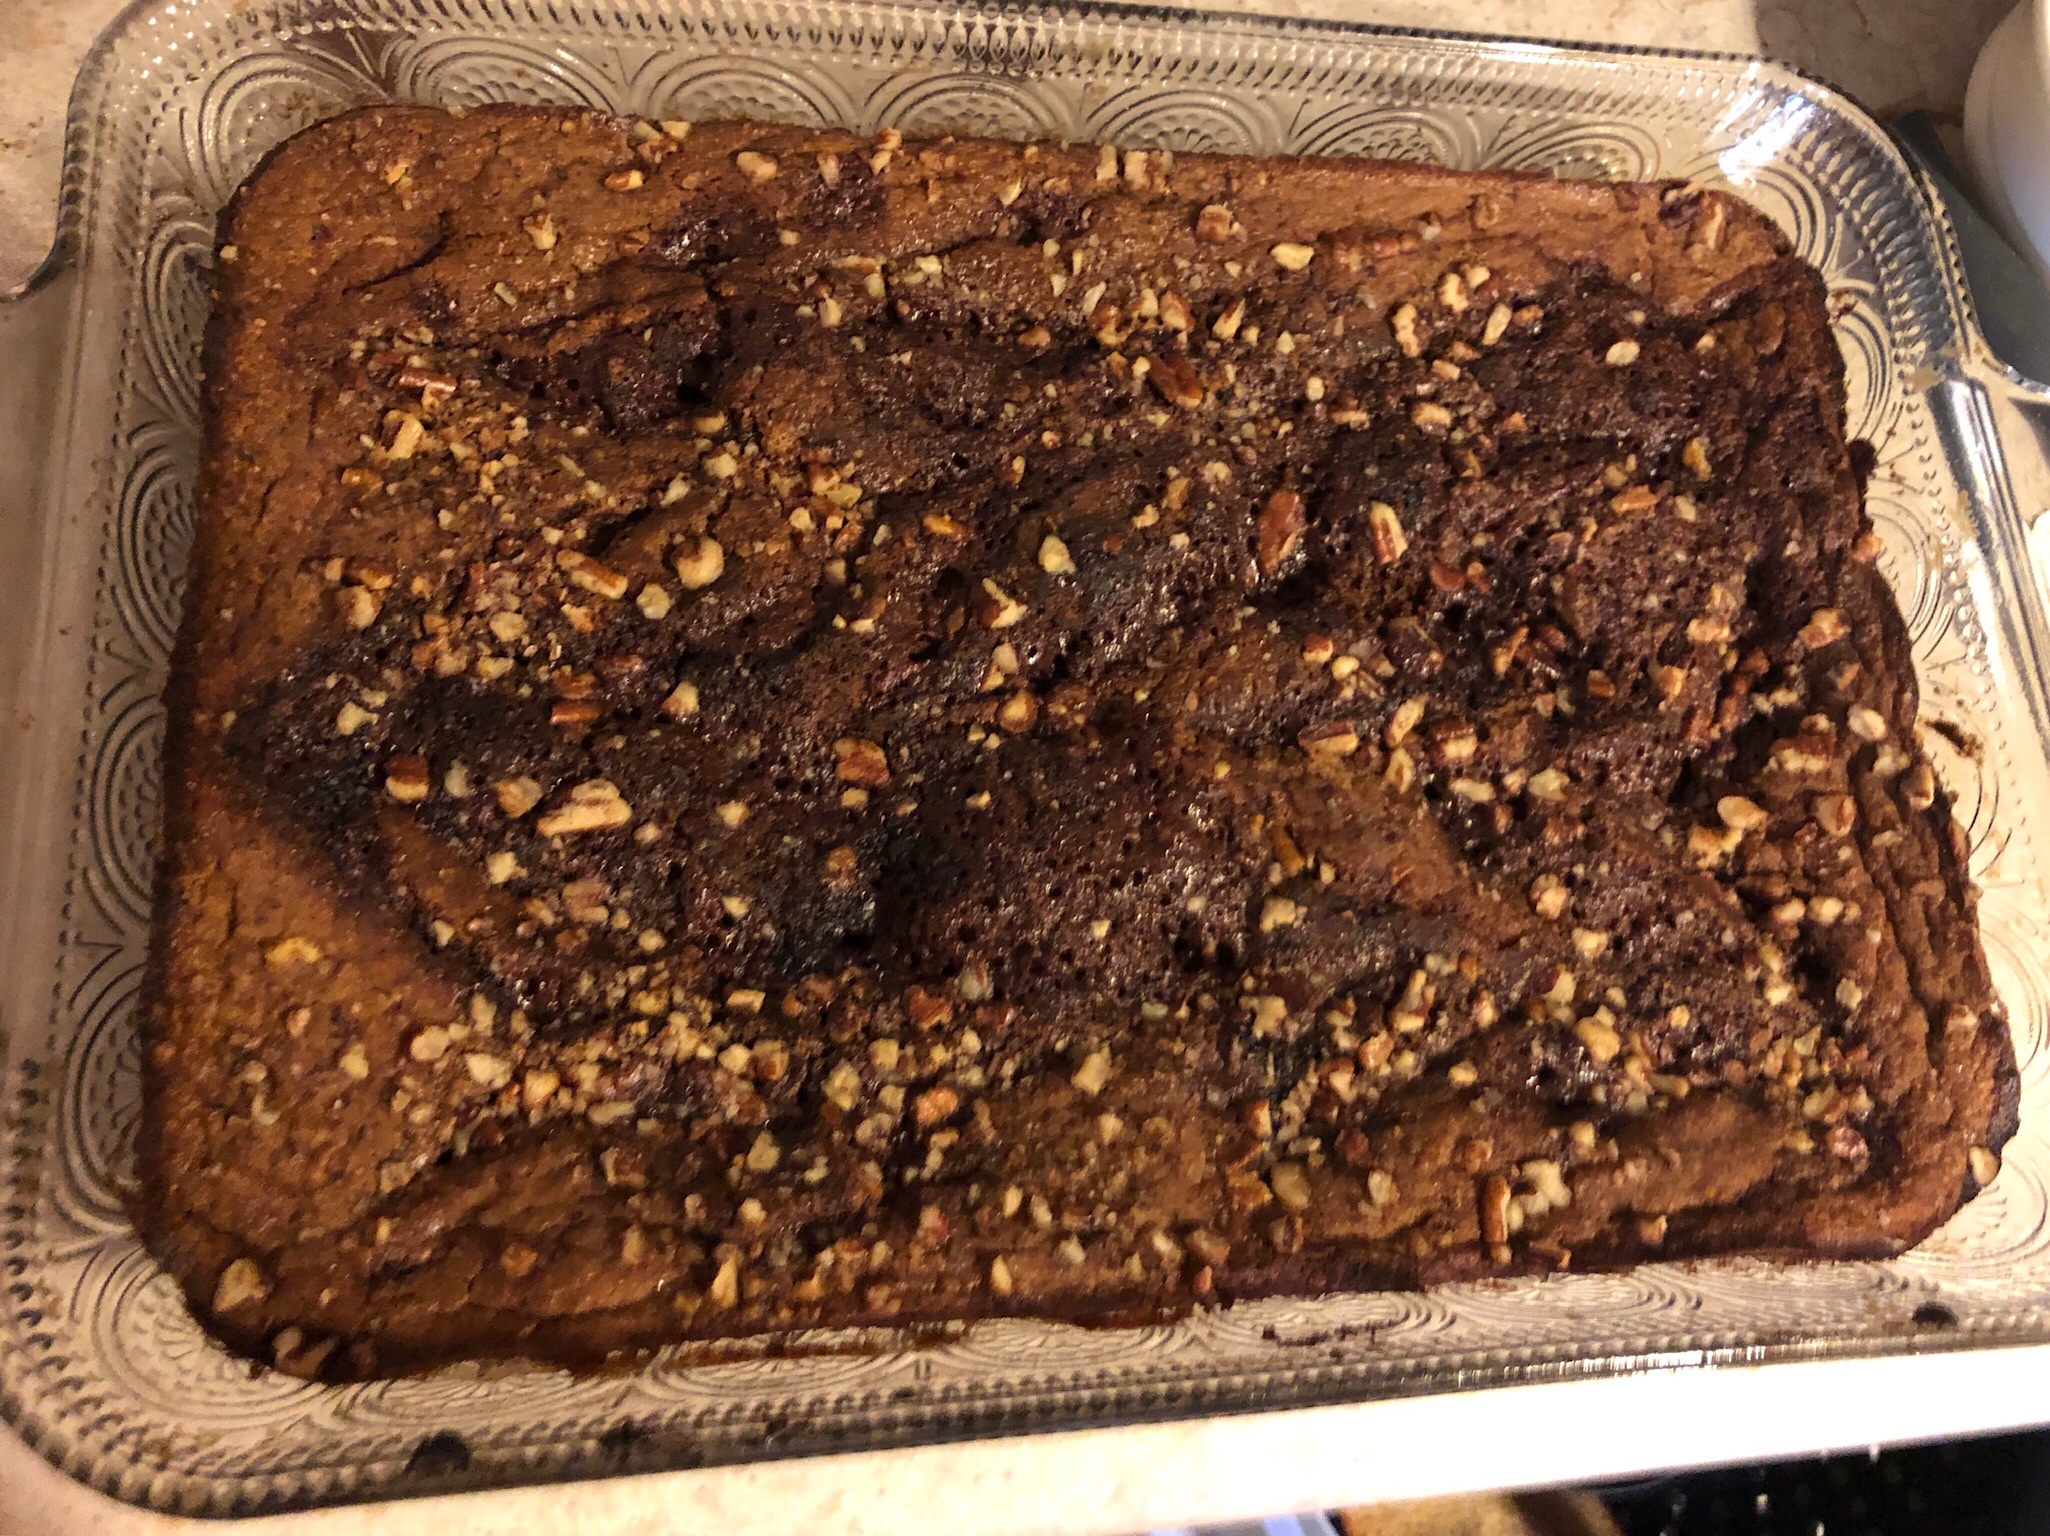
I absolutely love cinnamon rolls. I also love zucchini cake. This cake is quick and easy to make and comes out warm and gooey. It willgo perfectly with a cup of coffee ona lazy Saturday morning. Since I don’t love long blog posts let’s get to the good stuff.
For the cake:
4 eggs
1 medium zucchini washed and peeled
1/2 stick of butter melted
3/4 teaspoon of maple extract ( I used to McCormick brand)
1 teaspoon baking powder
1 teaspoon baking soda
1 tbsp cinnamon
2 pinches of salt
3/4 cup THM baking blend(or 1/3 cup coconut flour and 2/3 cup almond flour)
3/4 cup to 1 cup gentle sweet ( I used pyure brand)
For the cinnamon swirl
One stick of butter melted
2 tbsp cinnamon
1/2 cup gentle sweet
Process
Preheat oven to 350°. Grab a Your favorite 7×11 cake pan and spray well with coconut spray.
Wash, peel and cut zucchini. Put in the blender with eggs and butter and purée. Transfer to a mixing bowl and add the remaining ingredients for the cake. Mix well. Pour batter into the pan.
Make the cinnamon swirl. Melt butter in a cup or a bowl and add those gentle sweet and cinnamon. Drop the swirl onto the cake batter and swirl with a knife. You can top with crushed pecans or walnuts before you bake it
Bake for approximately 35 minutes.
* I thought of making a Cream cheese glaze to add some color. But this cake is so sweet and gooey on its own the frosting really isn’t needed.
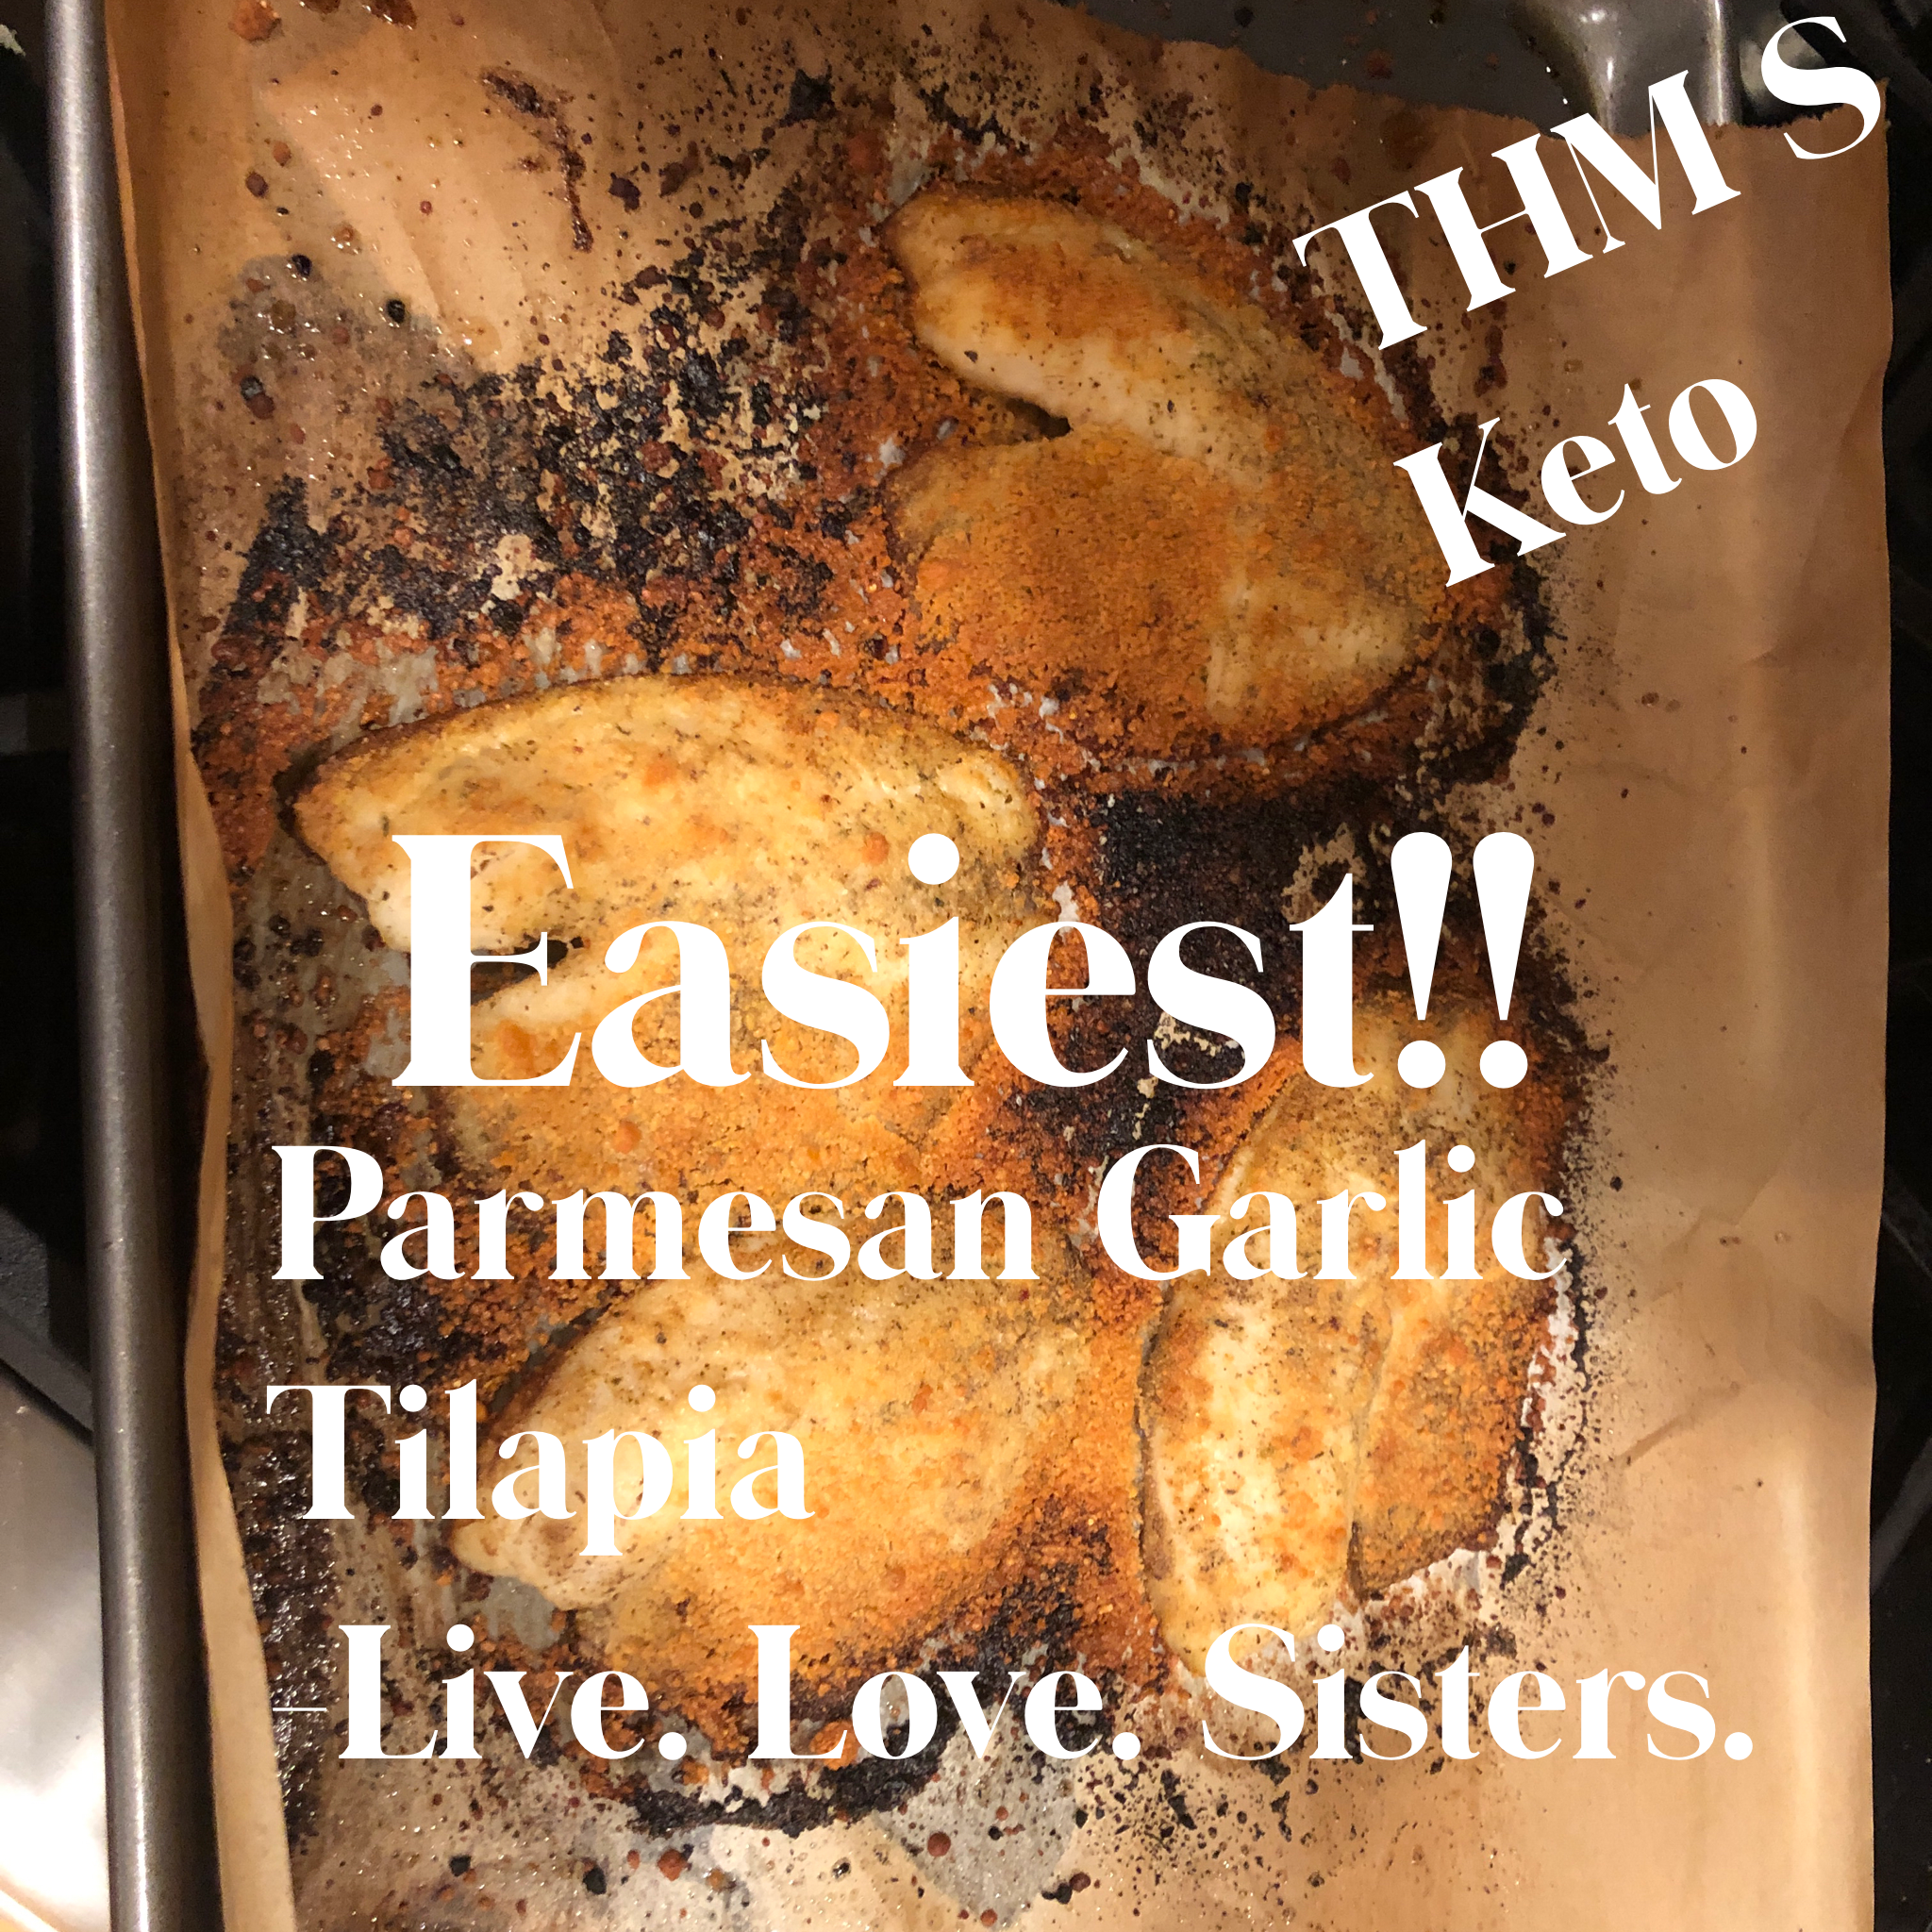
Ever have a night when you just didn’t prep for dinner? Ran out of time and just need to wing it? I’ve got a new baby at home and find myself in this boat quite often! I started making this tilapia because it’s quick!!! And doesn’t require a true recipe with measurements and all. It’s THM S/keto, quick and tasty!
4 tilapia filets
2TBSP melted butter
Garlic powder
Mineral salt
Pepper
Parsley
Parmesan cheese (the green can is fine)
Preheat the oven to 450
Don’t thaw the tilapia. Just set it on a parchment paper lined pan!
Melt the butter and brush it on all four filets
Sprinkle with salt, pepper, parsley and garlic powder
Bake for 20 minutes
Top with sprinkles Parmesan cheese
Change the over to broil, and broil for 2 minutes go make the tops golden and beautiful
Eat it! Serve with a slice of lemon if you like
We love this quick meal with some buttered green beans.
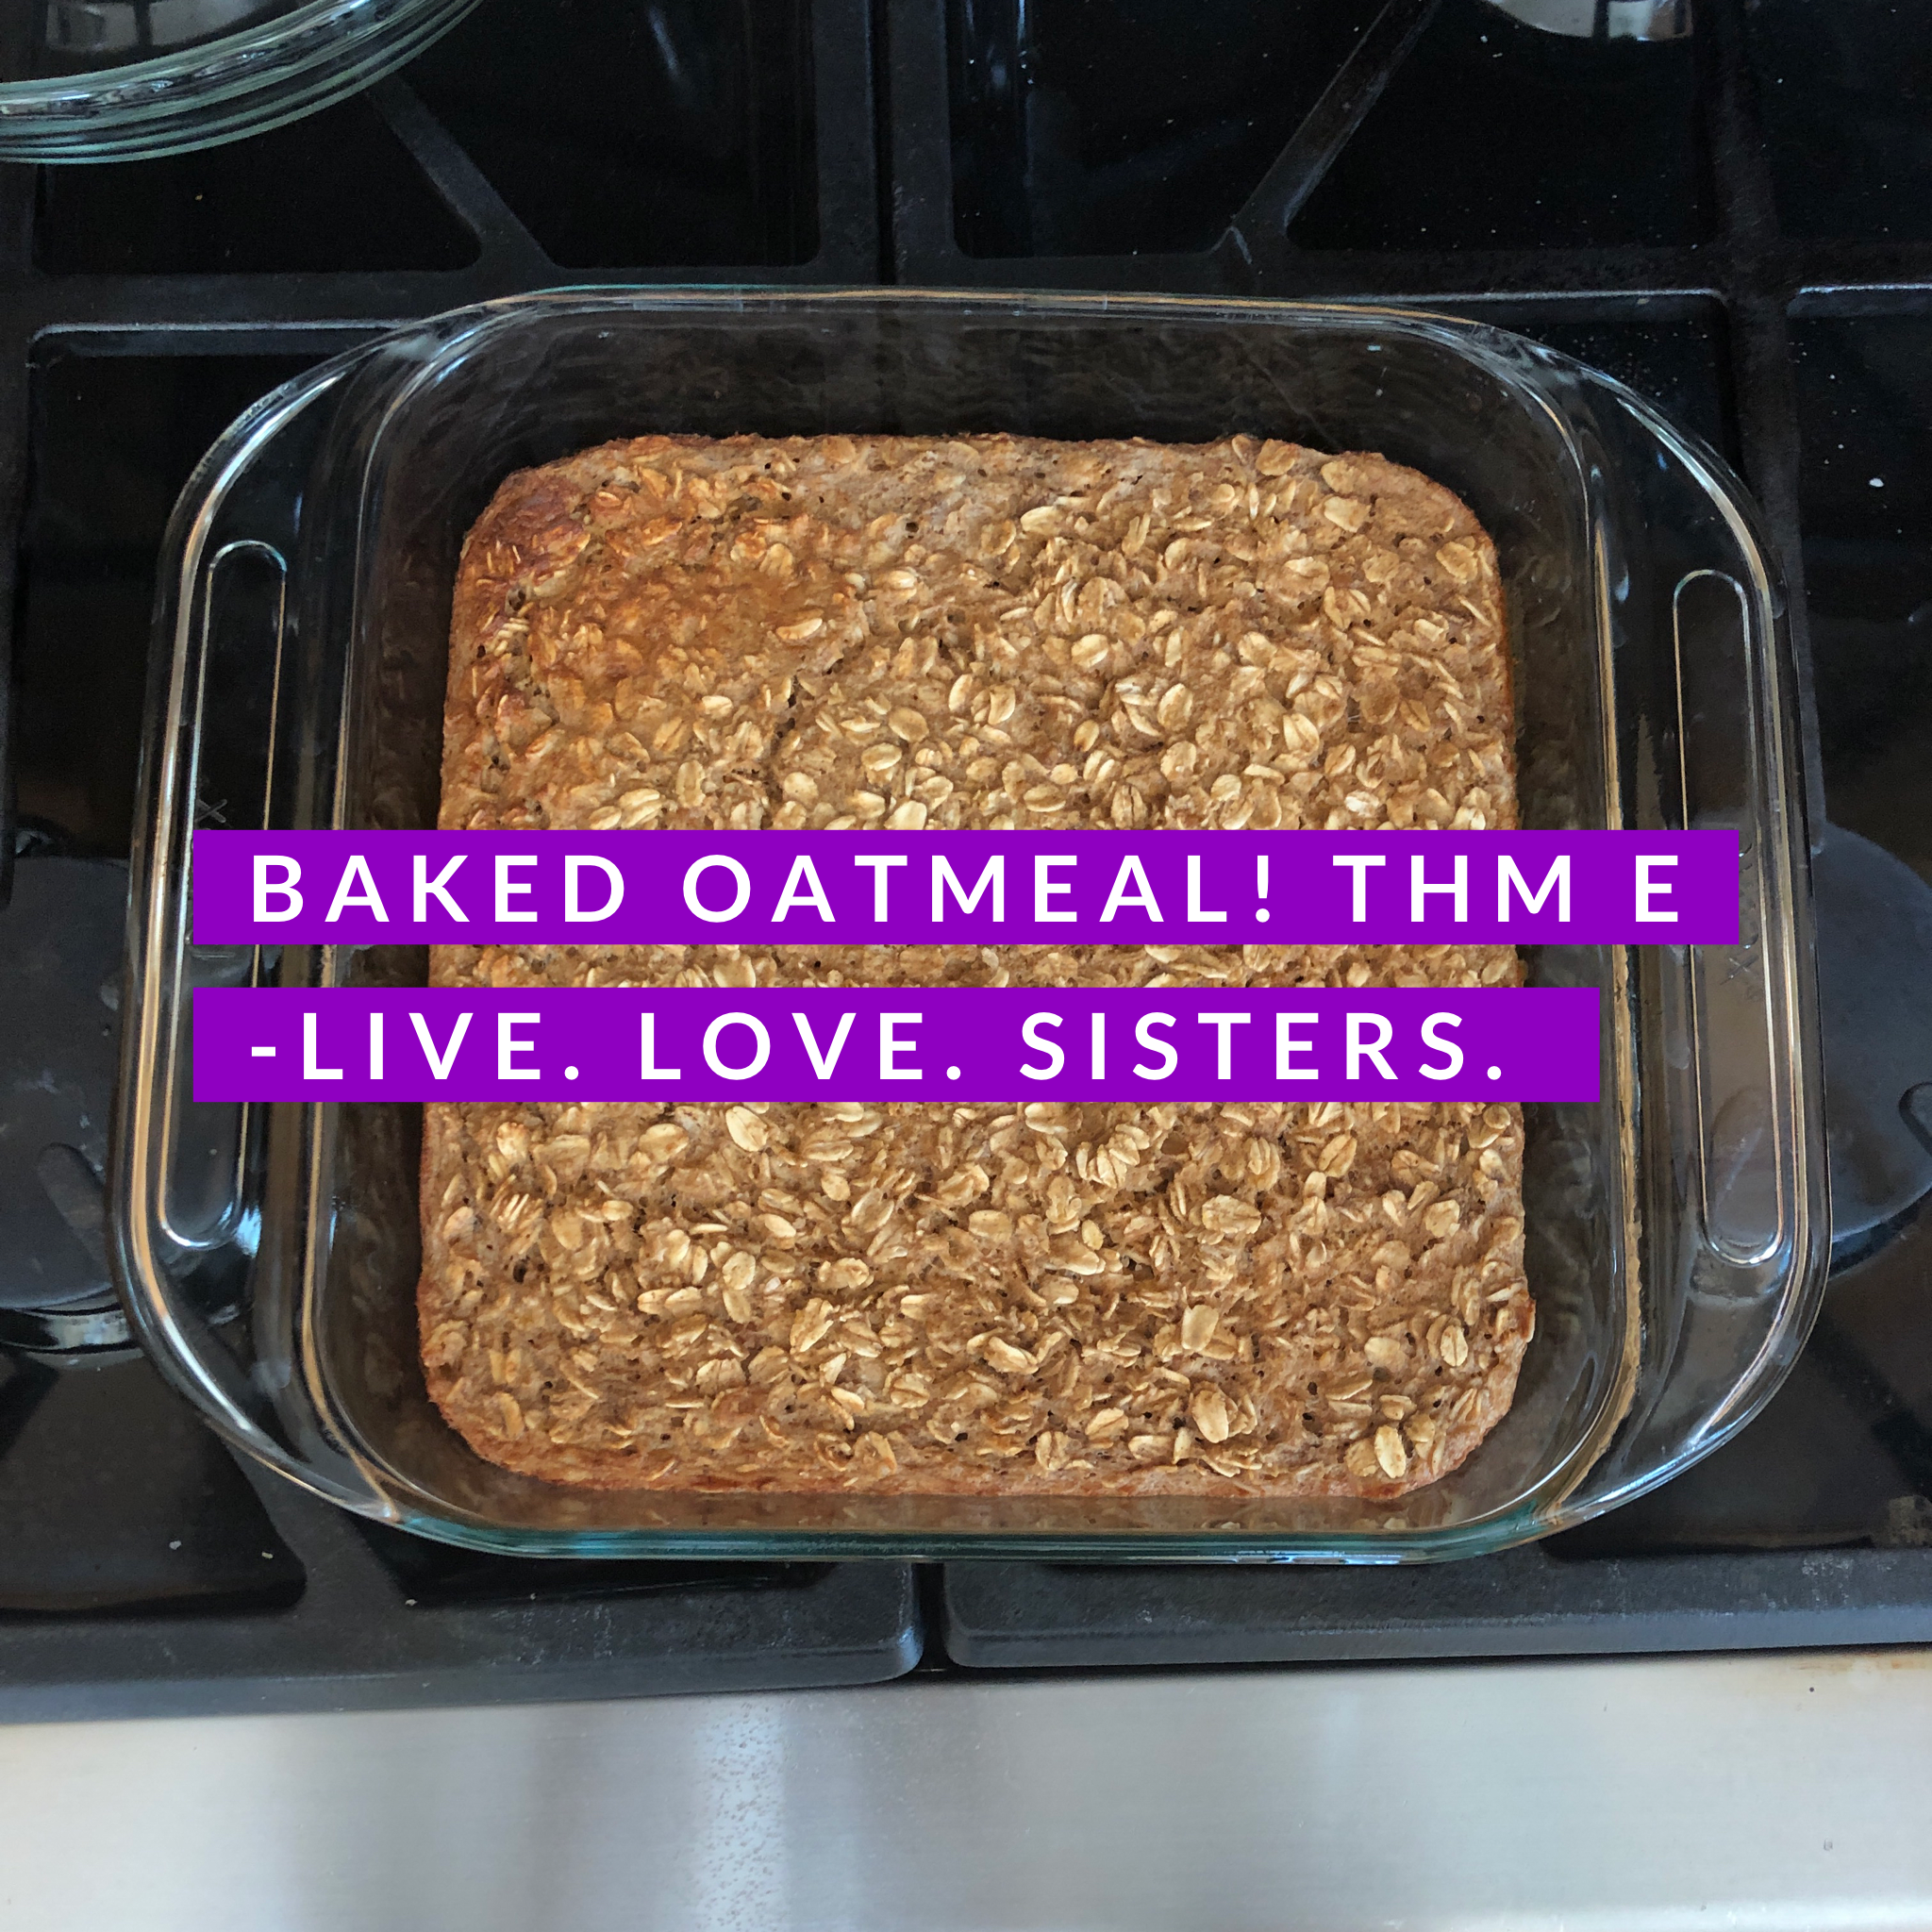
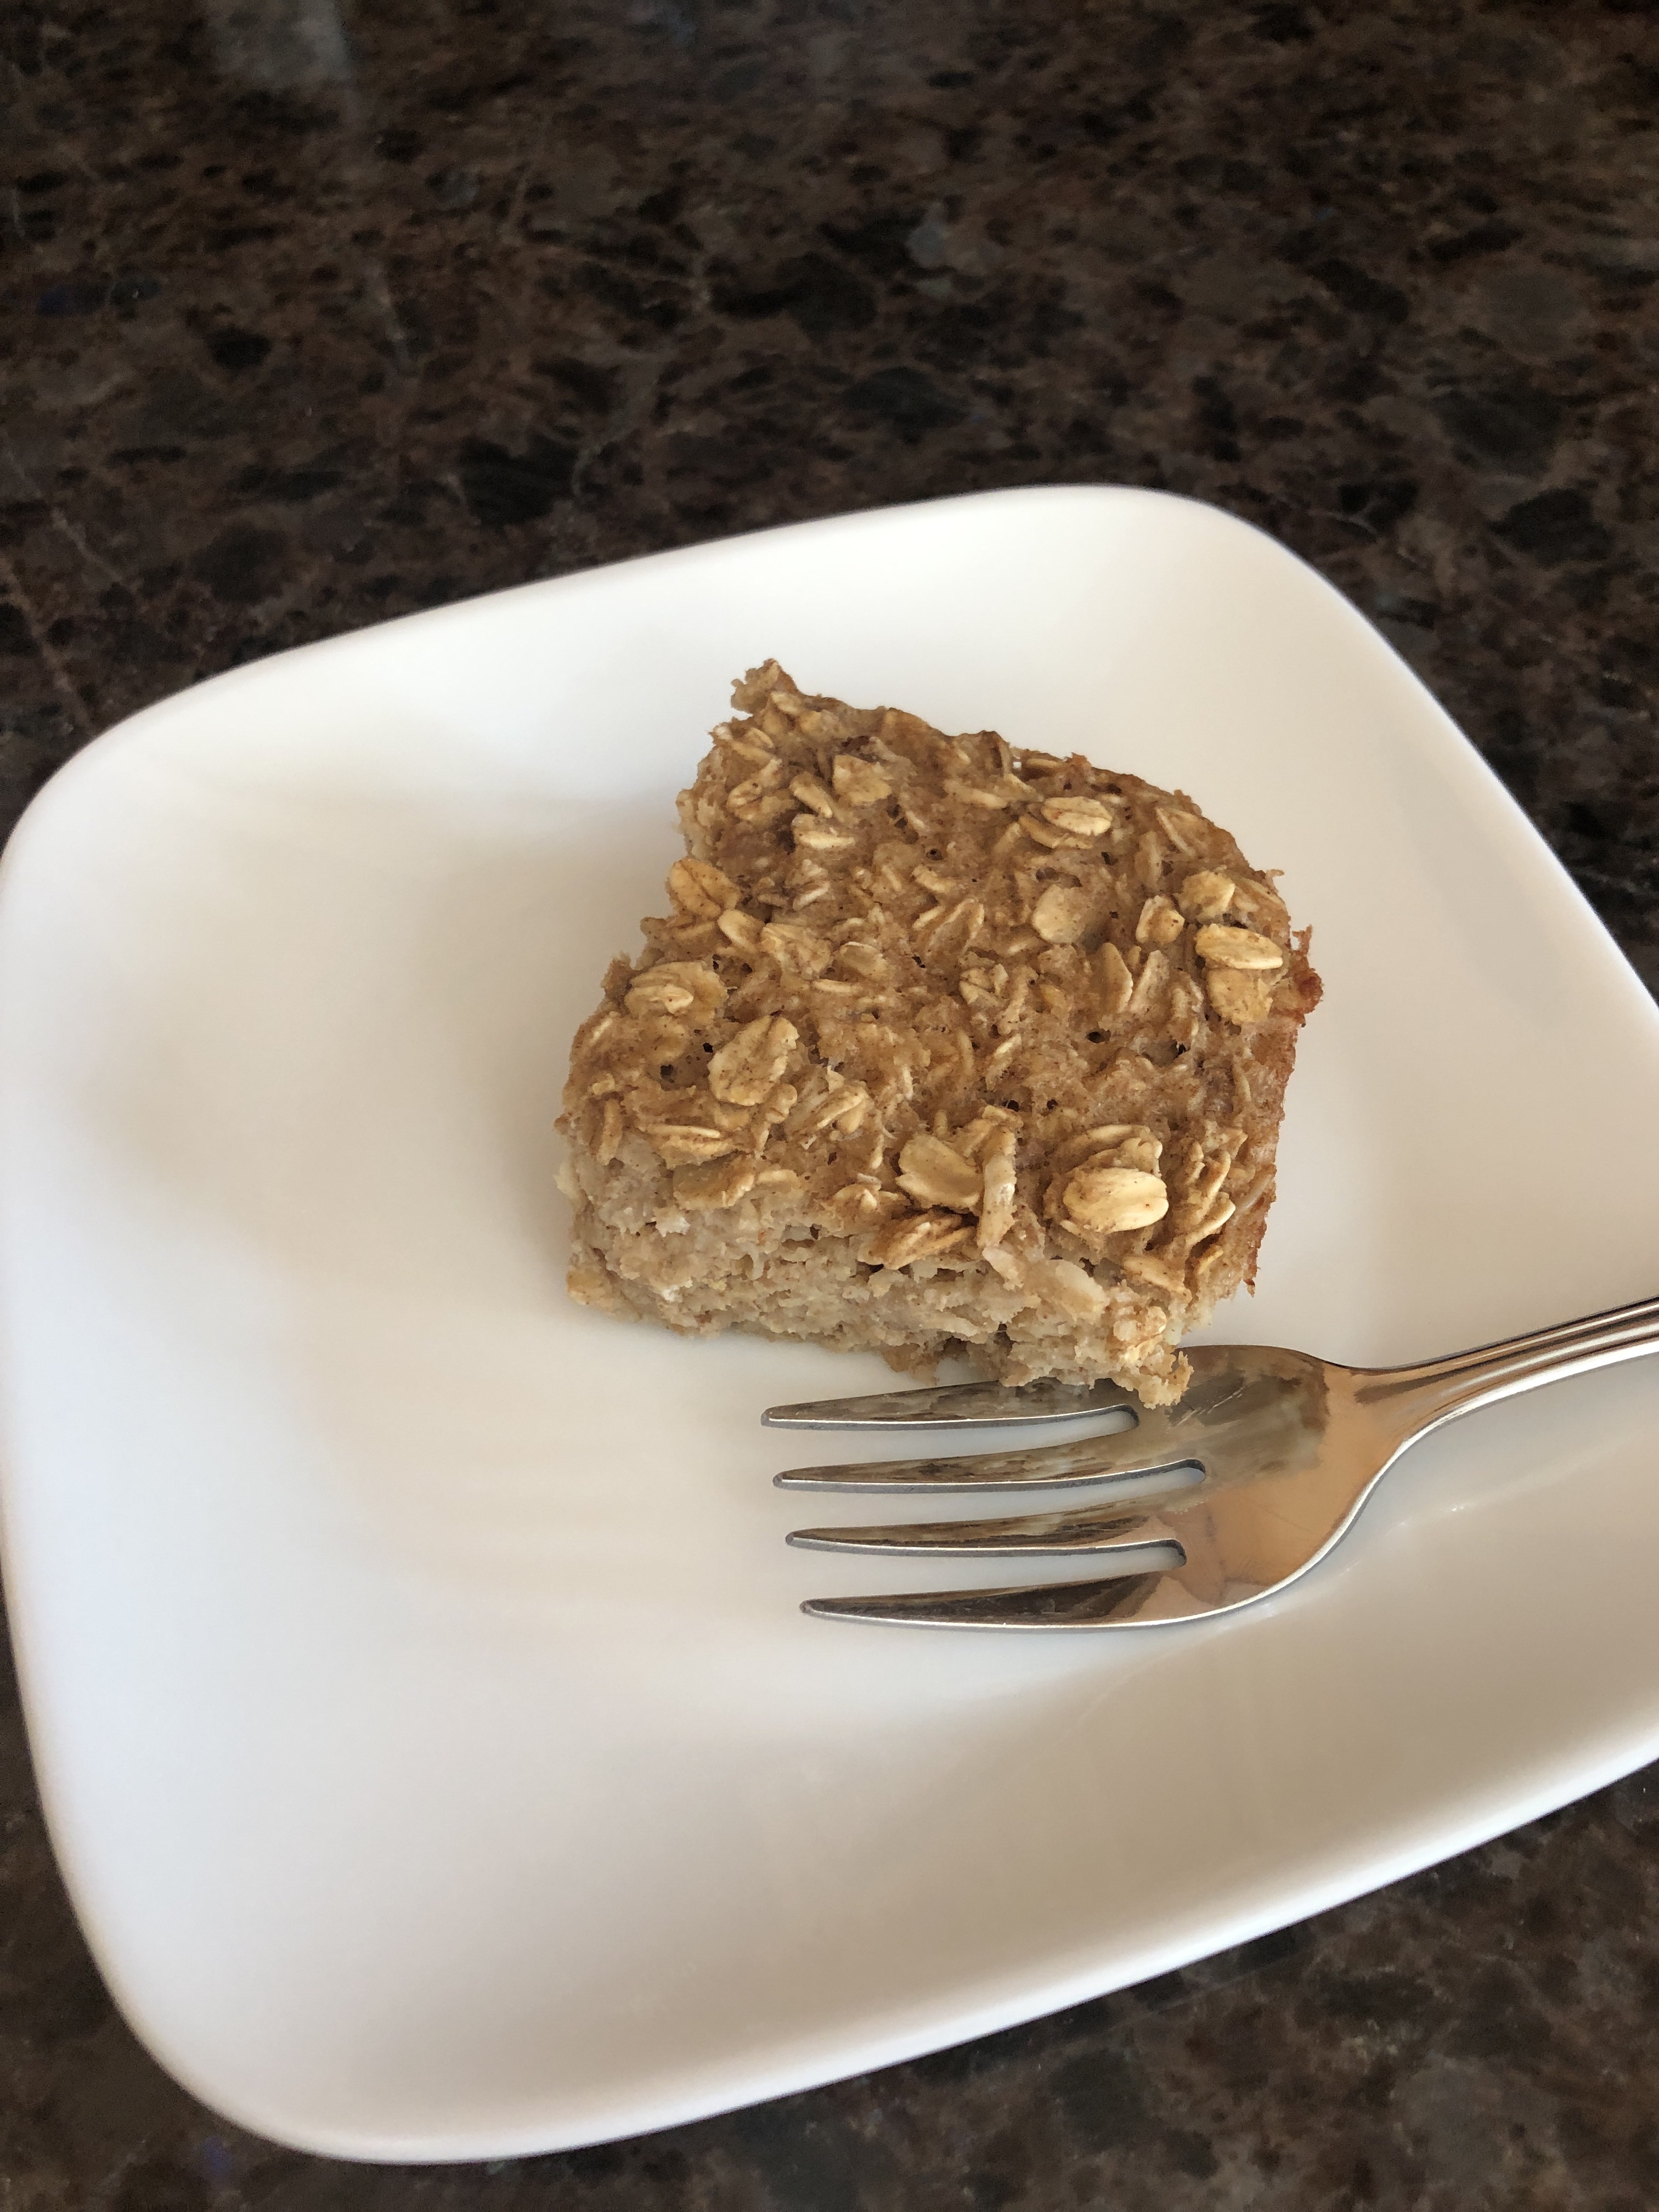
I love love love oatmeal. There are so many ways oatmeal can be made. But this is one of my favorites. A coffee house I used to frequent in college made baked oatmeal and served it with Greek yogurt, it was delightful but filled with sugar. During college I set out to make my own baked oatmeal to cut down on the sugar and fat, while also saving money by having it at home. Once starting Trim Healthy Mama (THM) I tweaked the recipe even further to make it a true Energizing meal (E meals are healthy carbs, with low fat!)
Baked oatmeal
1/2 c egg whites
1.5 cups unsweetened almond milk
1/2 cup unsweetened apple sauce
1tsp THM super sweet or Pyure stevia erythritol blend
2 teaspoons ground cinnamon
1 teaspoon aluminum free baking powder
1 teaspoon vanilla extract
Pinch of salt
1/4 cup ground flax
2 tablespoons defatted peanut flour
2 cups rolled oats
Spray the pan with some coconut oil spray to prevent sticking!
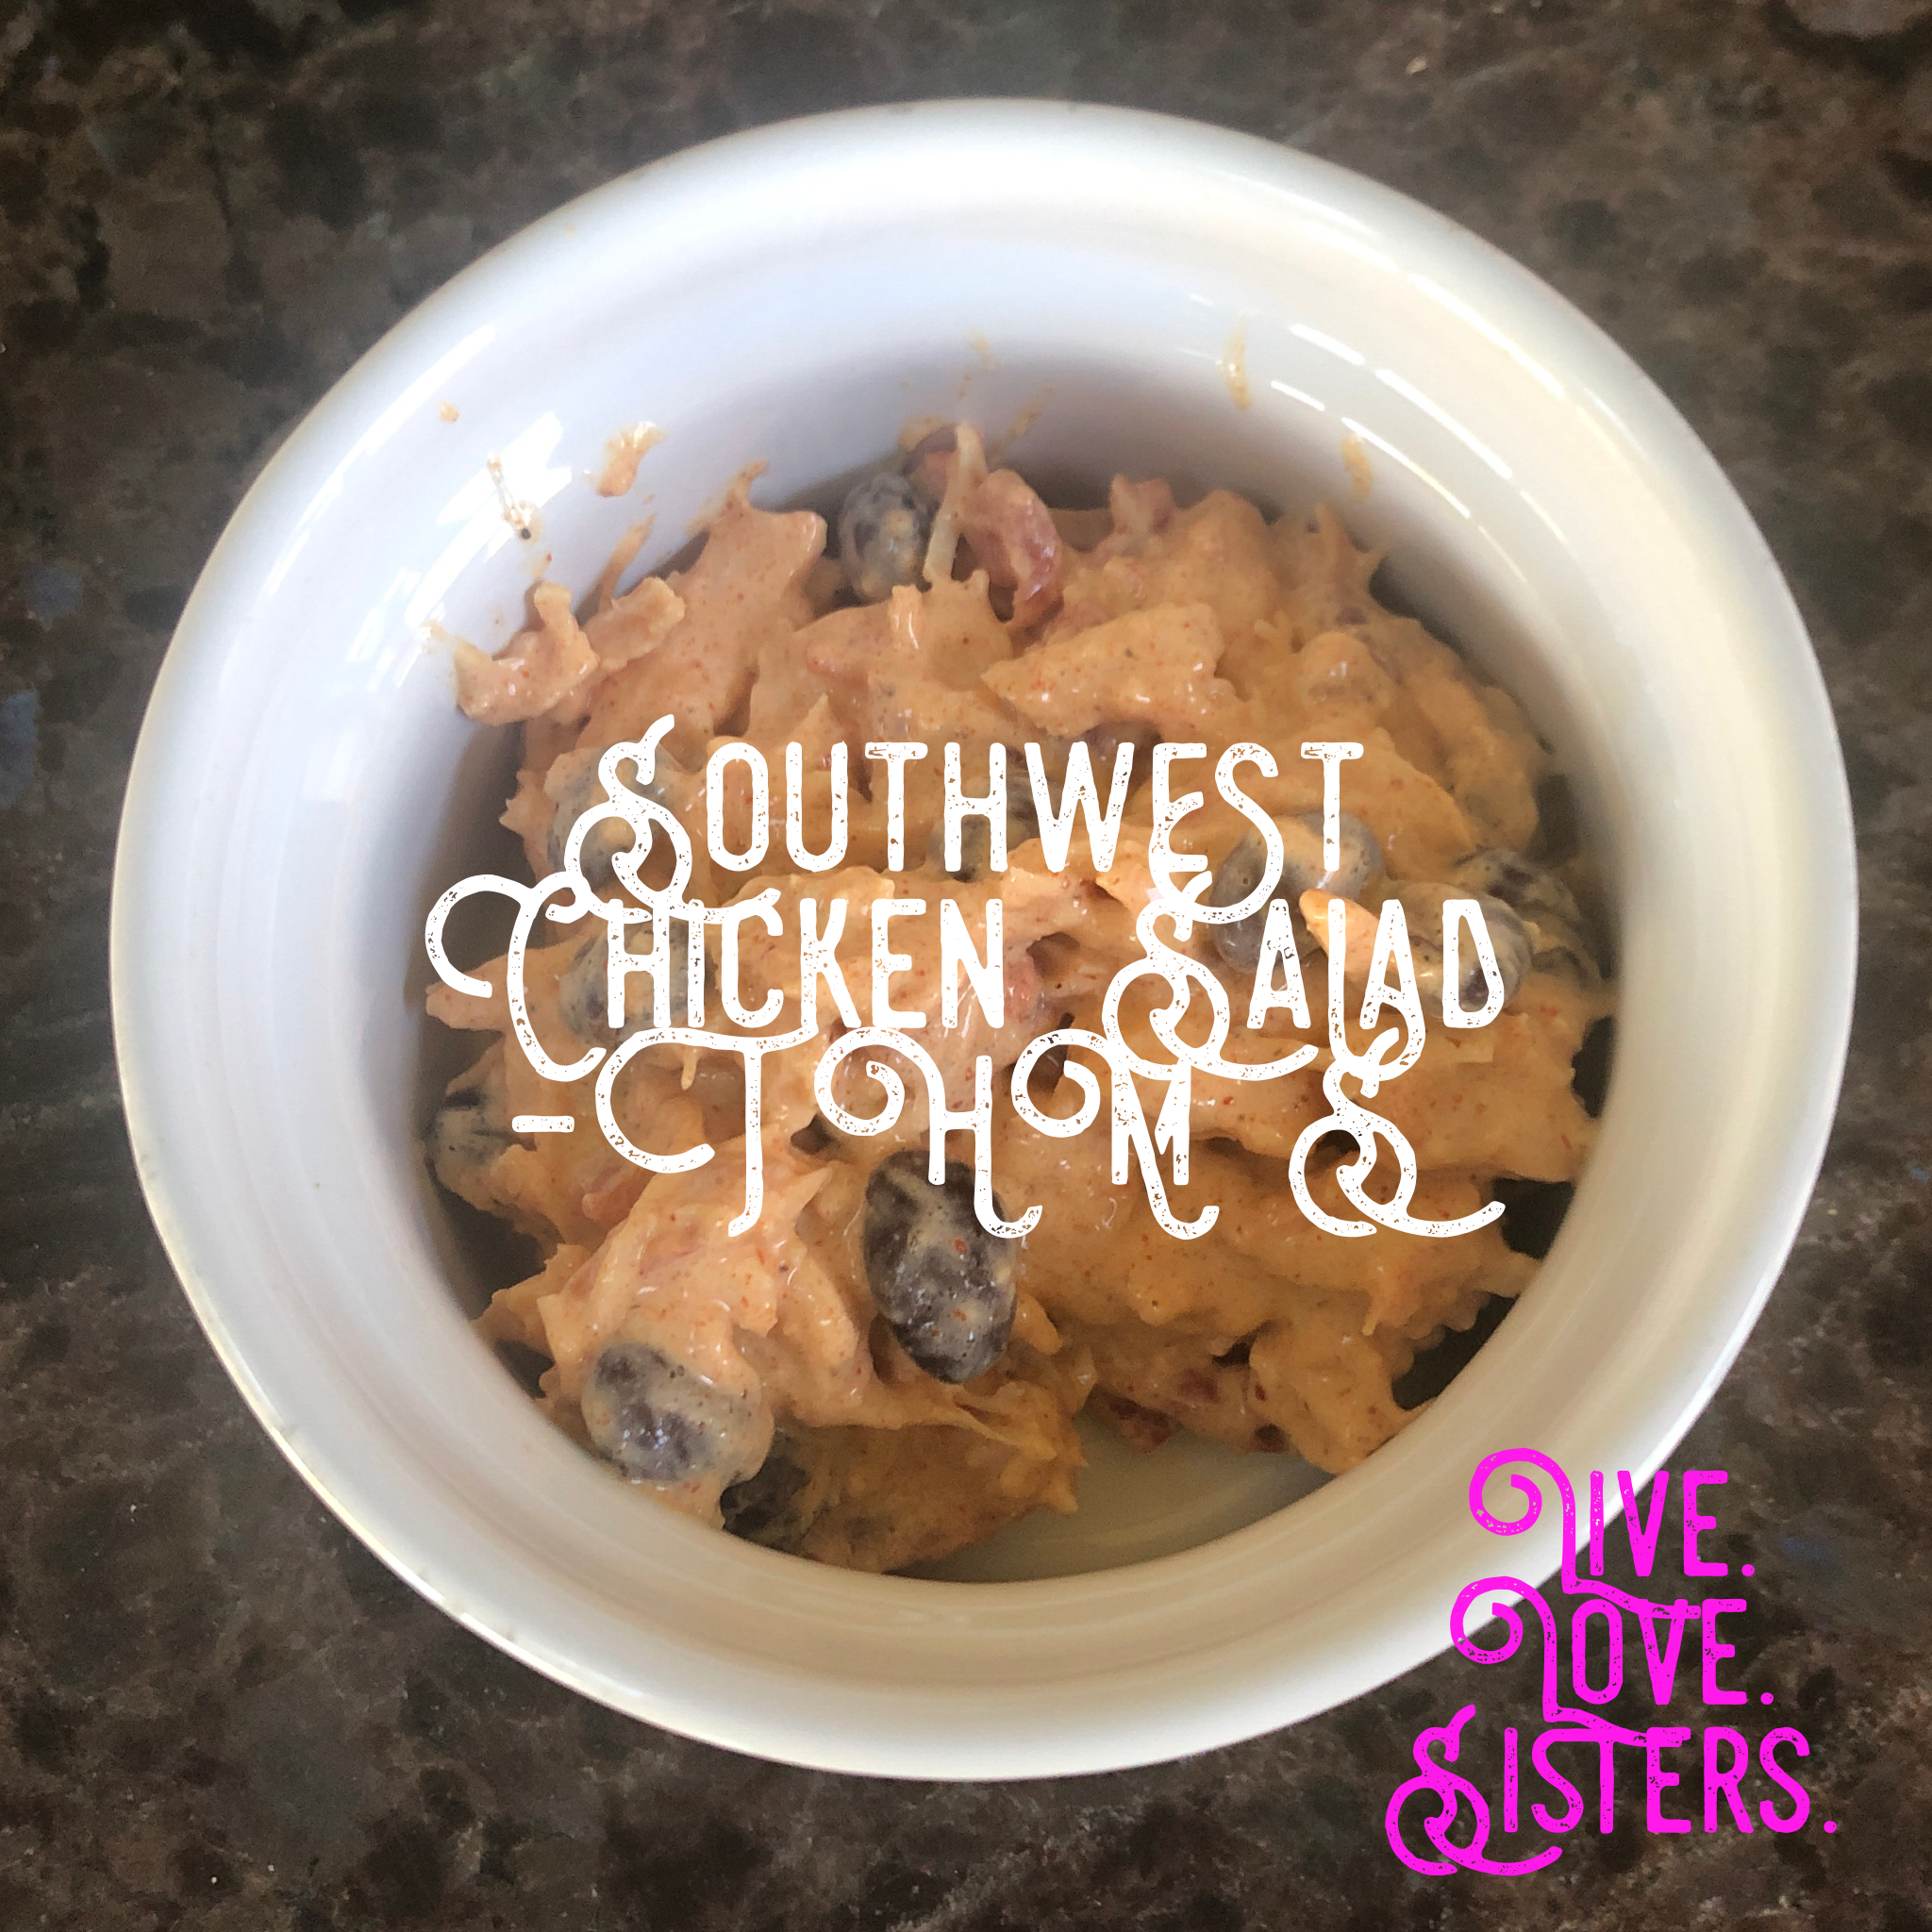
I love a chicken salad, and I love the many variations of chicken salad! One of my friends got me started on a chipotle chicken salad sold at Aldi, and I loved it. The problem is, it wasn’t Trim Healthy Mama (THM) friendly! So I set out to make a THM friendly version.
I also love a quick recipe that doesn’t take a lot to put together. This recipe fits the bill! Its quick, and protein packed. Just a little will fill you up! I love to eat it with sliced bell peppers or cucumbers to keep the meal in S mode, (Low Carb!).
Recipe
2 cans chicken drained
1 cup sour cream
1/2 cup mayo
1/2 can black beans rinsed and drained
1 can rotel- drained
2 T taco seasoning
Salt and Pepper to taste!
Take the sour cream, mayo and seasonings and stir up well in a medium bowl. Then fold in the Rotel, beans and canned chicken.
This tastes best if you let it chill for a little bit in the fridge so the flavors can meld and its a nice cold temperature. I tend to like chicken salads best when they are cold versus room temp!
Try eating on slices of bell pepper, or cucumber slices! You could also make chips out of a low carb pita or low carb tortilla for a nice low carb snack!