Okay. I love Nutella. I love peanut butter. I love almond butter! I love eating these treats right out of the jar, or with celery, apples, chocolate chips. Options are endless. I swapped sugar filled nut butters for natural nut butters, and trim healthy mama “peanut junkie butter” for something with less fat! Which inspired me to make this recipe!
There is 2-4 ingredients in this recipe depending on your tastes. It’s SO quick
1 scoop chocolate pea protein
2-4 T water (depends on the texture you prefer)
Optional 1 T peanut flour
Optional 1/2 tsp sweetener (I like a packet of truvia for simplicity!!)
Mix it all together and you’ve got a protein packed Nutella substitute for fruit, veggies, toast or just eating right out of the container!
My favorite pea protein is Truvani
My favorite meal replacement protein is Shakeology- message me for your shakeology hookup and discounts!
Everyone’s mother told them to eat their veggies. You’ve heard it. But now I bring it up in a different way-
If you want to make fast progress, you need to be eating your veggies. Fill most of your plate with them! Make yourself eat the veggies in your plate first, before enjoying your main course. This habit has been huge in my weight loss progress.
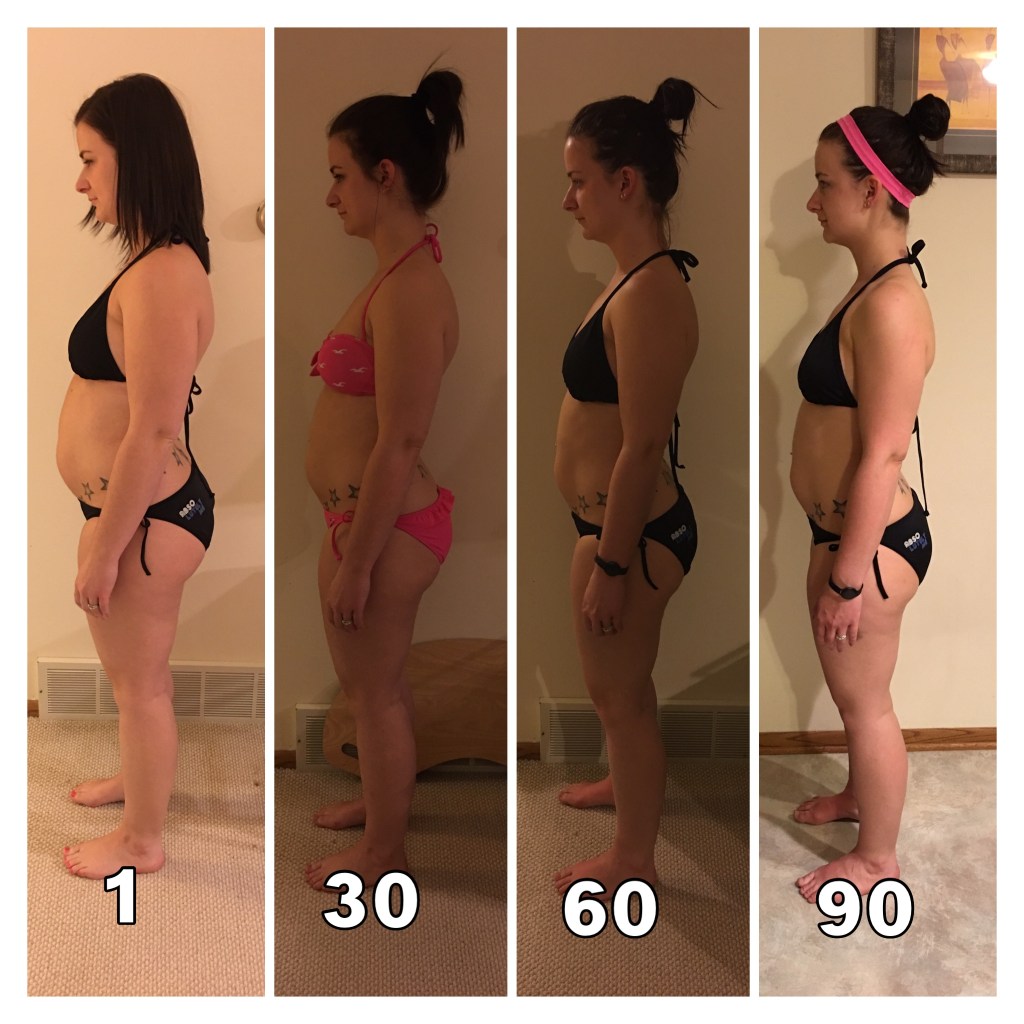
I lost a good amount of weight with Trim Healthy Mama in 2016. Here’s my photos! I did this with simply stating on plan and separating my fuels. But as time went on- I got stuck. Couldn’t loose more weight. I thought “this is where my body wants to be” and I got complacent.
I wasn’t unhappy. I didn’t realize what I was missing. But I was missing something. A couple things actually! One of the big ones was veggies. And the other big one was exercise. I realized I was missing something and began incorporating 20-30min workouts to my day. Now I spend 20-30 minutes a day exercising and giving myself that gift of mama time.
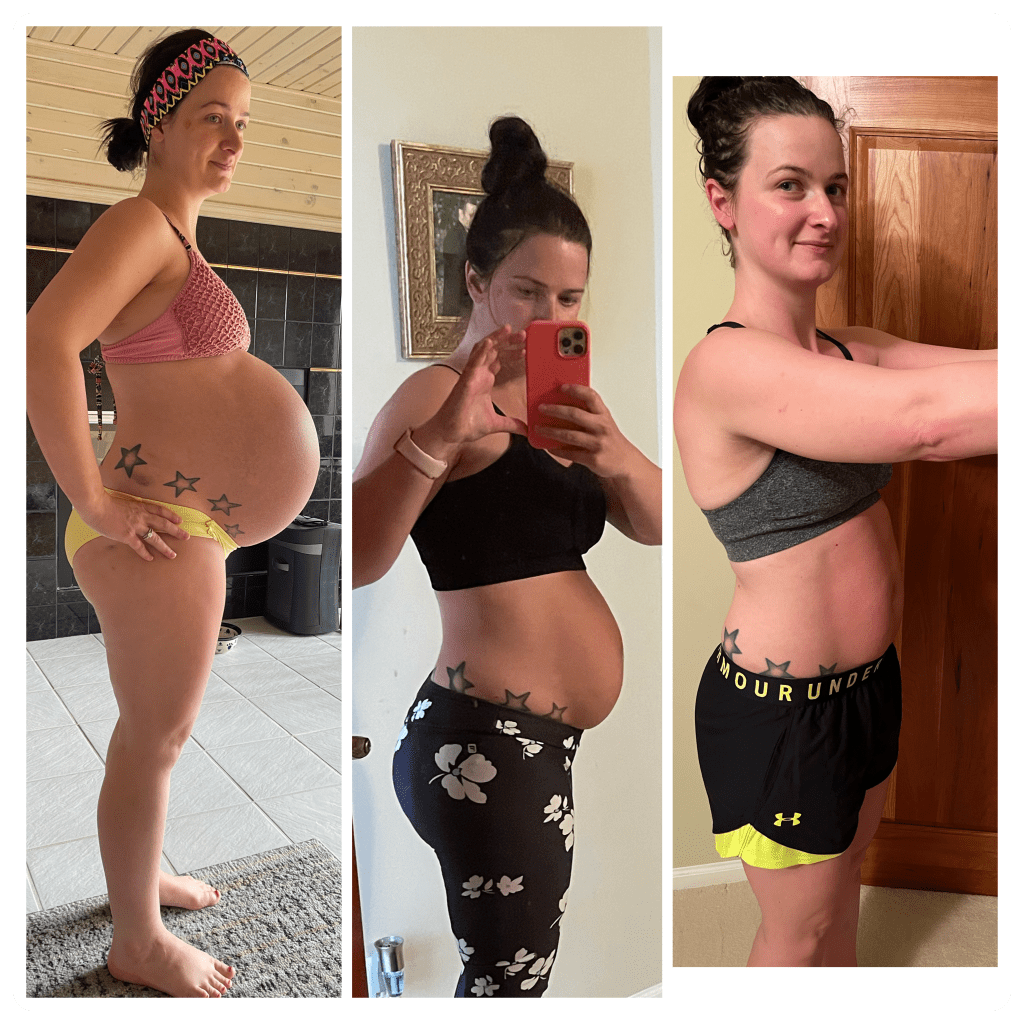
Since my original weight loss I’ve had multiple pregnancies and experiences the changes that come along with hormone fluctuations and sleep deprivation. Despite all of that, I am healthier than ever!
Eat those veggies! Stay tuned for a day of my meals post for ideas!
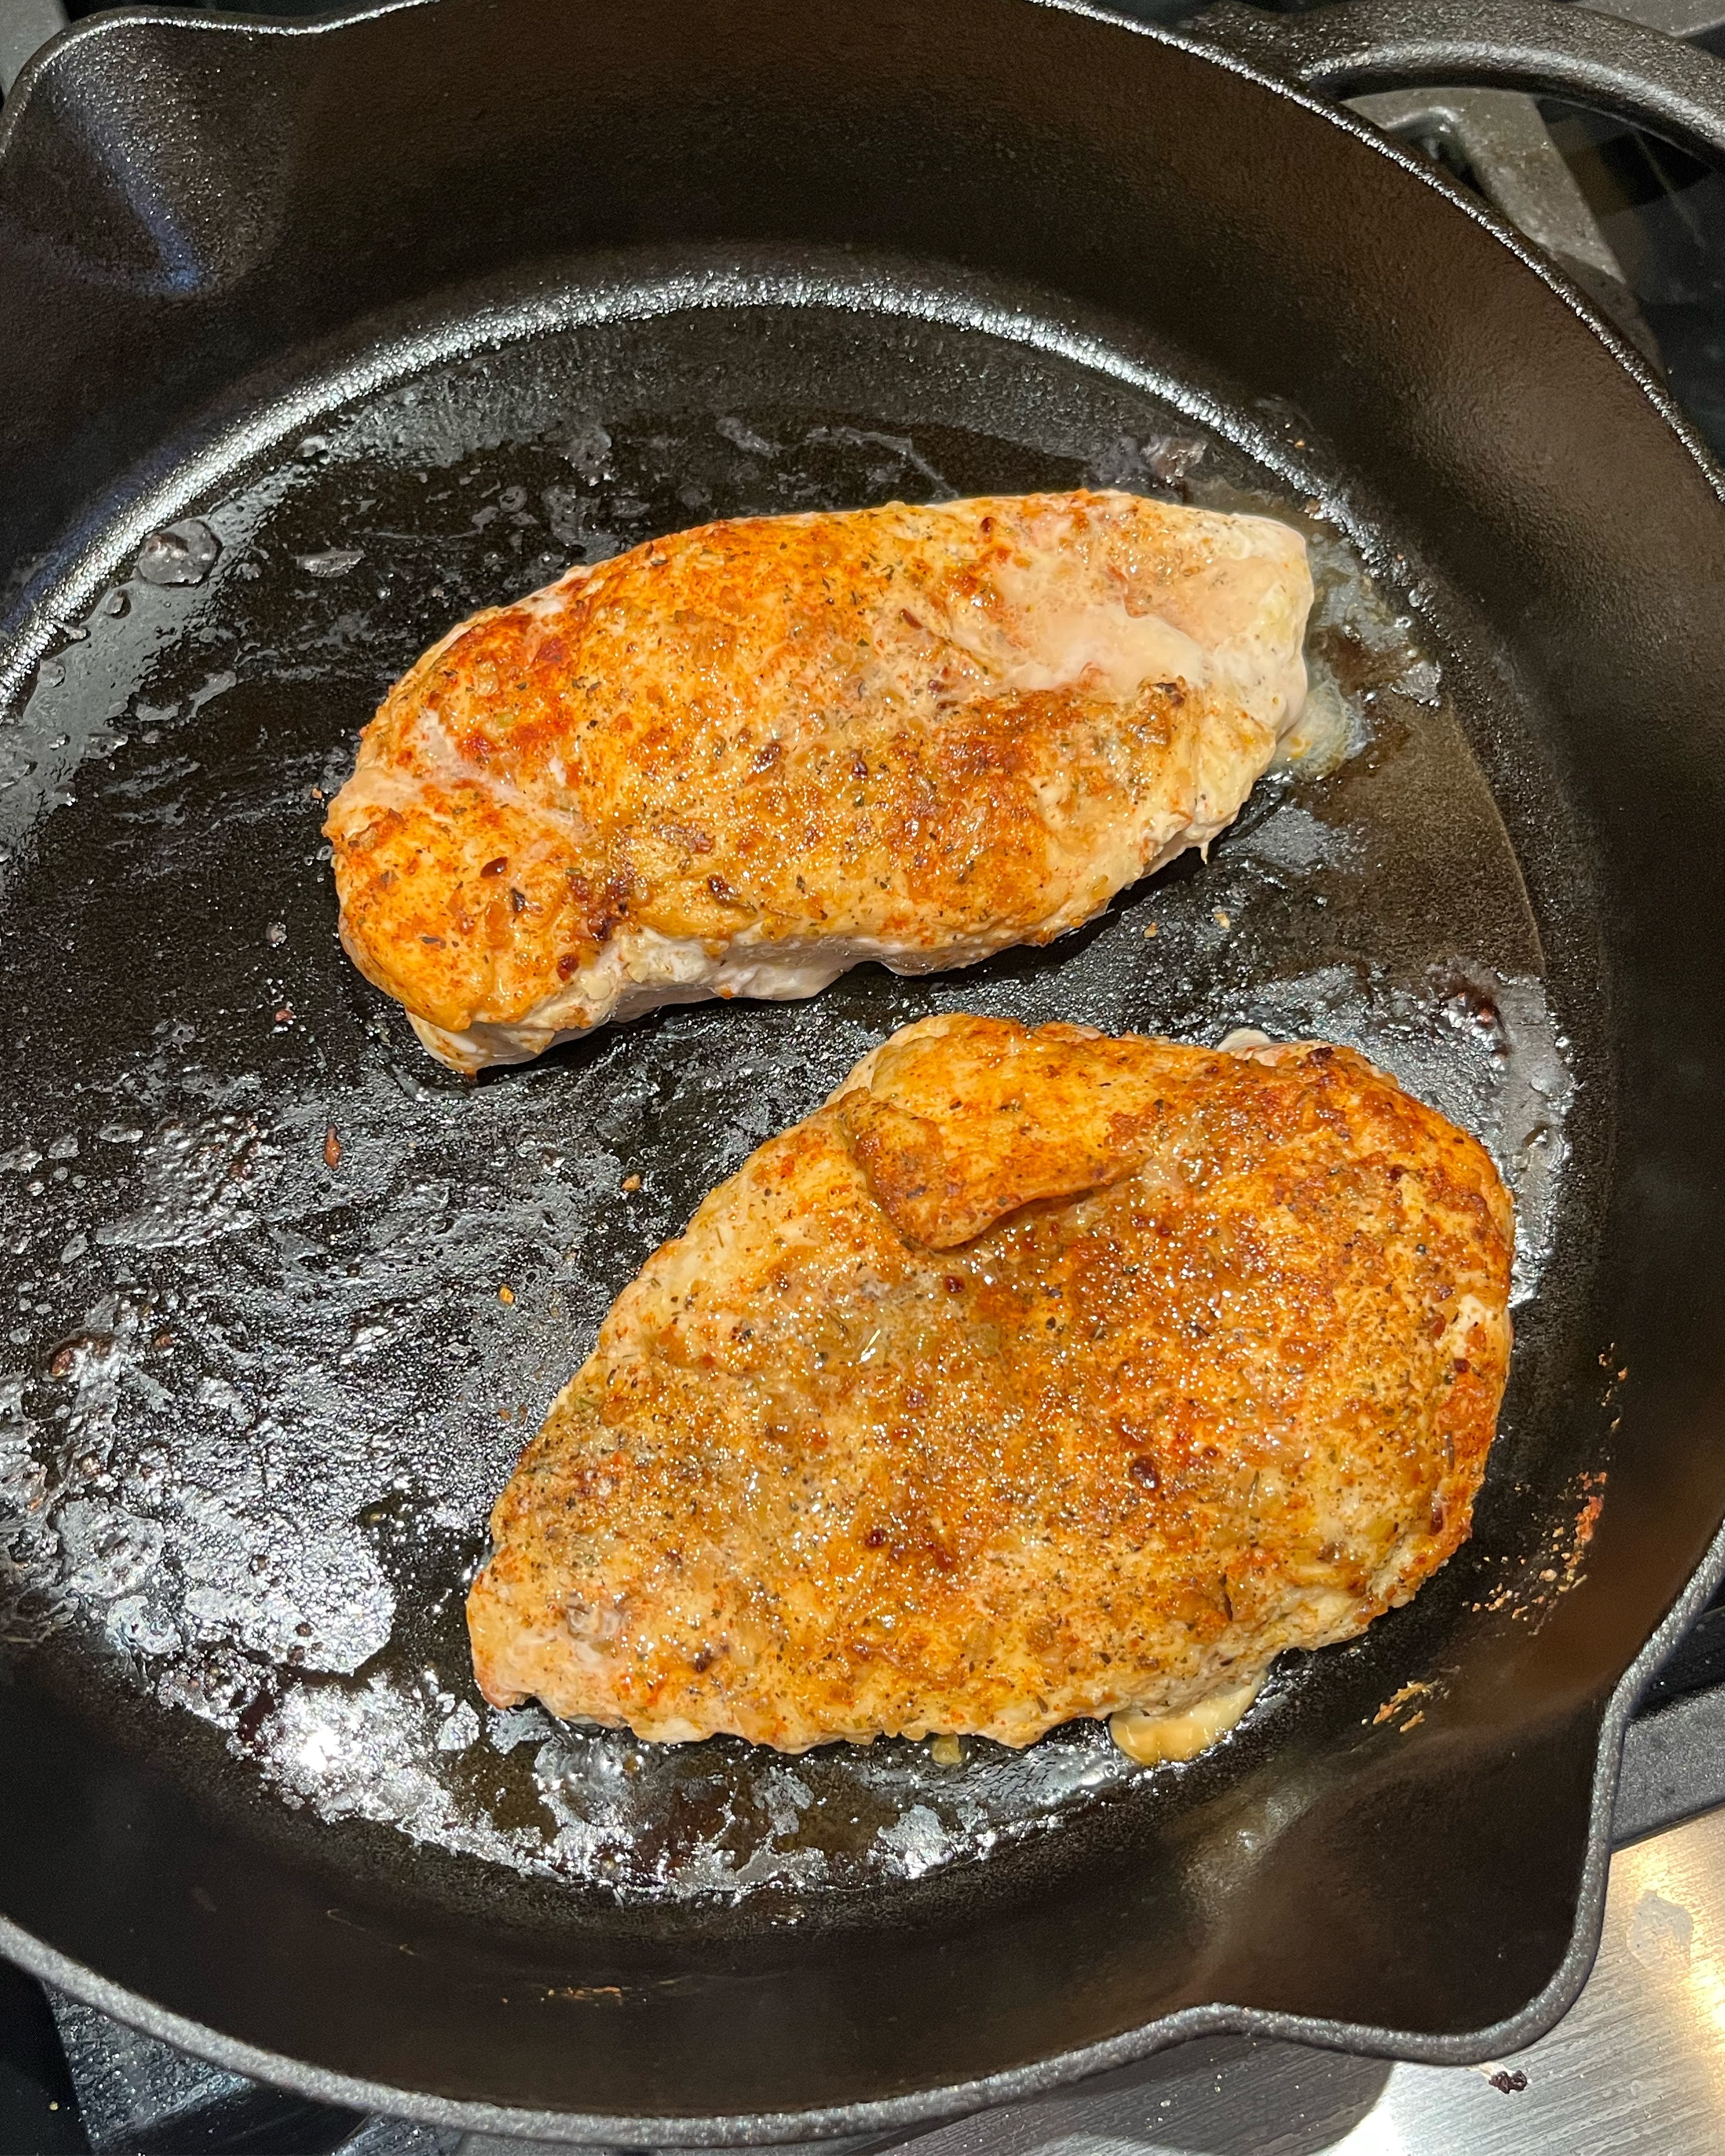
Cast iron chicken is low carb, low fat, dairy free and gluten free – easiest juicy chicken ever!
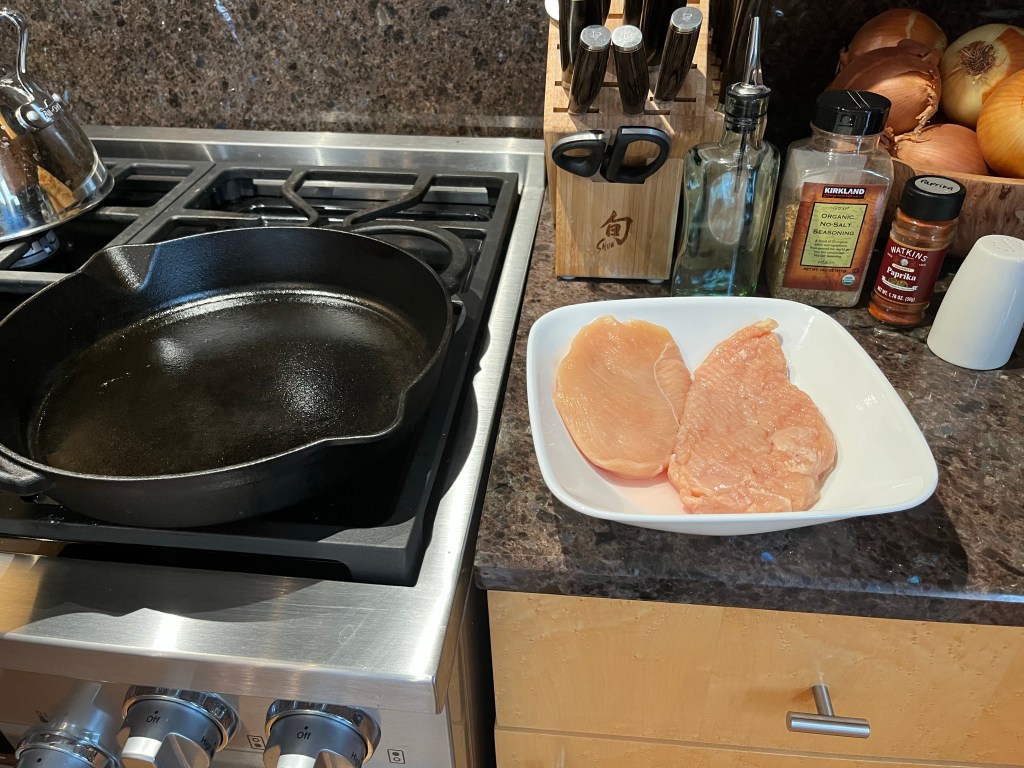
Here it is, the recipe I teased you about last week. Cast-iron chicken. This recipe is so easy because it has just a few ingredients, and you can easily change up the spices for whatever mood you are in, or your family‘s taste. My favorite is this no salt seasoning that I get from Costco, I think it’s their version of Mrs. Dash. I also use a little bit of salt, and paprika. Paprika is the spice that gives this chicken a beautiful golden color, and it’s also one of the main spices in the breading recipe for KFC. But this chicken is not soaked in grease, and it’s also not covered in a whole bunch of MSG and unhealthy breading.
Preheat the oven to 350 before you get started!
You’re going to start with raw chicken breast, it needs to be thawed if it had been frozen. Then season both sides with your blend of spices, you’ll see that I have used salt, paprika and a no salt seasoning blend from Costco. Rub it into both sides of the chicken so that it doesn’t fall off when you put it in the pan.
Preheat a cast-iron skillet over medium heat. It has to be a cast-iron skillet because we’re going to be sticking it in the oven. Cast-iron also has the ability to give the chicken a even heat, and a nice crust on it. I think this could be accomplished in a stainless steel pan if you have one, but definitely not in Teflon. Disclaimer- I have not tried it in stainless steel so don’t quote me on if it works or not! The nice thing about cast-iron is that once it is well seasoned you hardly need any grease in your pan which is what makes this recipe low fat!
Put about a teaspoon size drizzle of olive oil, or avocado oil into your cast-iron skillet and allow it to heat for just a moment. Then set your chicken breast in one at a time gently so that the grease doesn’t splatter. Once you set the chicken and don’t move it around until you’re ready to flip, because you are developing that nice crust and you don’t want to rip all the seasonings off.
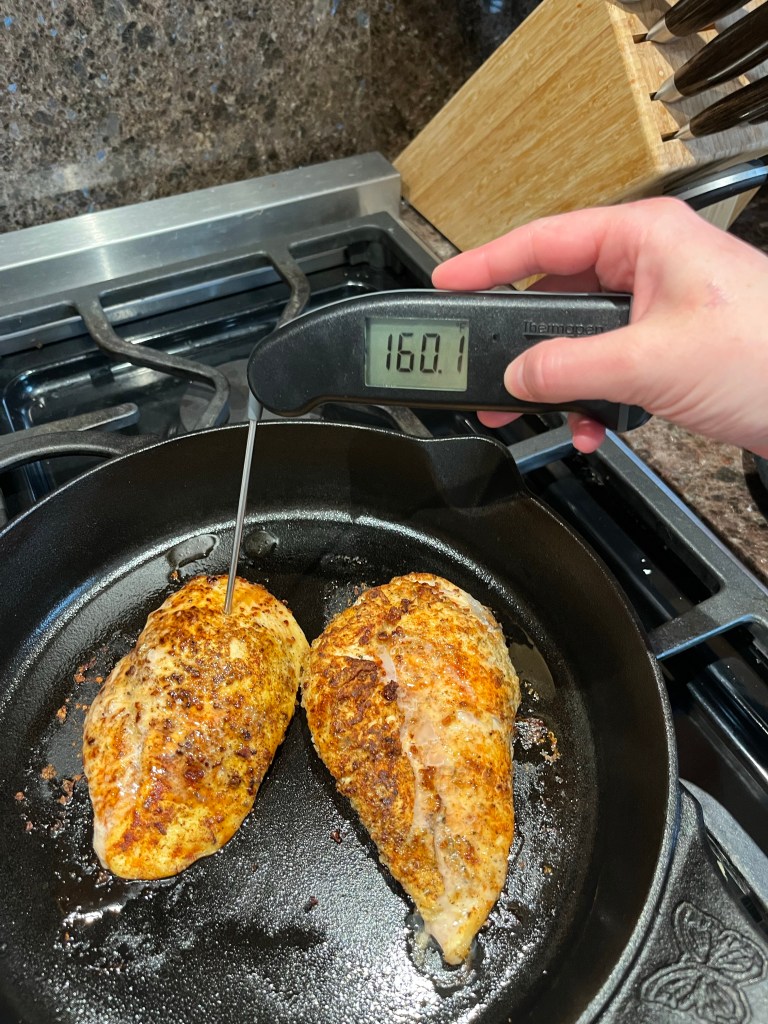
After about two minutes over medium heat flip the chicken and let it sit for 30 seconds or so just long enough to grab some aluminum foil out of your cupboard. Then turn off the burner lightly cover the pan with aluminum foil and pop it into the oven at 350° for 20 minutes. 20 minutes seems to be the perfect amount of time my chicken always comes out at 160 which is done but not a single degree over done. Which is what keeps the chicken super juicy.
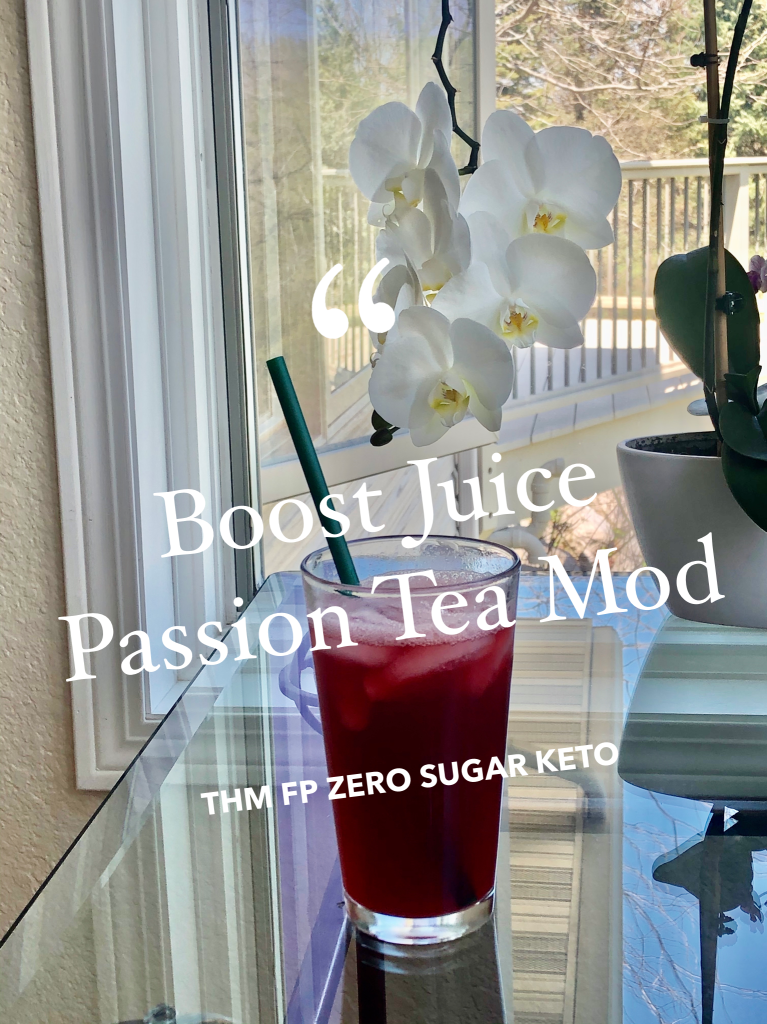
Have you ever had the passion tea lemonade at Starbucks? It’s tasty. But it’s just full of sugar. For years I have made my own passion tea lemonade with a sugar-free lemonade alternative. But now I’ve taken it one step further and made a boost juice mod to this Starbucks copy cat drink!
Recipe
Brew one bag of passion tea (or any berry tea you like!) in 1 cup hot water
Once the tea is brewed, stir in 1 tsp of baobab and 1 doonk pure stevia (or sweetener of your choice!)
Pour over ice and stir in 1 tablespoon lemon juice
I wanted to start making my own almond milk, because it’s so much cheaper and I know exactly what ingredients I am putting into my beverage. I thought it would be quite difficult, so I didn’t try it for a long time. It’s actually really easy! You should try it!
My method
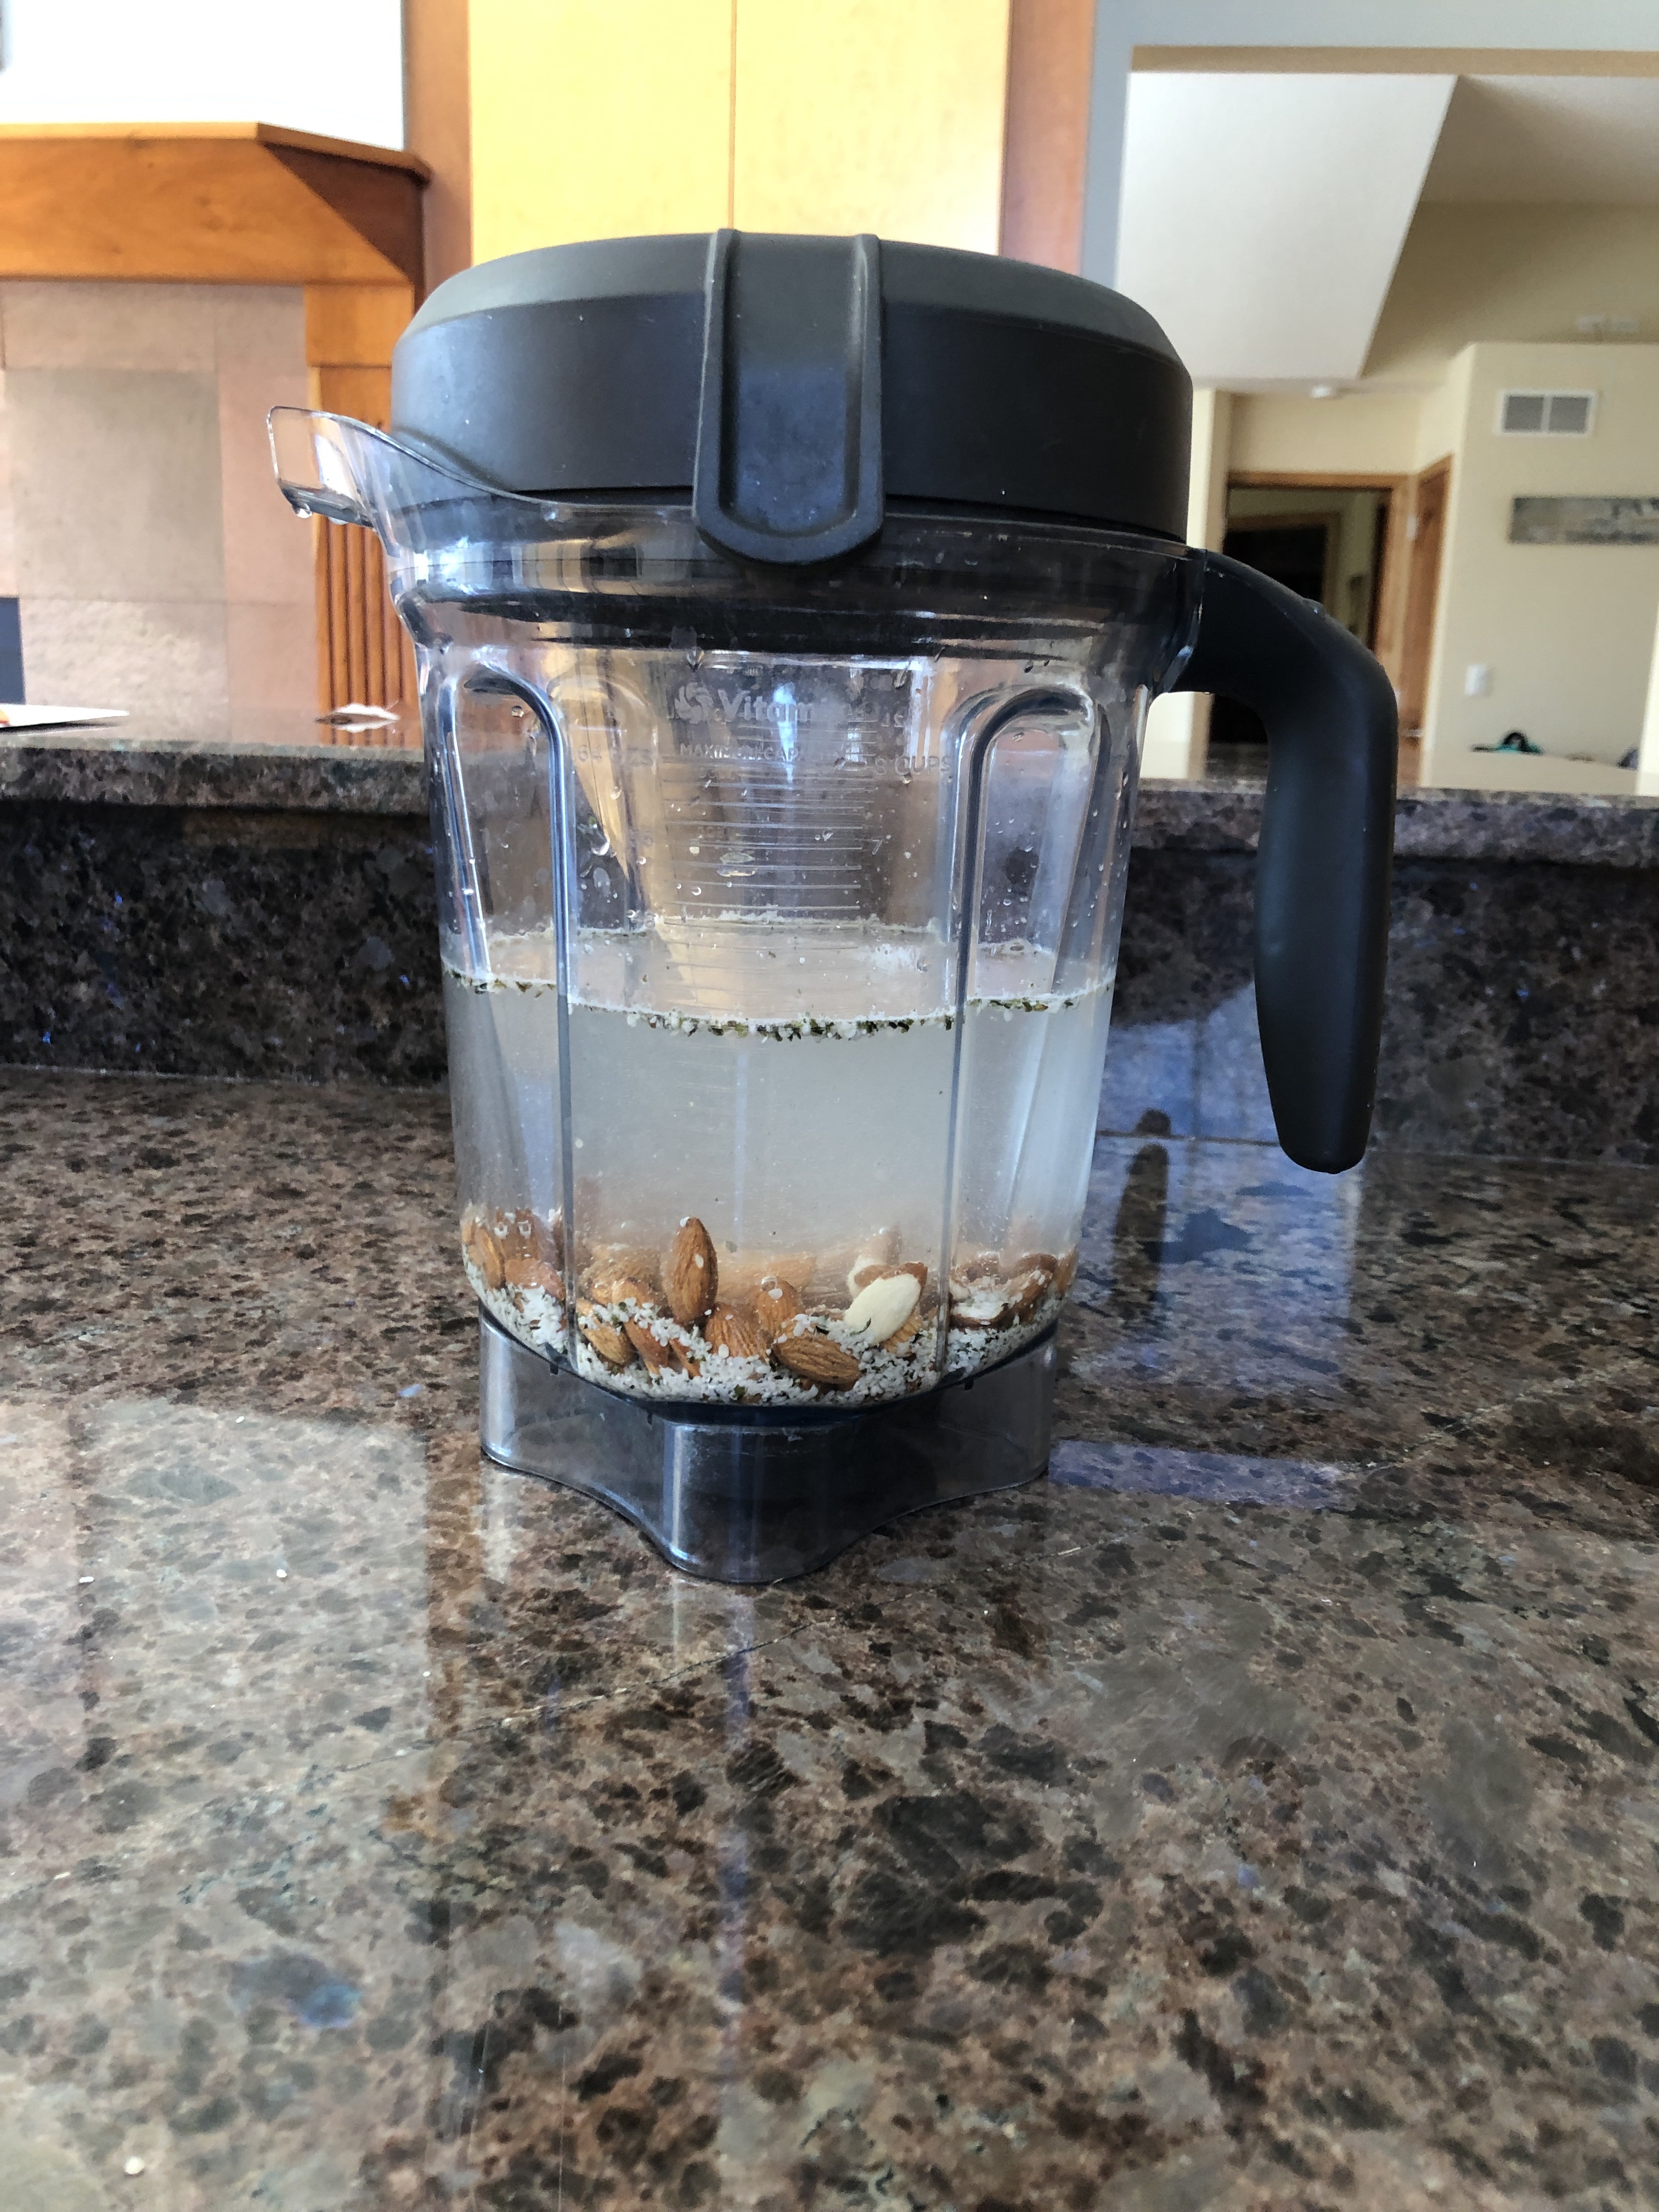
Soak 1 cup of almonds and 1/4 cup of hemp hearts in your blender with water for 4-6 hours.
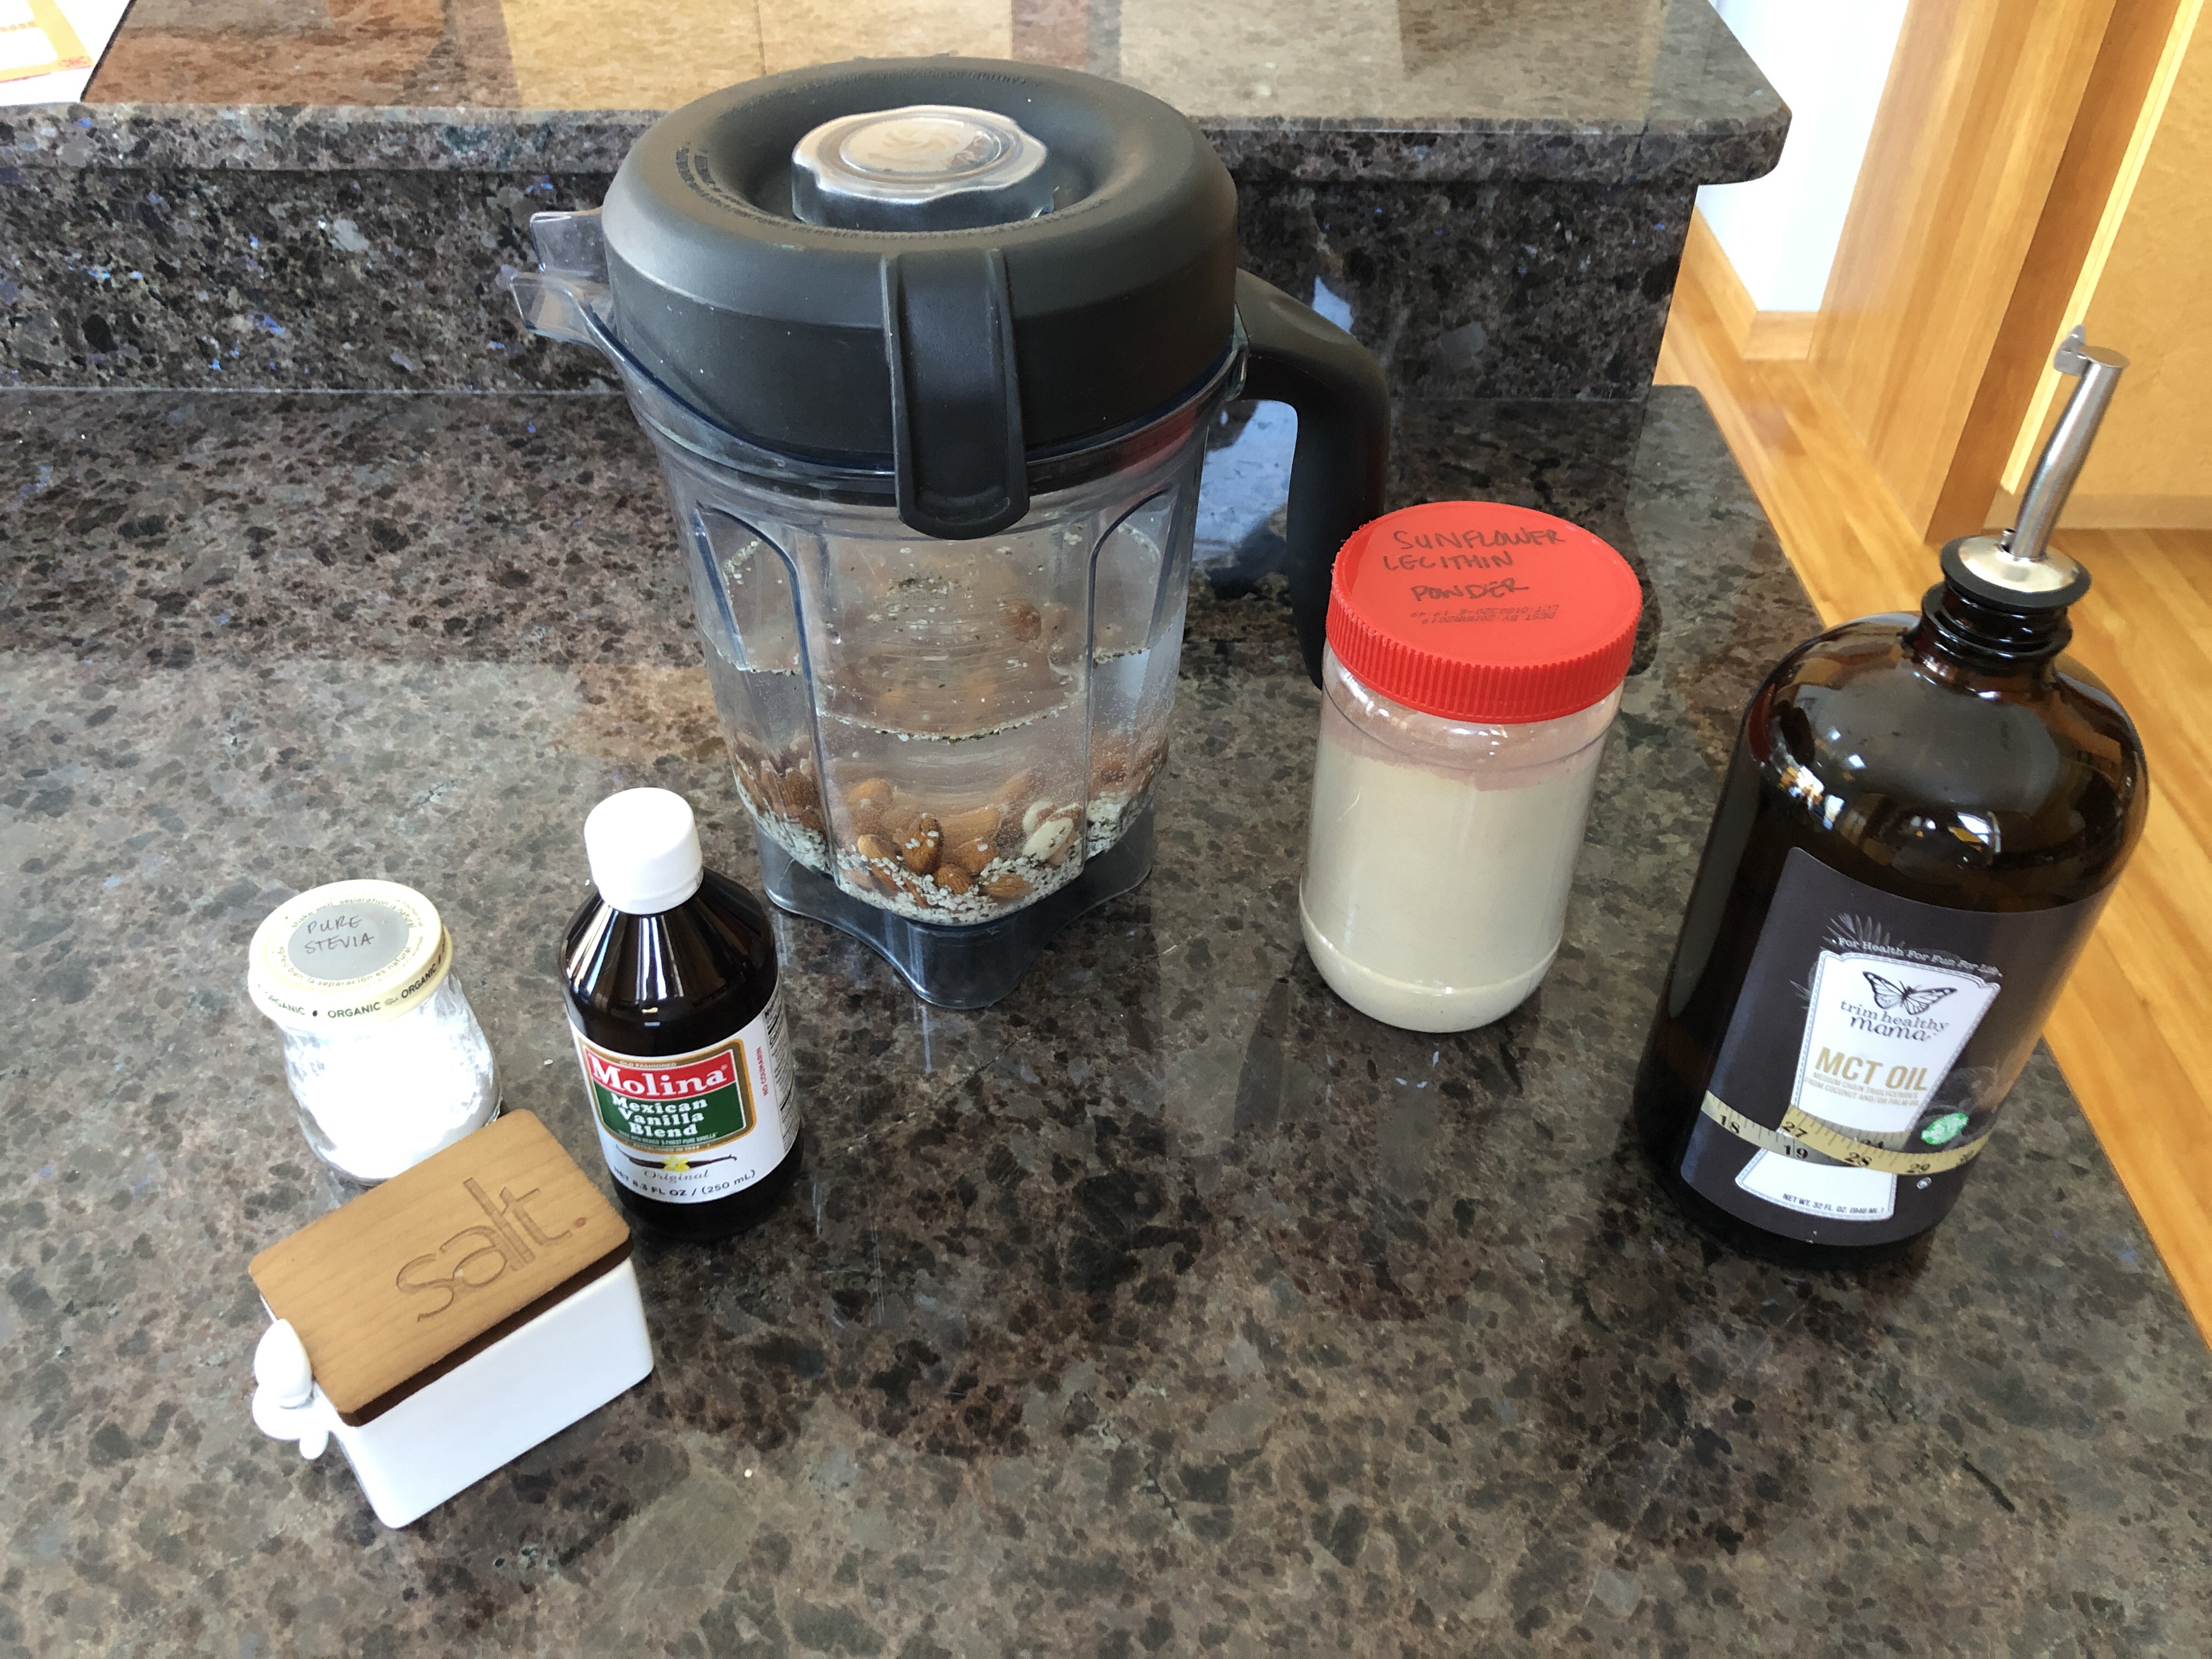
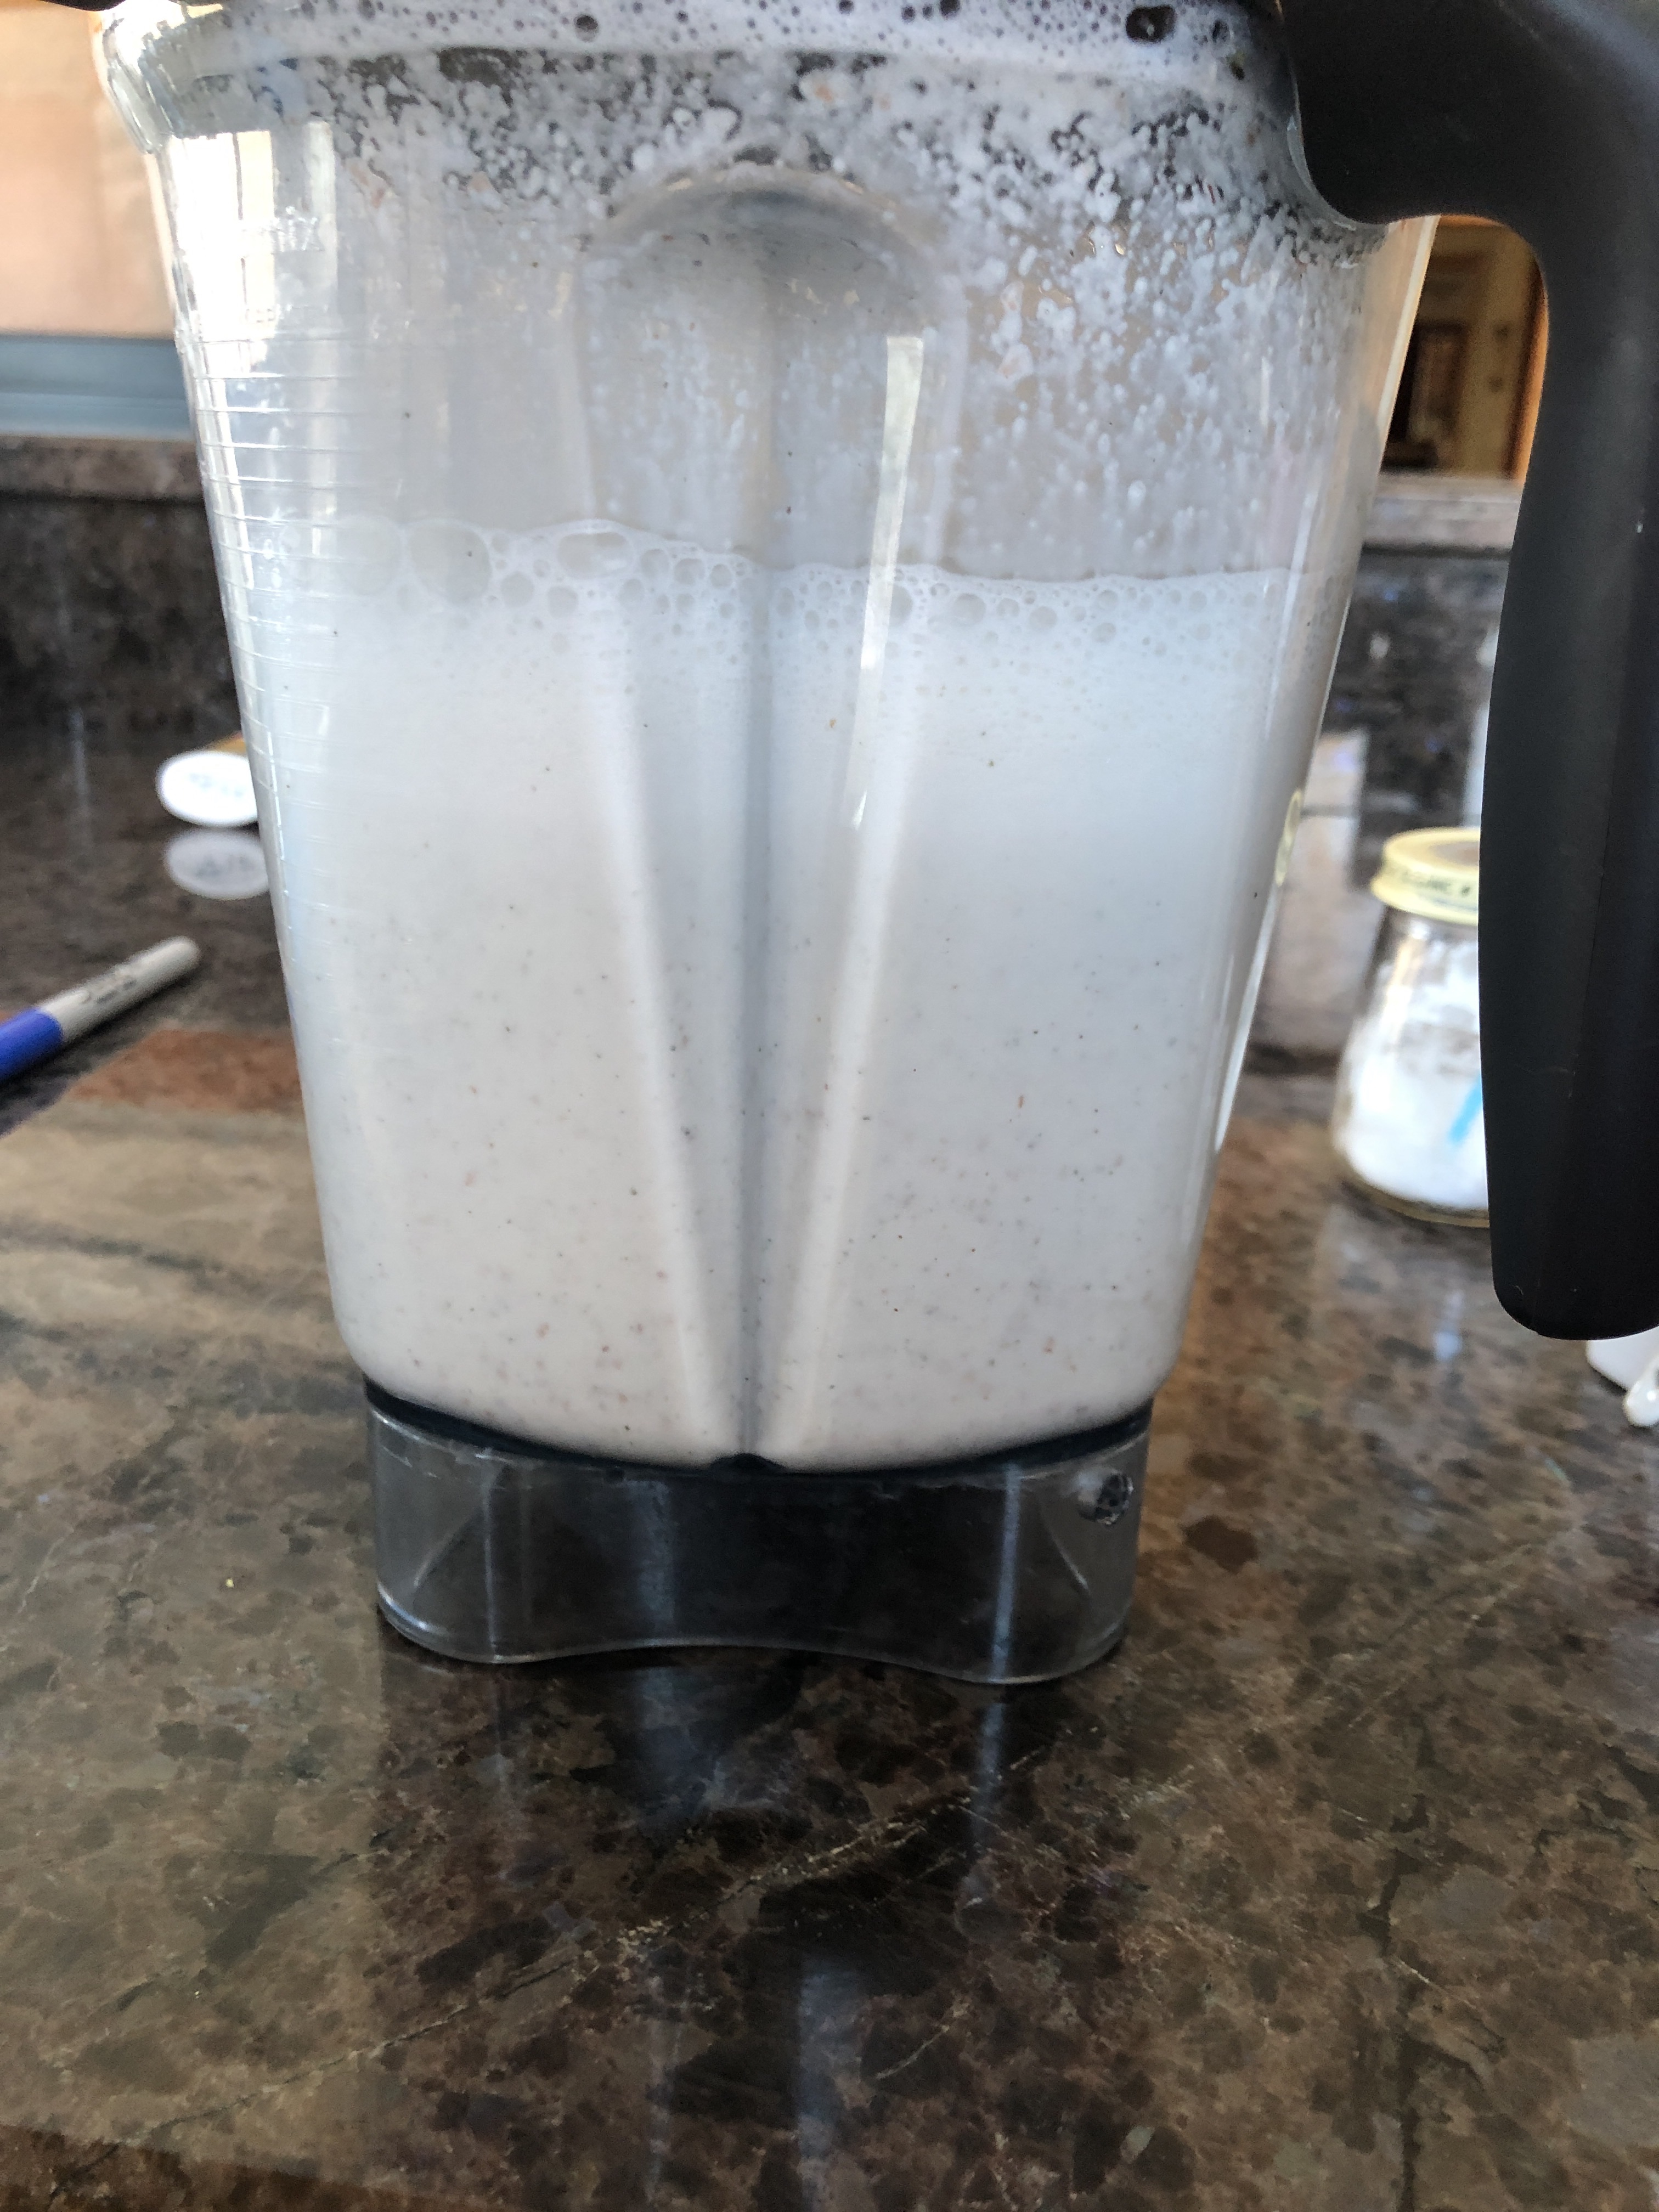
Once the almonds and hemp hearts have soaked, strain them, and return to the blender with 4 fresh cups water and add in 1/4 teaspoon of sunflower lecithin, a pinch of salt and 1 teaspoon MCT oil. for vanilla flavored almond milk add 1 teaspoon vanilla and 1 doonk (1/32 tsp) pure stevia powder.
Then blend it up on your blender for at least 30 seconds, but until you stop hearing the almonds crushing up.
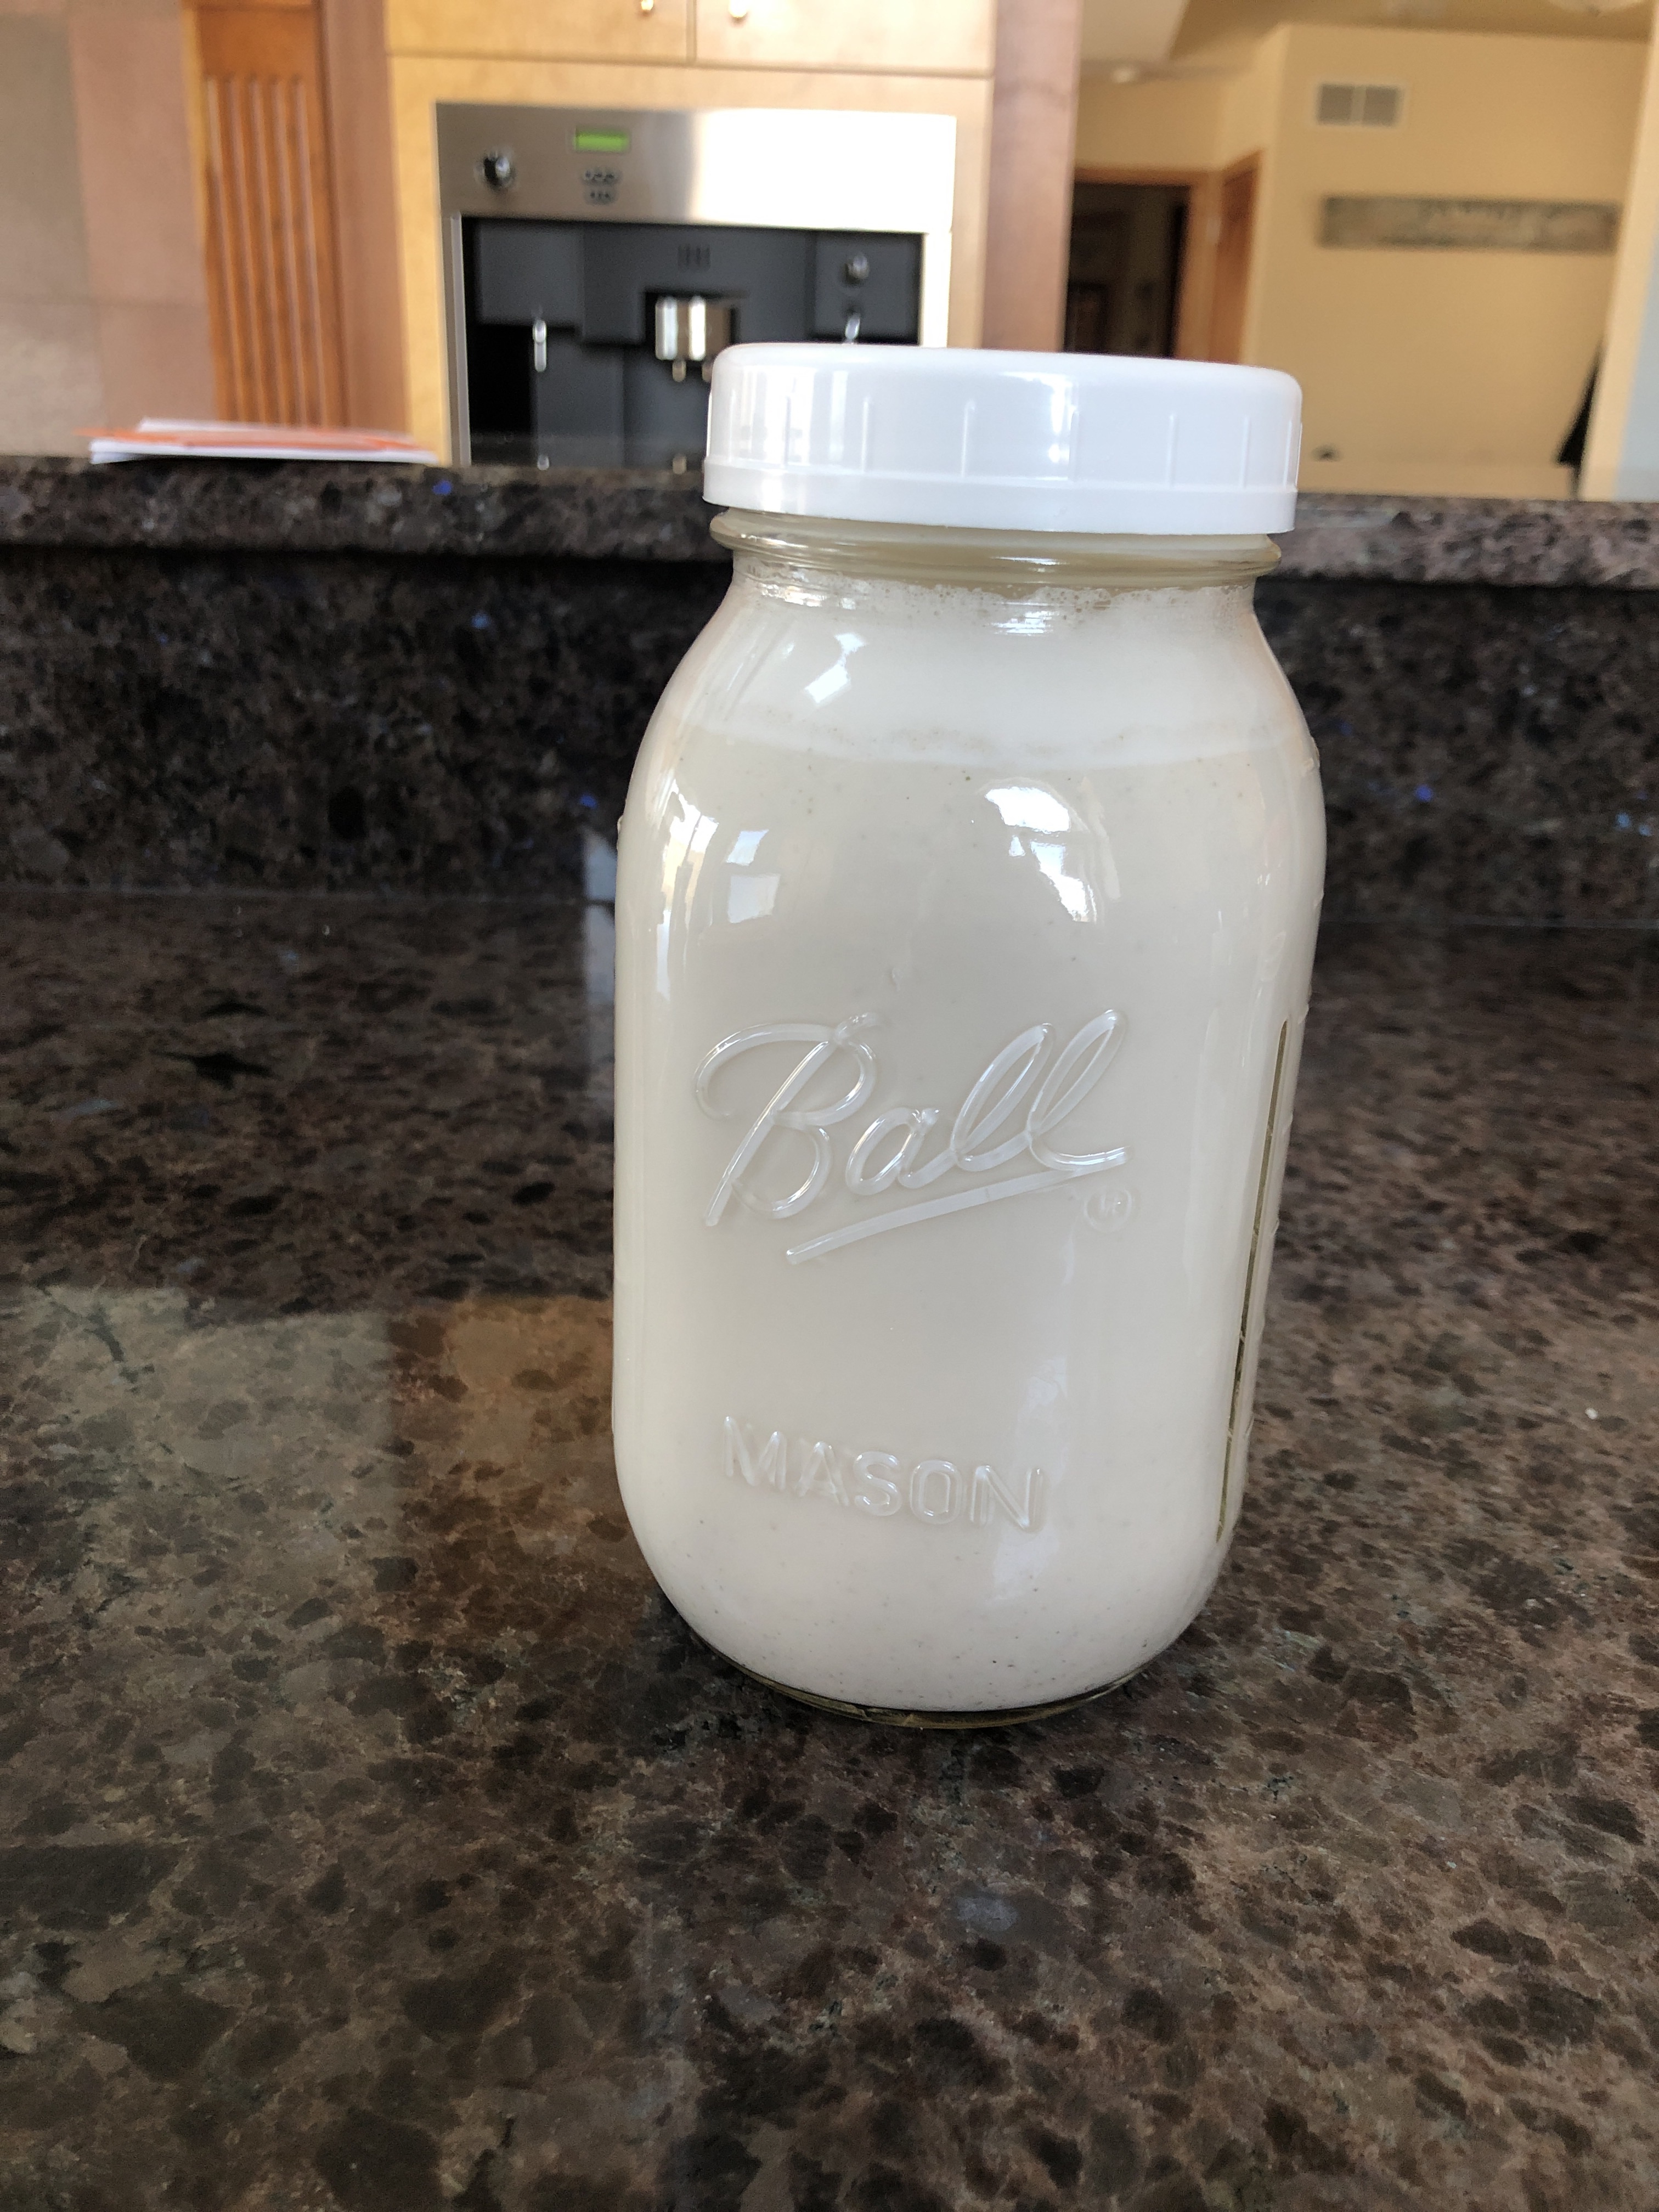
Last you will need to strain out the pulp. This can be accomplished by using a nut bag, Or a fine mesh strainer. I like to use a fine mesh strainer because I feel it’s easy to wash out and I don’t mind the small bits of almonds that make it through the strainer. However you will get a tiny bit of pulp with this method. Using a nut bag will produce a silky a cup of almond milk!
This costs me about 1$ per quart since I buy a bulk bag of almonds!
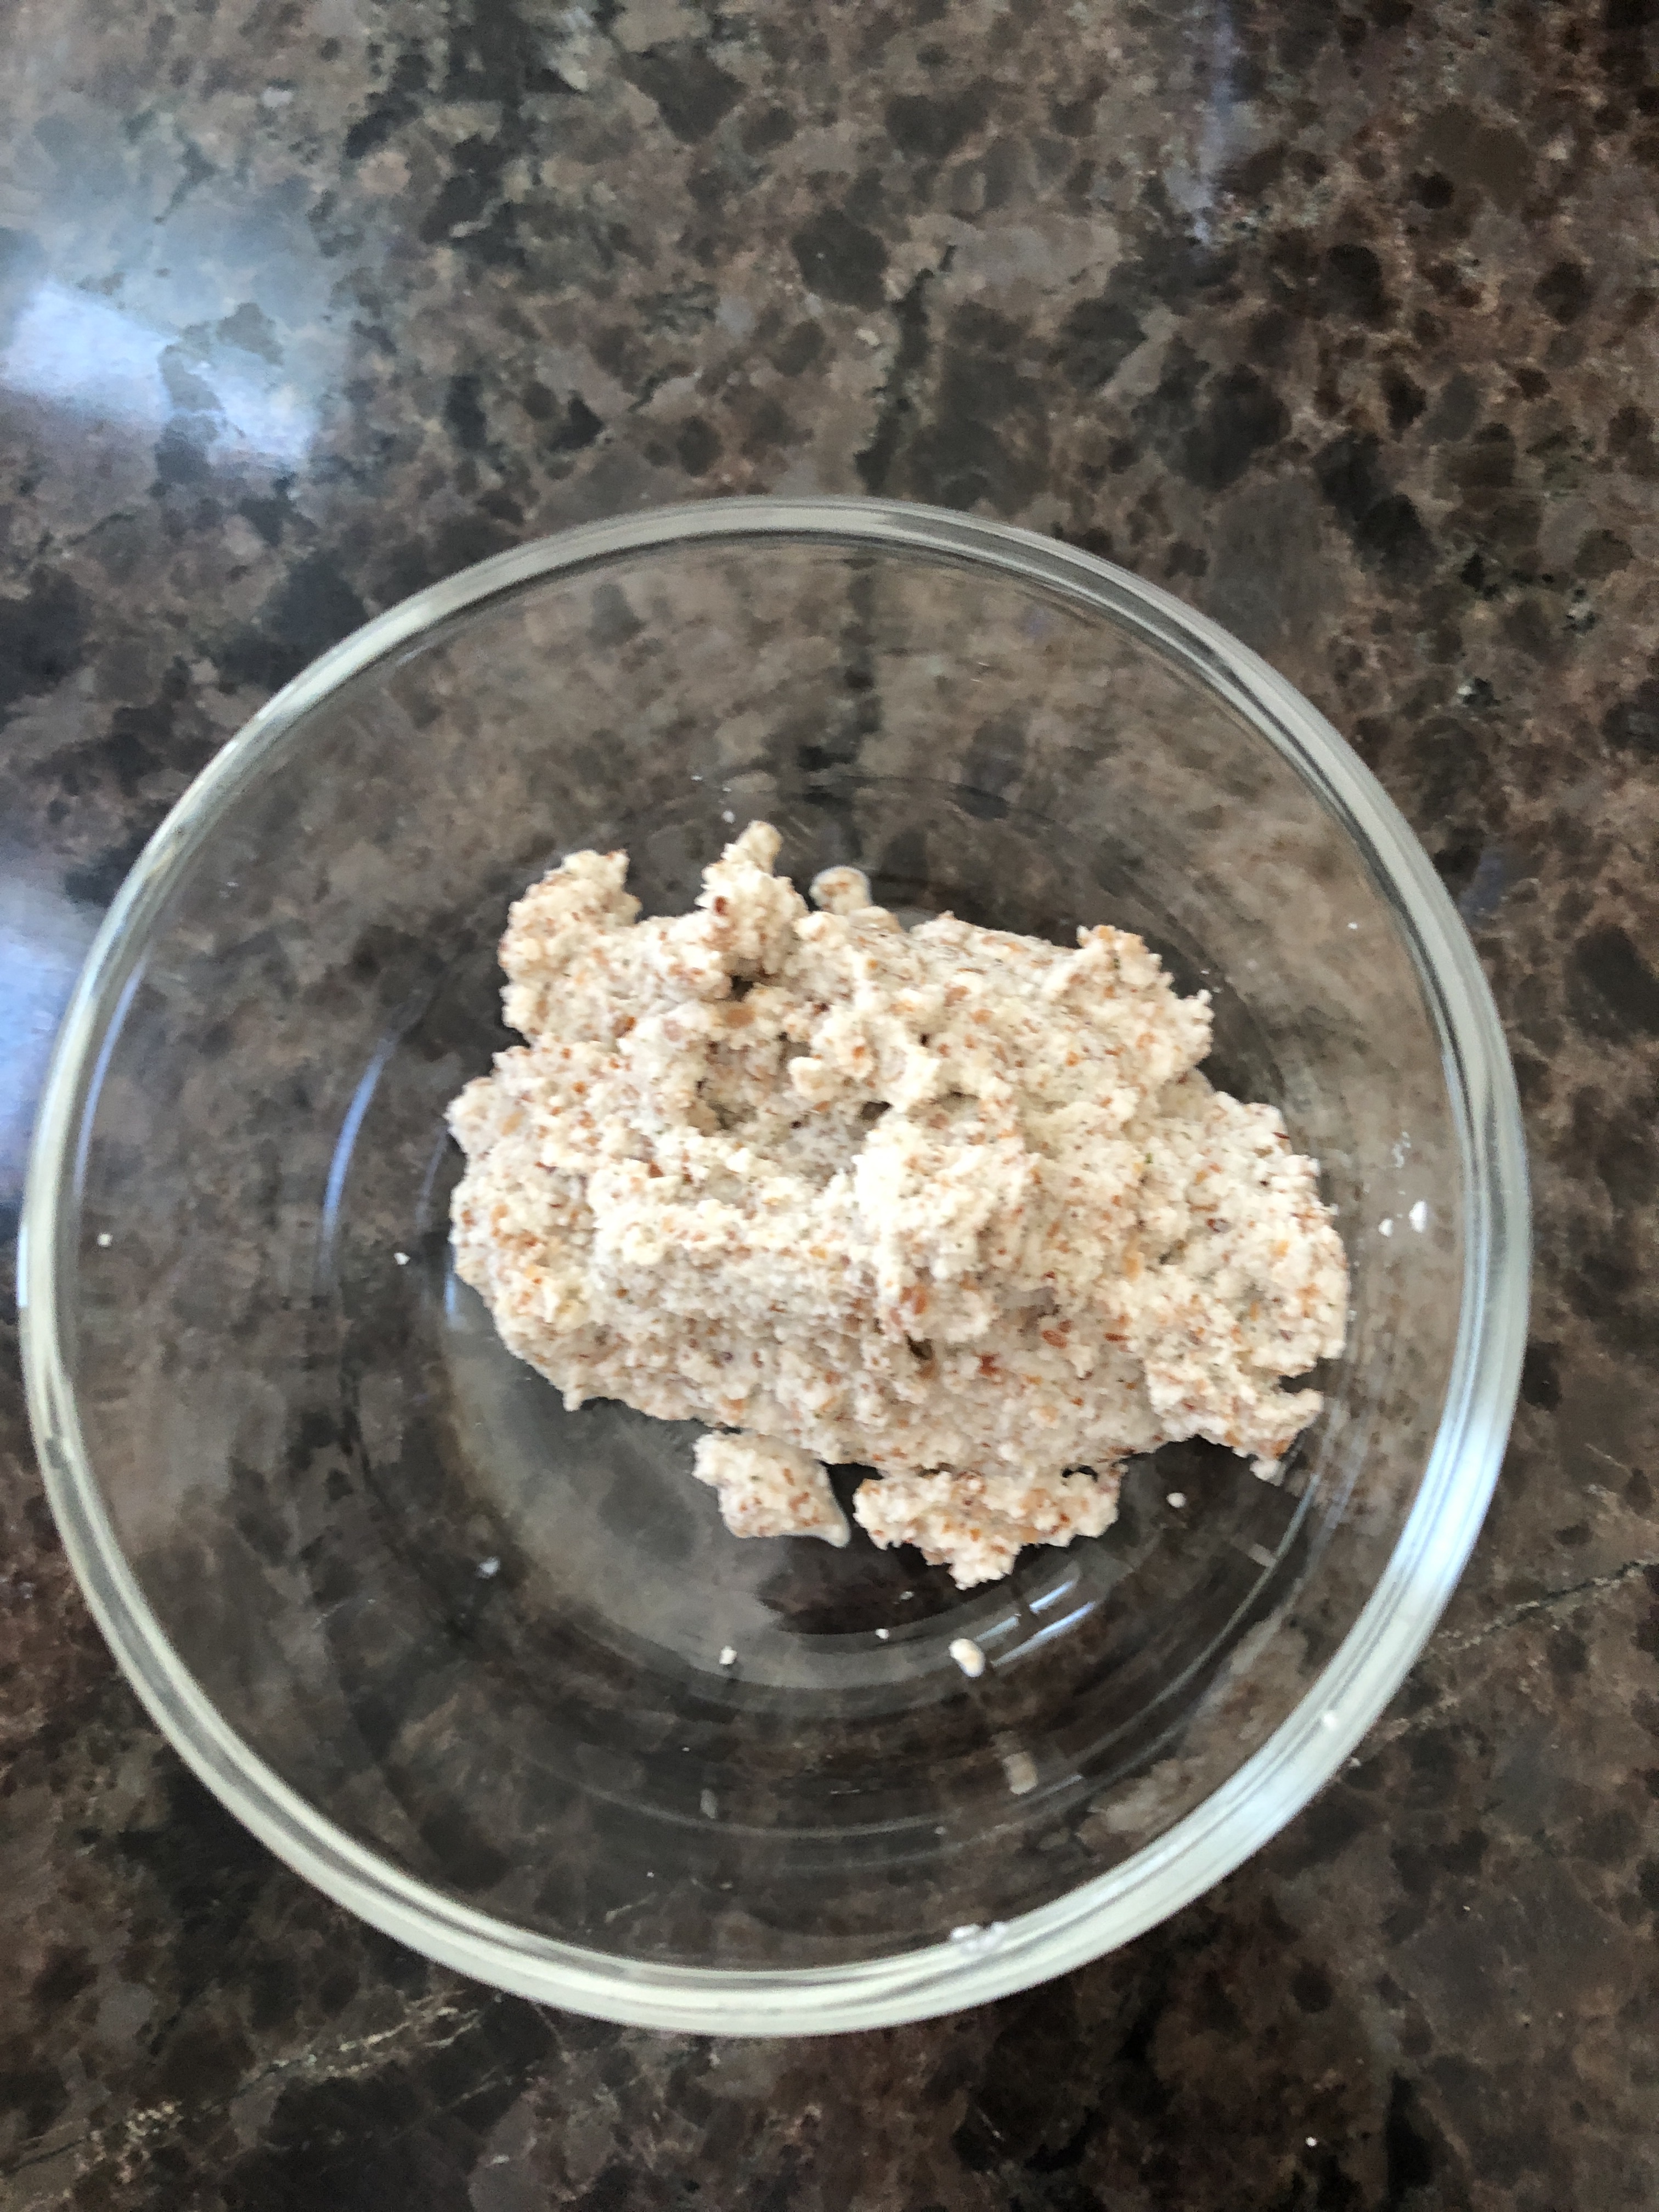
Now, what you have left over is called pulp. The pulp is totally edible! You can spread it out on a baking sheet and bake it into an almond meal, however it’s so tasty I usually stir it into yogurts for texture and added protein. In the future I plan to make an almond pulp granola bar! Stay tuned
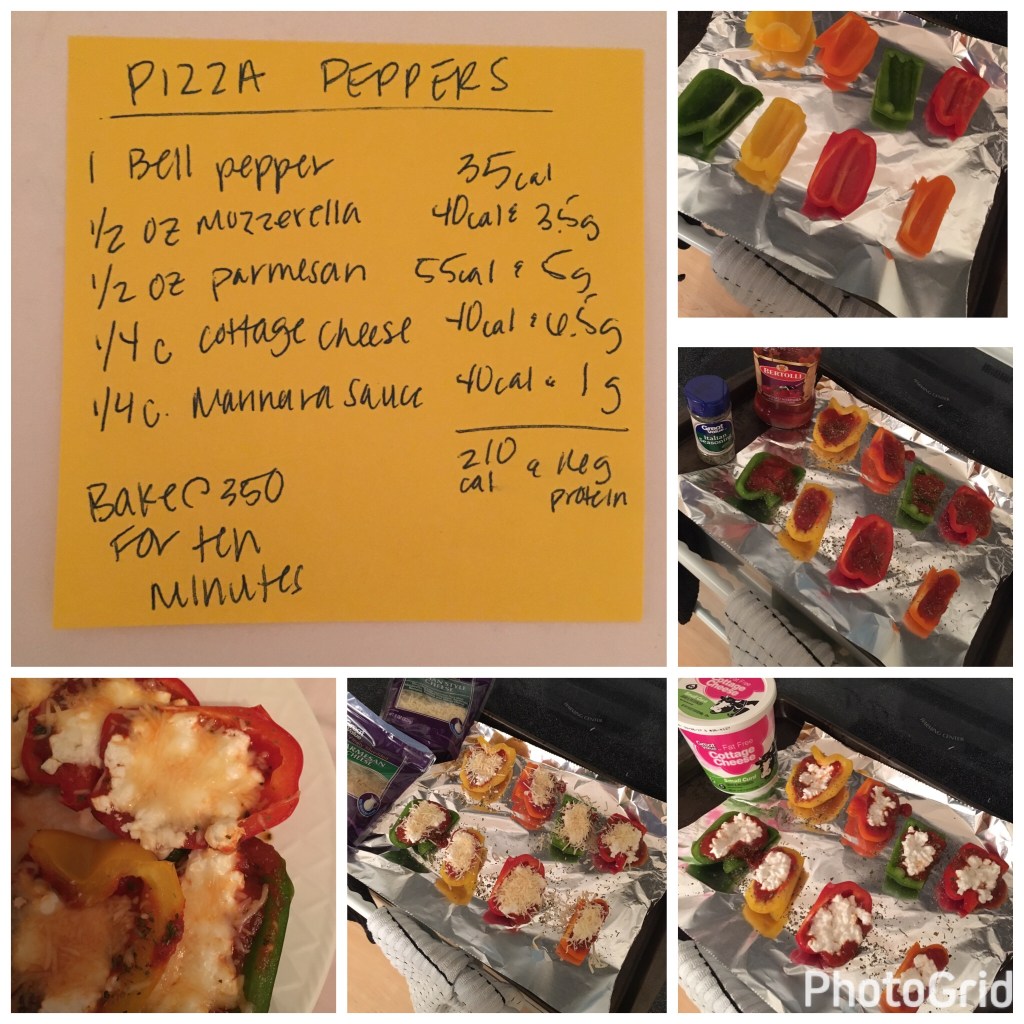
Over the years I have tried many methods to loose weight and maintain a healthy weight. I was very successful counting my calories, but I wasn’t happy. I felt like such a failure if I over ate my calories at one meal and then felt like there was nothing I could eat but celery or some terrible protein shake made with water to get me through dinner. This is a recipe I created when I was counting calories, so you can see that I totaled up the nutritional values and tried to create a lean meal!
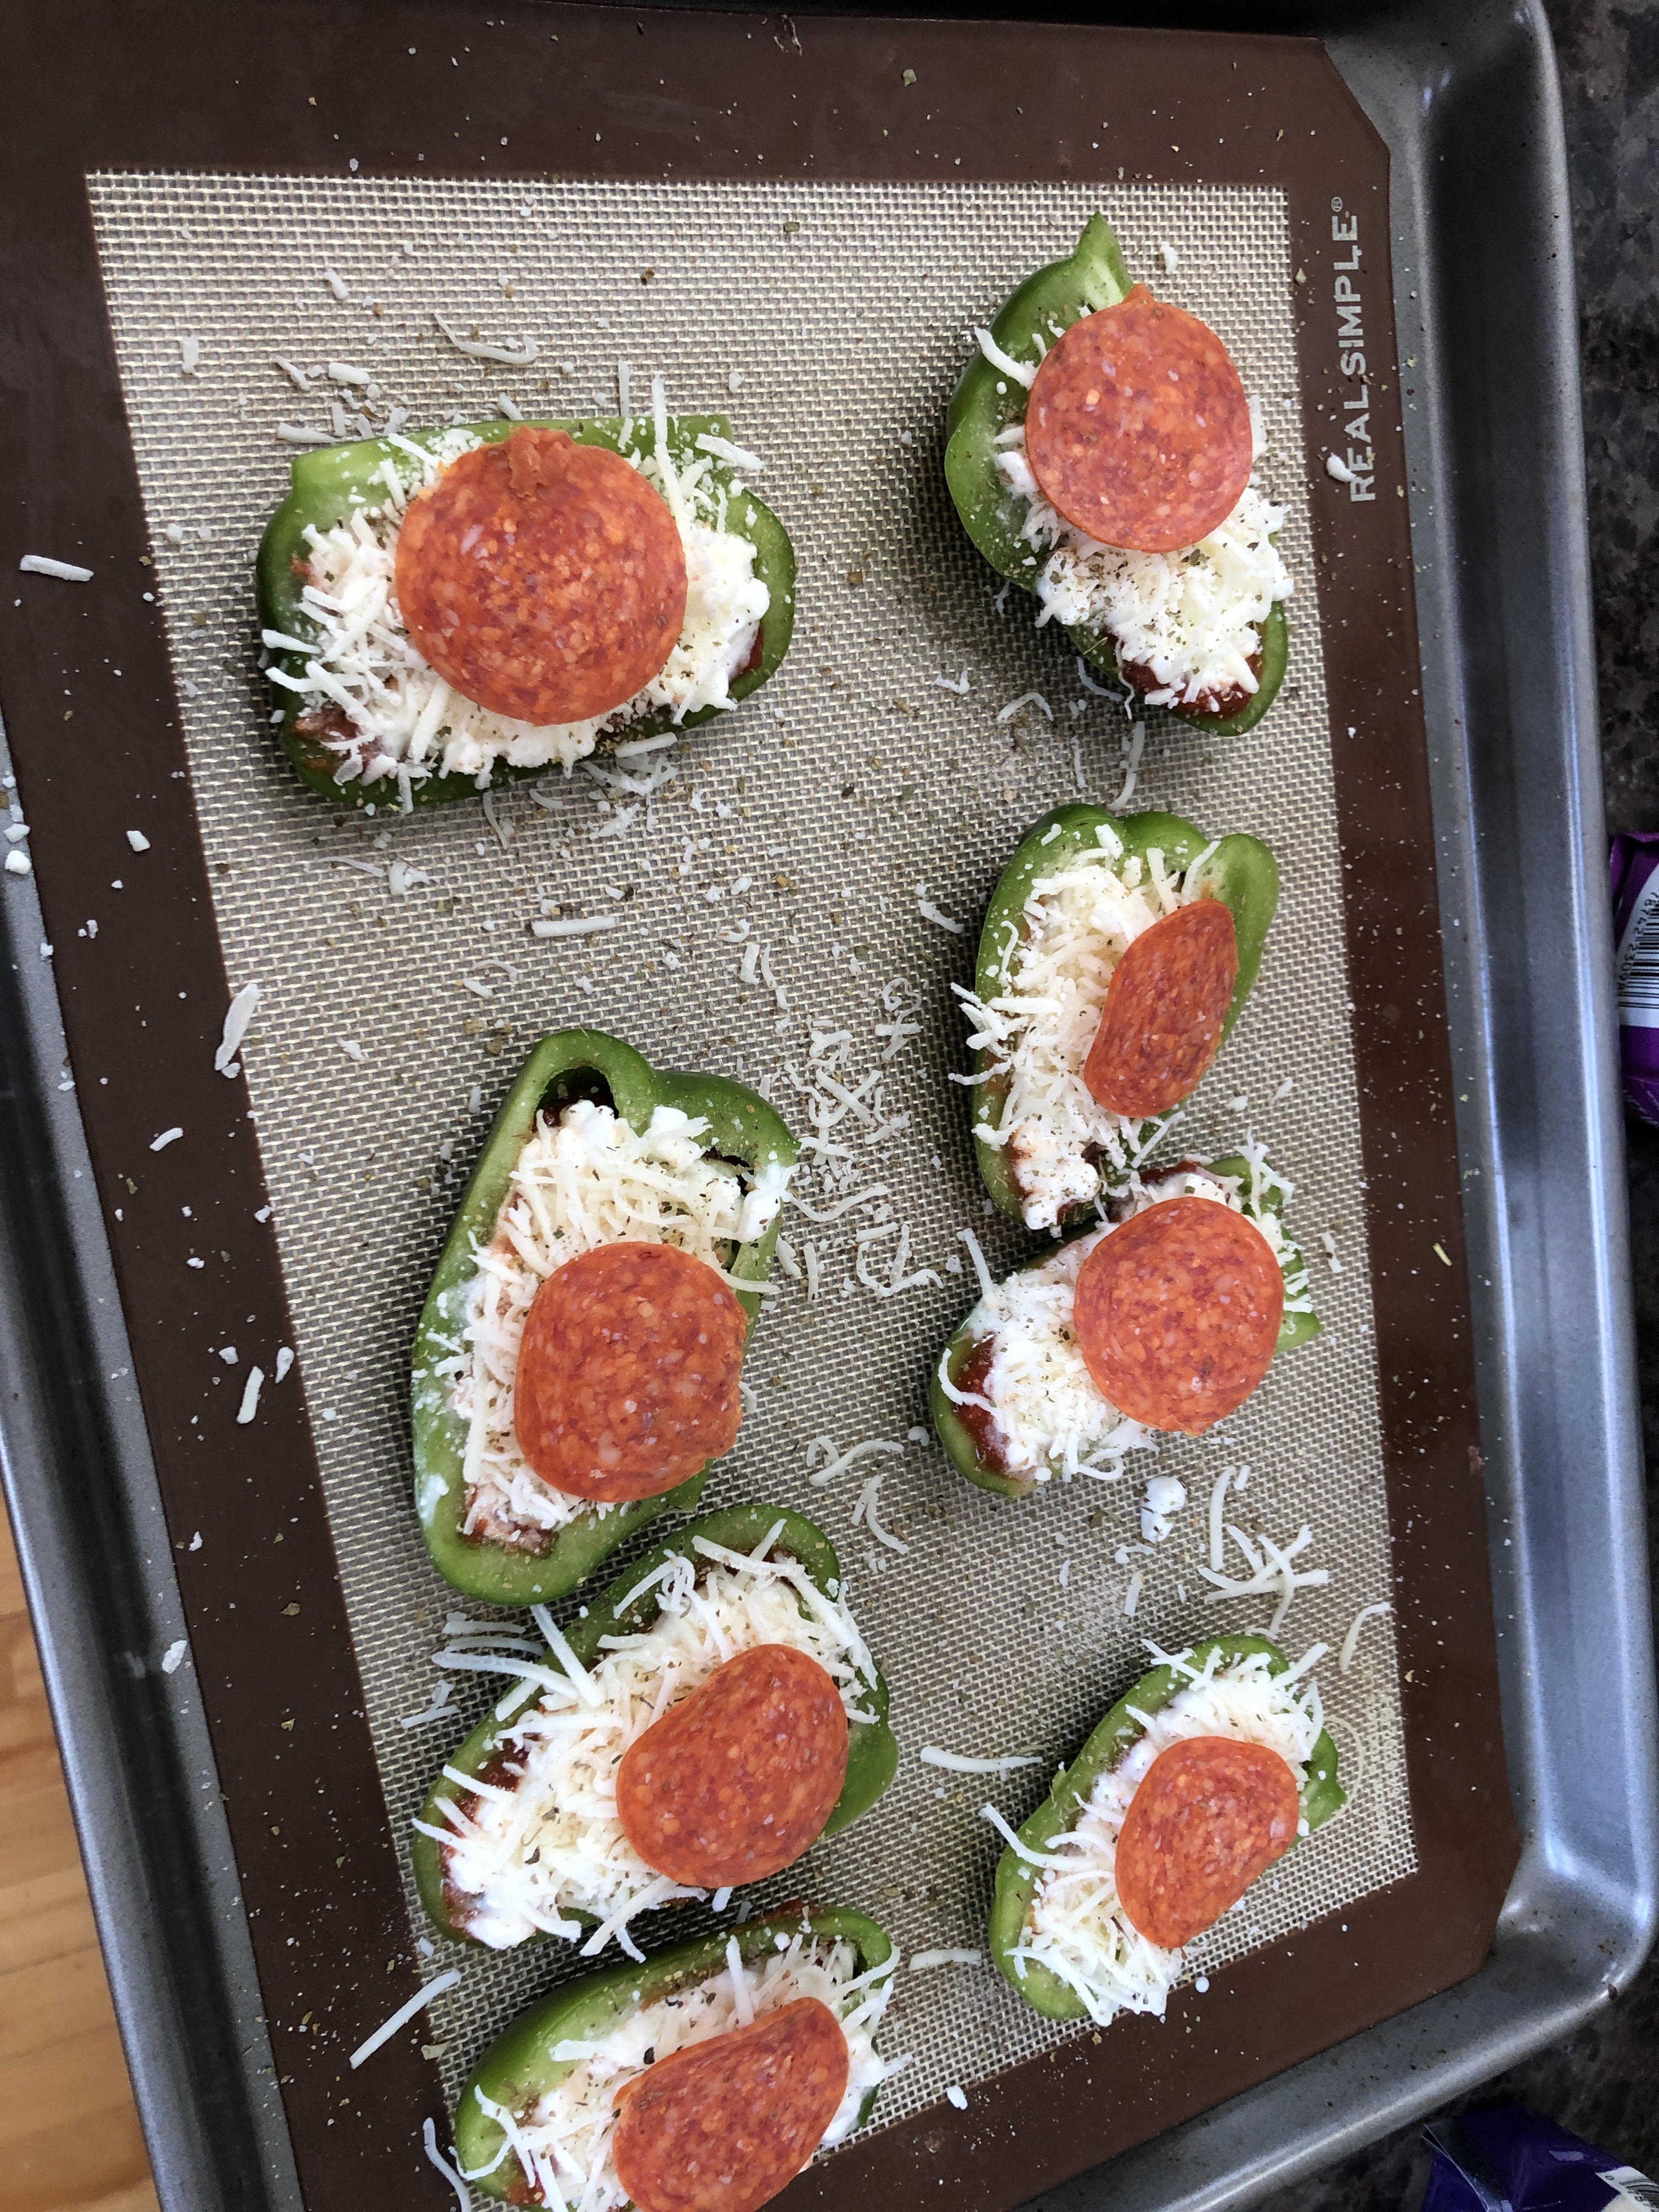
Even though I don’t count calories on trim healthy mama, I still love this recipe. I also love the freedom that I can make two peppers and eat them all, instead of restricting myself to just one pepper like I used to. I also have the freedom to add pepperoni slices or black olives or something else without worrying about adding in the additional calories.
If you primarily use low-fat cottage cheese and minimal Parmesan cheese, this is a trim healthy mama fuel pull! However most of the time I prepare it with some extra mozzarella or pepperoni and it is a S meal!
I never thought I had the guts to use cloth diapers. I had heard people say why they do or don’t cloth diaper and I just never thought I could handle it!
Boy. Was. I. Wrong.
Cloth diapering is easier than ever. There are so many cloth diaper products out there, you could do it too! It’s actually not that gross! It’s good for your pocket book. It’s good for the environment. Its good for your baby!
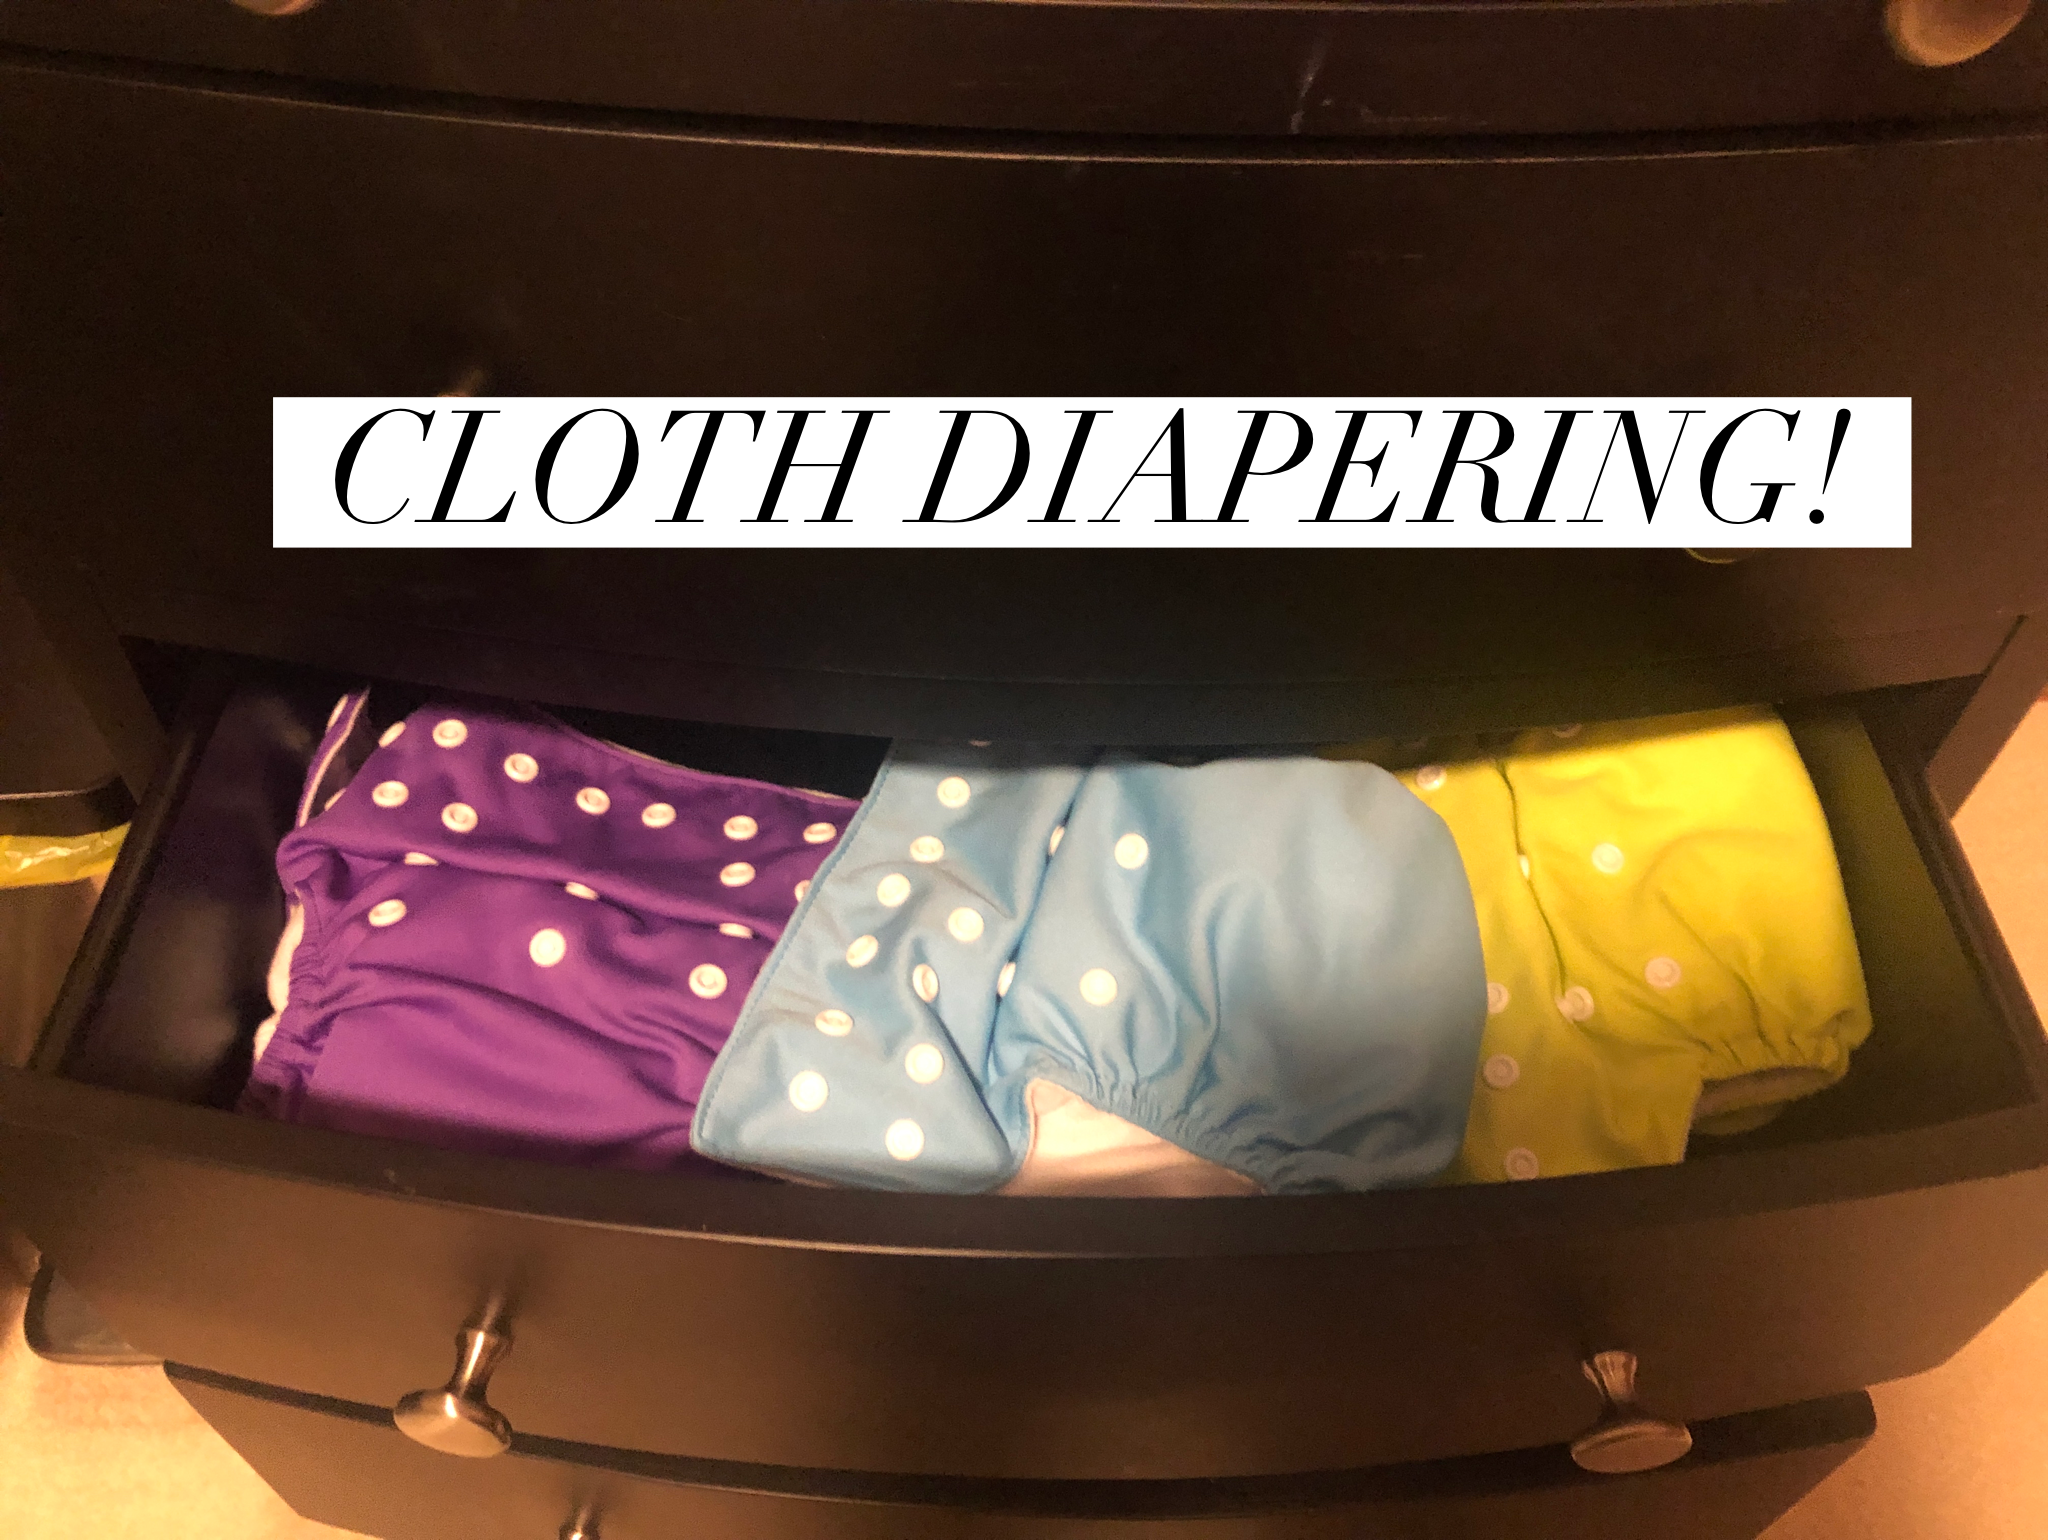
There are a whole bunch of cloth diaper types such as “pockets” “all-in-ones” “pre-folds”. You should look into a few types and see what is best for you and your needs. I’d like to tell you why I chose to use “pocket” diapers in hopes that it seems less overwhelming to you! Regardless of the diaper style, the many concepts like washing routine and diaper creams are common amongst all types. My husband was resistant to try cloth, until he saw how easy and cheap it is! Now he is on board 🙂
First. Pocket diapers look just like a regular disposable diaper. They have a bunch of snaps so that you can make the diaper the correct size for your baby. Most adjustable size pocket diaper fits babies from birth to about 35 pounds. So it will save you a lot of money in disposables. The “pocket” refers to a small pocket that you stuff with a washable liner for absorbency.
Second. Diapers and Liners can be made from many materials. The biggest difference is synthetic or all cotton. The synthetic diaper keeps the moisture off your babies skin. The liner, is underneath. Cheap synthetic liners have worked just fine for me. Some more expensive material such as bamboo liners might come in handy when my daughter gets bigger and makes more urine, but I haven’t needed to change yet!
Cost. This is a big one for lots of us. Each month I had been spending about 40$ on disposable diapers. When my daughter was a newborn, I spent more because of more frequent diaper changes. I know there are cheaper and more expensive diapers than this, but this was the cost of the brand we were using. Compare it to the upfront cost of cloth, I spent 60$ for 12 diapers and I have been using them now for months without spending the 40$ on disposables! My cloth diapers quickly paid for themselves!
My process. Like I said, I only bought 12 diapers. I did this because I like the minimalist approach with a lot of baby stuff since babies grow so fast! Because of this, I wash diapers daily. I usually start the wash just before dinner, then transfer to the dryer before bed. In the morning, we have dry diapers! There is a lot to said about rinsing and soaking diapers, but I have taken a minimalist approach to this too. Here’s why-
I wash with minimal detergent. This reduces detergent build up. To combat the stink, I use hot water and washing daily prevents my house from being full of stinky diapers! I press the “extra rinse” button on my washer. I do this because it removes extra detergent and prevents build up. Some people suggest to pre-soak, then wash, then separate extra rinse. But my method has saved me the hassle and I have had zero problems!
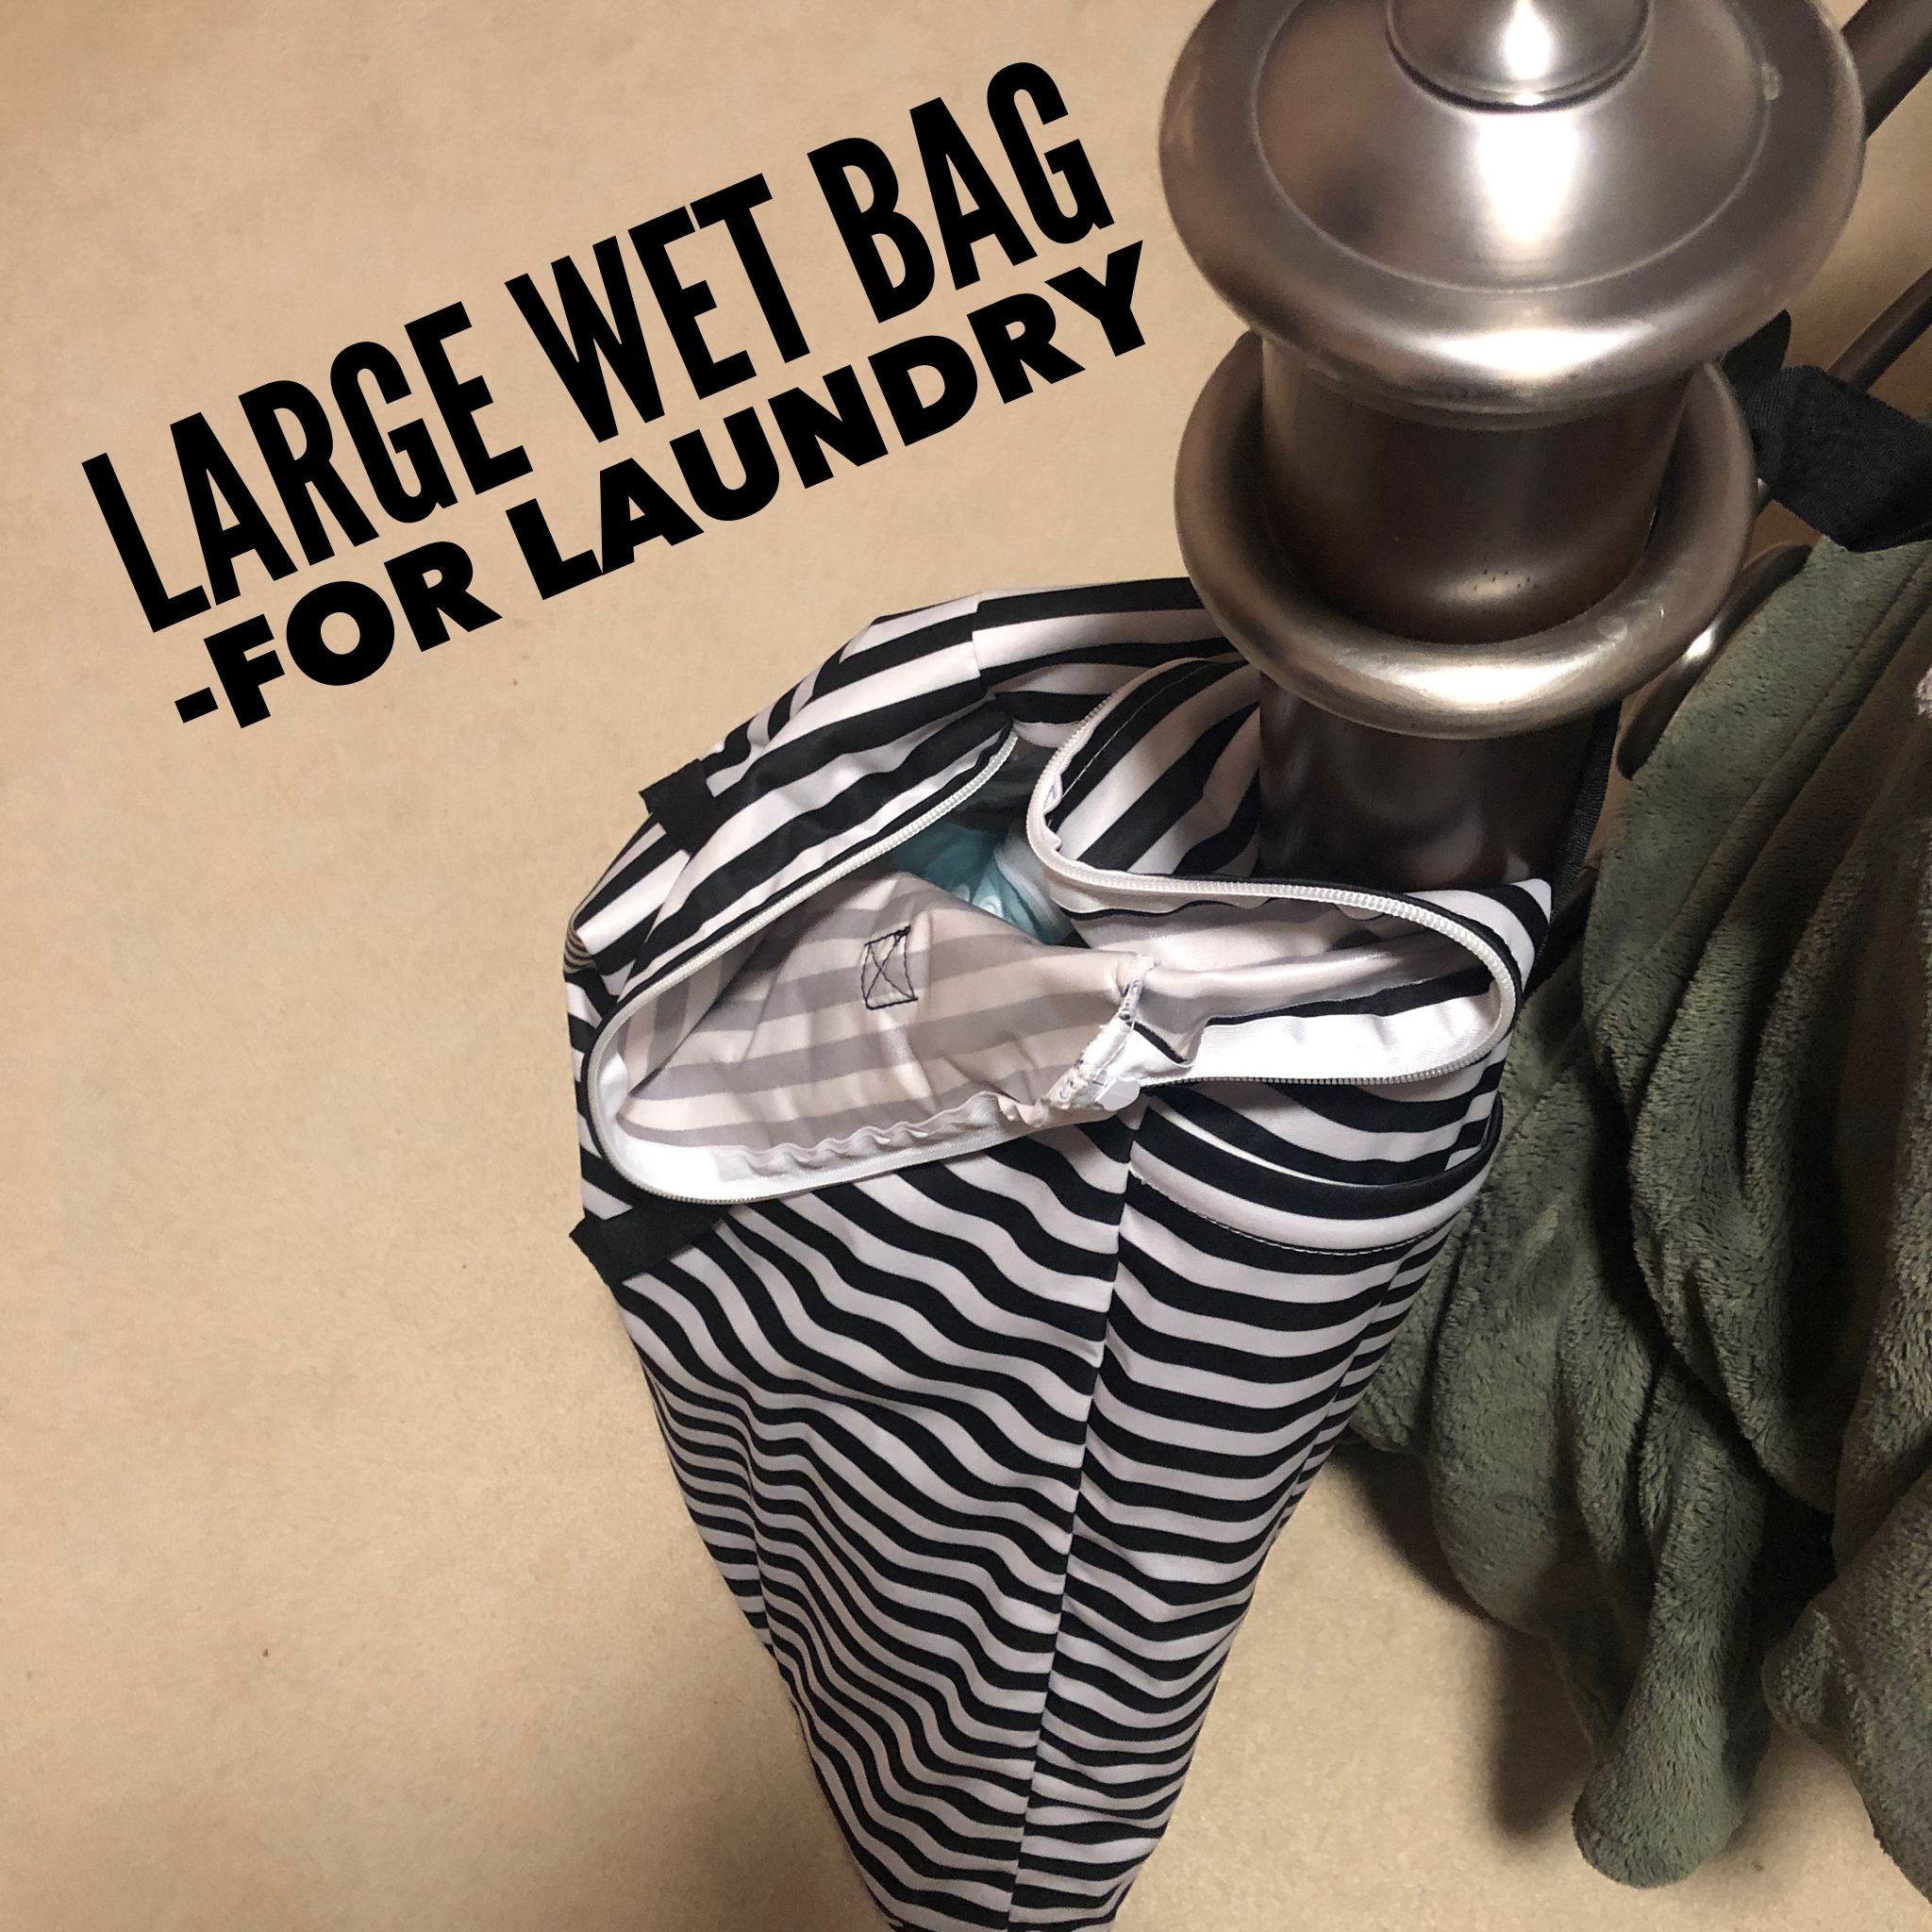
Poop and Stink. Nobody wants to say it, but you have to deal with poop regardless of the diaper style you use, even disposable! Disposable diapers make for stinky garbage cans that sit in your house. This method of immediate poop removal (plus washing a load of diapers daily) prevents your nursery from smelling like stinky diapers. I use the “swish method” which just means that I shake out the poo into the toilet and flush. Then I swish the dirty diaper in the toilet to loosen up any more poo and flush a second time. Its not that gross. You wash your hands anyway right? Alternatively, you can easily attach a sprayer/bidet to your toilet and spray out the poo. Dirty diapers go right into a wet bag. The wet bag goes in the wash with the diapers.
Supplies you need to get started. So you are going to give it a try? This is my suggestion! Buy a 4 or 6 pack of diapers. I bought a 6 pack on Amazon (they usually come with liners already). Also buy a large wet bag. Pre wash them before you use them. Use them without diaper cream, instead just get your babies bum as dry as possible before putting the diaper on. My daughter has never had such beautiful skin and she does now in cloth diapers! While trying it out, use disposables when its convenient until you get the hang of things. Disposables for night time or for leaving the house is often the route newbies take. Order more diapers as your comfort level increases!
Diapercream. There are plenty of cloth diaper safe creams out there. I’ll post my own DIY recipe here as well! But ultimately, with the natural fibers and elimination of chemical filled disposable diapers, I don’t use a cream for every diaper change. I only use a cream when redness is present, like during times of teething.
Future Diaper Supplies you might want: A small wet bag for your diaper bag, if you start using cloth when out and about. Cloth wipes (I plan to write a separate post about how I started using cloth wipes!). Bamboo/ increased absorbency liners for night time cloth diapering.
The easiest environmentally and cost friendly change we have made in our house was the swap from traditional disposable baby wipes to cloth. Many babies have sensitivities to ingredients baby wipes and switching to cloth is an easy way to eliminate these skin reactions!
Heres how we did it:
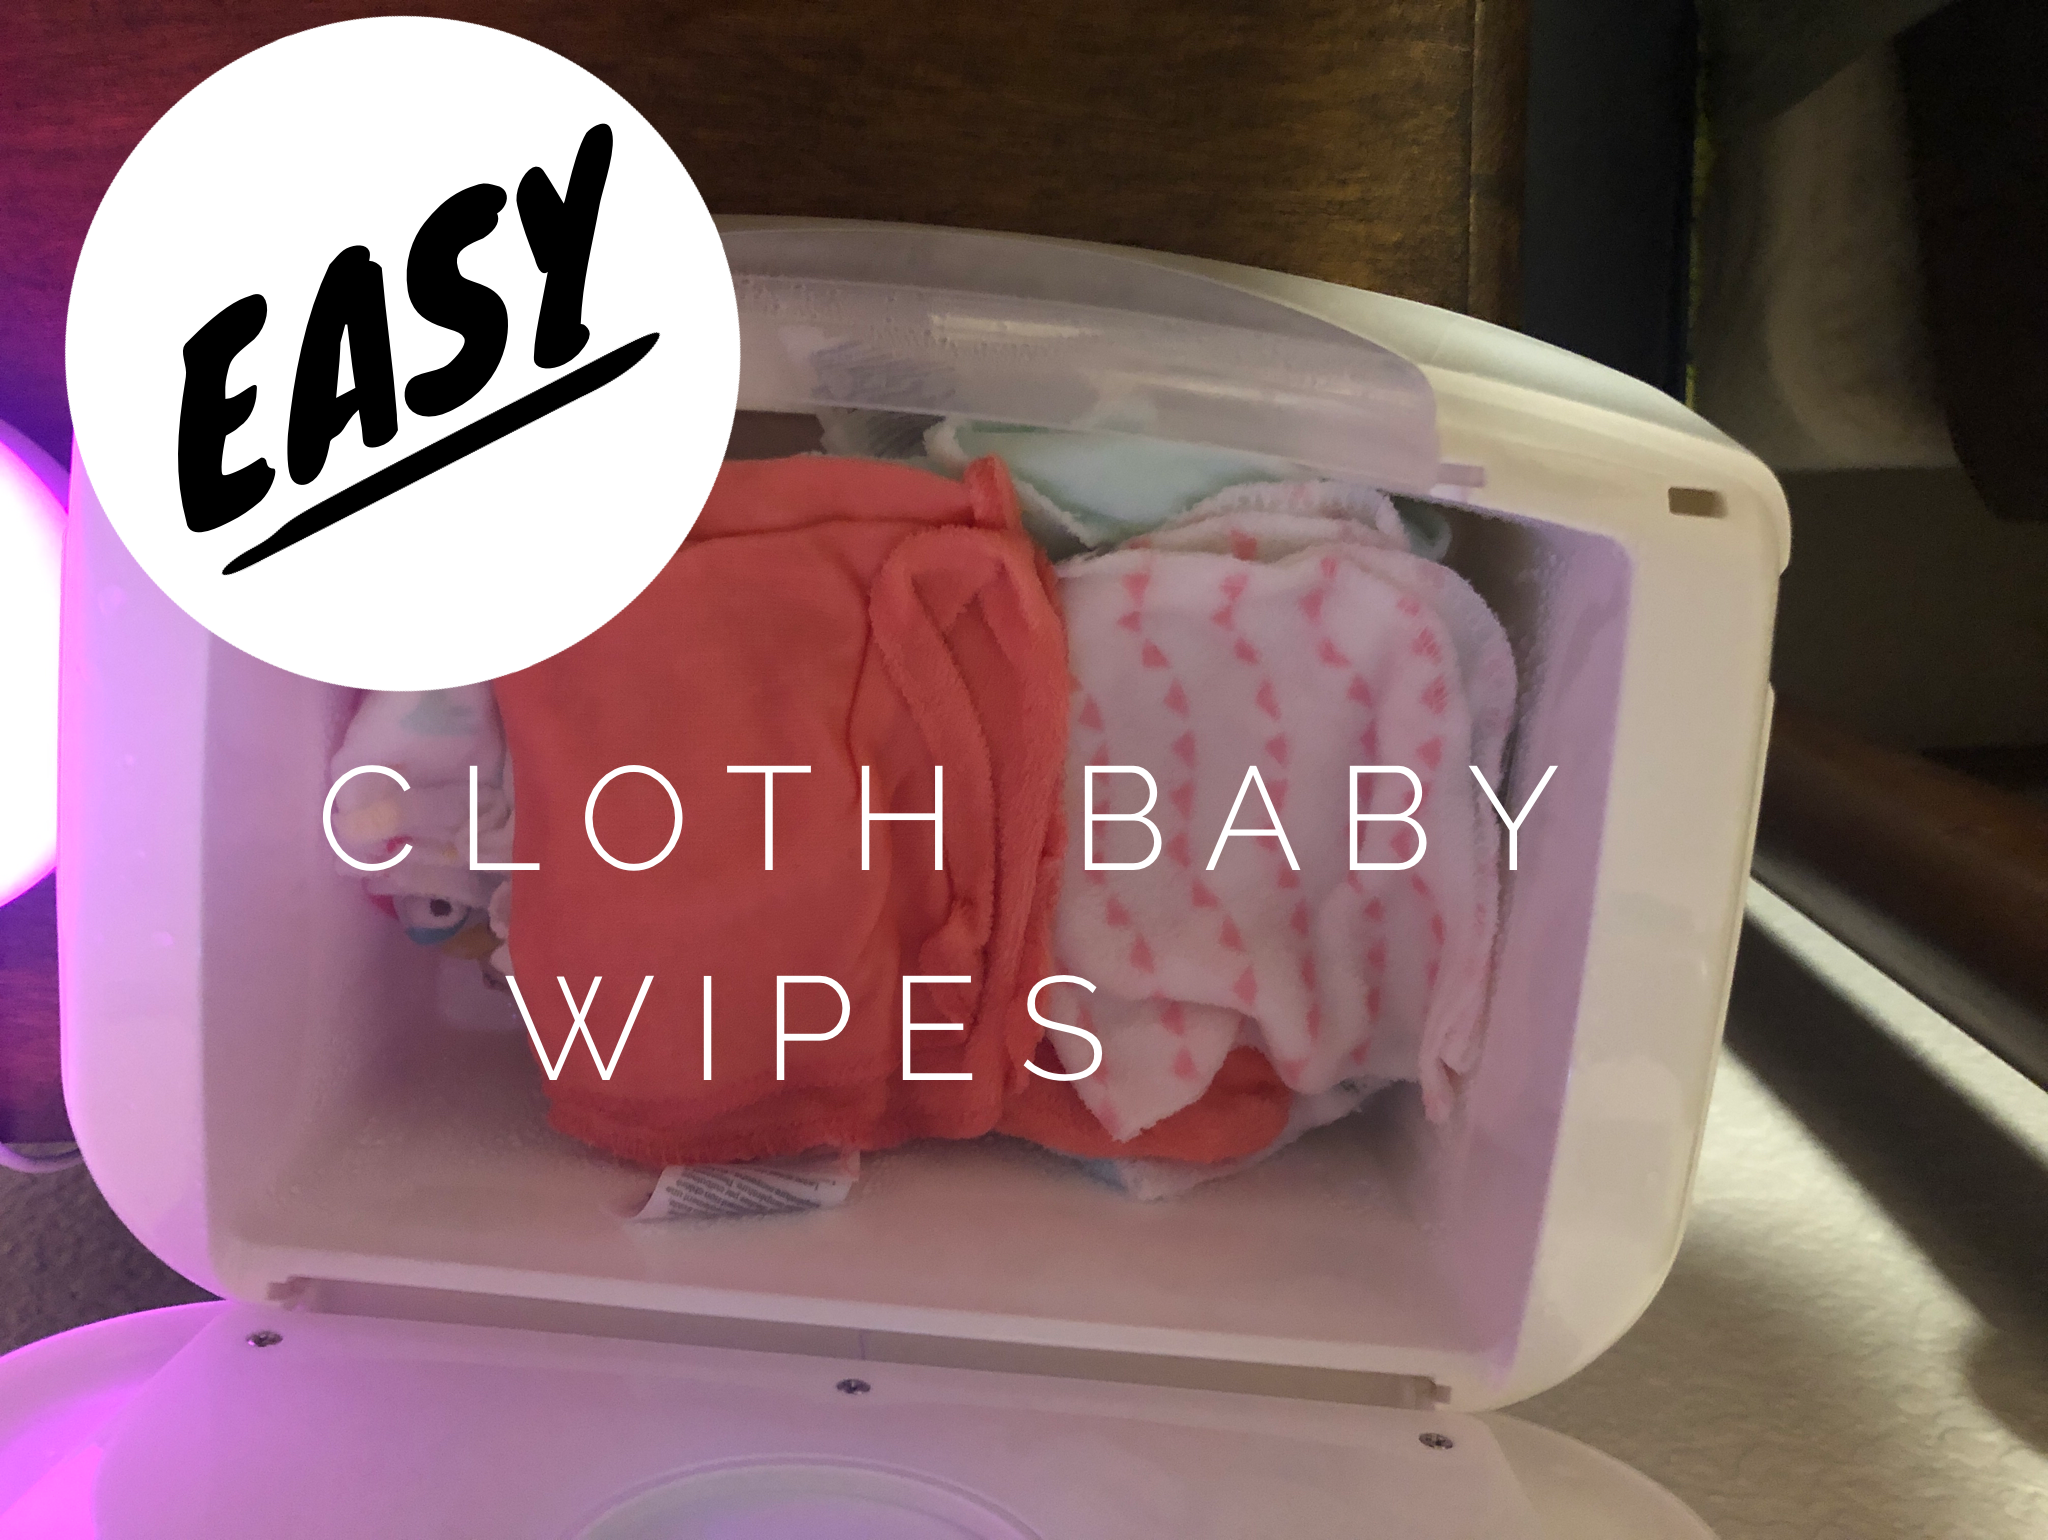
There are many cloth baby wipe products you could buy. But, we went the cheap route. We bought 4 packs of cheap baby wash cloths and use those! I have a wipe warmer, which I use to stack the wash cloths inside. I then pour plain water over the folded wash cloths and boom! Cloth wipes have been made! You don’t need to add anything except water to clean babies bum.
If you don’t have a wipe warmer, you could use any container that holds water so you don’t have a leaky mess!
We use a wet bag for our cloth diapers anyway, and just toss the wipes into the bag after each use. See my Cloth Diapering post for learning about making the switch to cloth diapers too!
Hint: For many of us, cleaning poo with a cloth wipe sounds icky. You could easily use disposable wipes for the poo and cloth when there isn’t poo if this sounds more doable to you! You will still see plenty of money on wipes and help the environment!
Since switching from disposable to cloth, my baby has never had a diaper rash! Her skin looks awesome and I’m confident that removing chemicals from her skin has been such a blessing.
To take cloth wipes on the go, throw them in a zippy bag or re usable zippy bag!
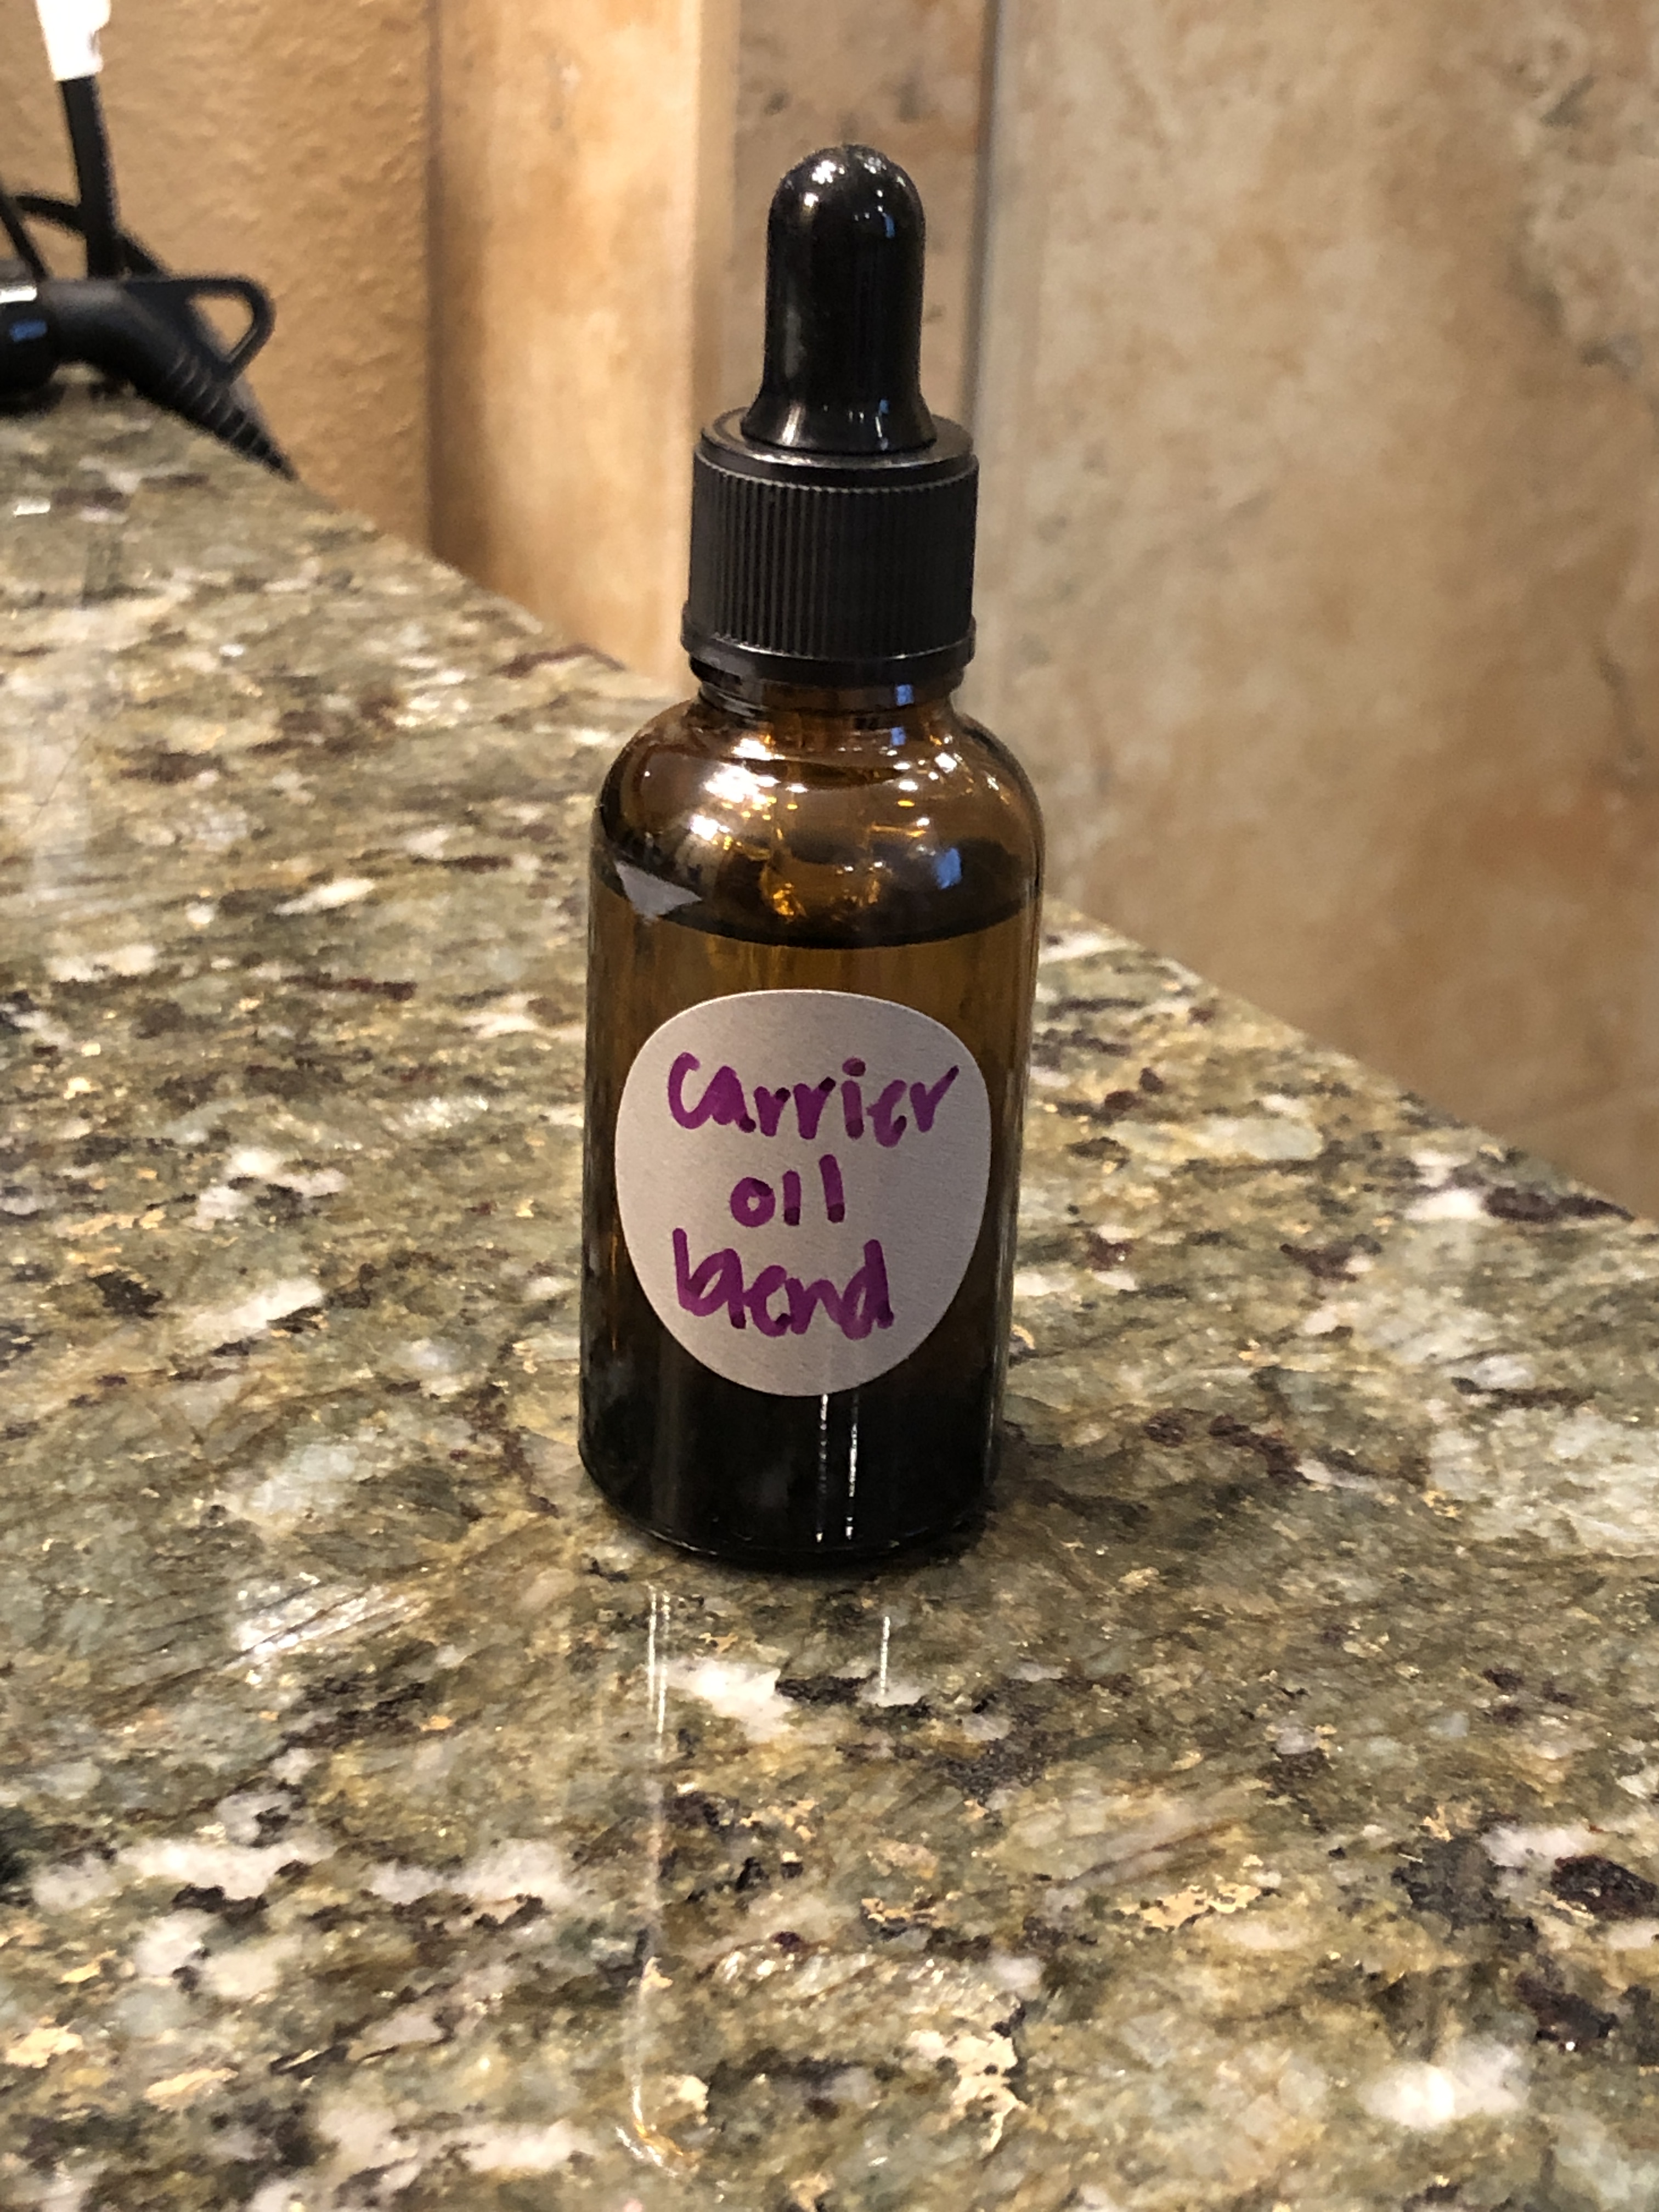
Essential oils need to be diluted for safe use! I have a stock of all my favorite oils in My medicine cabinet. But I found that each time I wanted to use one, I was struggling to dilute it on the fly for safe use. So I came up with this idea. I made a small container of carrier oil with a dropper.
Each time you want to use one of your oils, you just squeeze out one dropper full of carrier oil into your palm followed by one drop of the oil do you want to use.
My dropper squeezes out 1.3ml. Therefore, if you do two droppers + 1 drop of essential oil, you have a 2% solution. If you do one dropper and one drop of essential oil, you have a 2% solution.
Remember, kids should not have anything stronger than 1%! So you’d have to double dilute for kids!
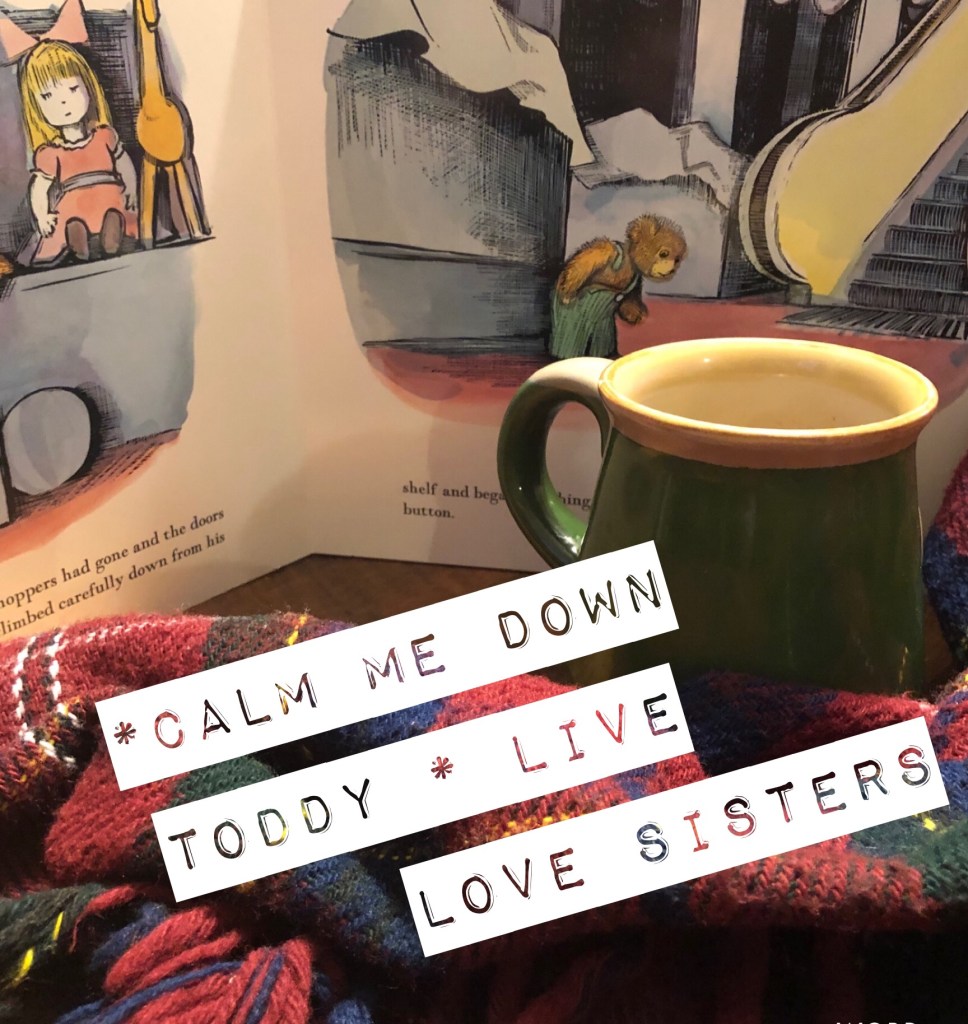
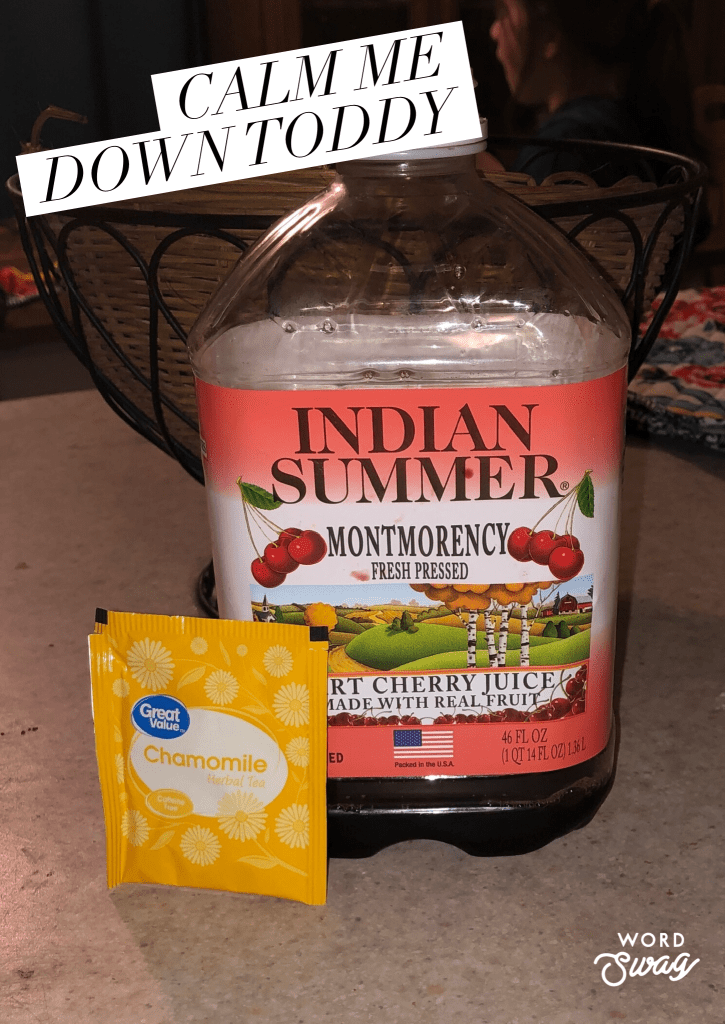
I have two very active preschoolers at home. Sometimes especially during the winter months they need a little help calming down at bedtime. Tart cherry juice is a wonderful full herb that helps the body to release melatonin , and combined with chamomile tea for its calming effects this drink is a wonderful way to wind down. Add a warm cozy blanket and a favorite story book you have the perfect recipe for sweet dreams.
Calme Me Down Toddy
8oz of hot water
1 bag of chamomile tea ( steep 3-5 minutes)
1/4 cup tart cherry juice. ( enough to add a nice flavor but keep sugar low )
Stevia to taste (I would avoid honey if possible to avoid a sugar high right before bedtime)
A scoop of collagen (optional)
*Tart cherry juice has 30 grams of natural sugar per 8oz. By keeping the juice to 1/4 cup or less keeps sugars to about 7 grams of carbs. To keep it in FP mode use a little less juice
** Sometimes I add a little collagen to stave off the need for before bed snacks or I pair with a string cheese for my children